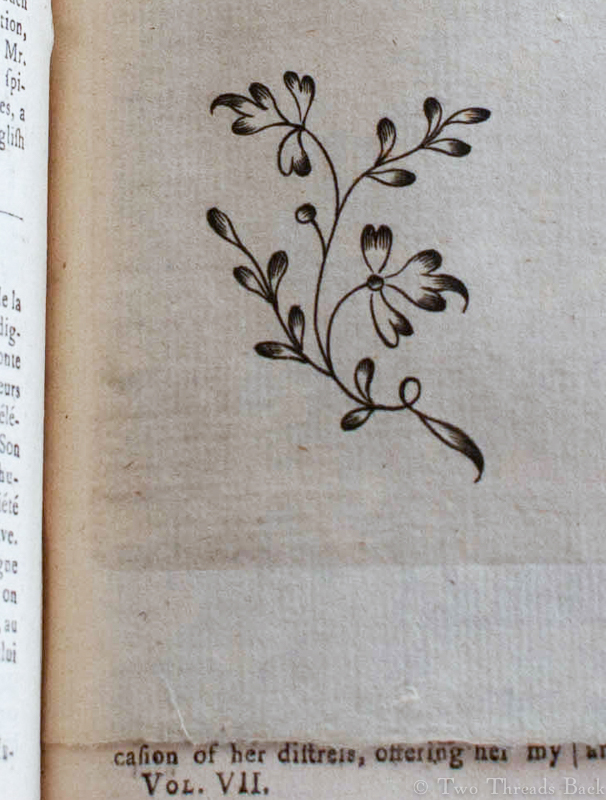
When I read about the Great Lady’s Magazine Stitch Off a few weeks ago, I knew it was something I wanted to do. Firstly, because I love early women’s magazines; secondly, because of the Jane Austen connection; and finally, because I could suit my project to my skill level – dabbler seems fitting.
A two-inch flower on a plain muslin pocket handkerchief, worked in a simple chainstitch with some wonderful Au Ver à Soie, would be just right. And perhaps some historical touches to set the mood.
I had visions of myself sitting at my worktable to pounce the pattern, then deftly working the little sprig with an elderly tambour hook. That might occupy me for an hour or two, then I’d pop it in the mail to the Chawton House Library “Emma at 200” exhibit. How hard could it be?

Well, Fantasy was introduced to Reality fairly soon. I realized that the pouncing powder I’ve had (unopened) for 20 years required a little more research and practice to use than I wanted for such a small project. What’s so bad about using a disappearing marking pen after all?

So next came the tambour hook I’d been dying to try. It seems there’s more to using one than just picking it up and poking it in and out. Not to mention that the ancient point had a tendency to shred a few threads along the way. What’s wrong with using a needle?
Ok, I started with the needle and made it about halfway before I thought: ick! No two chainstitches were alike. I picked it out and decided to try a sort of running/darning stitch, also common on period pieces. Bleh. It looked worse than the first attempt, so I picked all that out and decided it would have to be chainstitch after all.
Well, I did better on the third try. But when I was almost done, I felt something didn’t look right. Maybe you spotted it already? I had put the muslin back in the hoop underside up. And there it would remain. Six hours into this two-inch project, I was not doing it over.
The hemming went better than the embroidery. I didn’t really mind that one side had a wider hem than the other three. But the flower centers looked a little plain. I thought I’d try some microscopic drawn thread work. Isn’t it amazing how fearless ignorance can be?

Another six hours later I was done. Then I remembered my calling. Plain needlework! I could not send this handkerchief out into the world without marking it. A silk monogram was beyond my ability, and turkey red thread would be out of place on this mouchoir de poche. So I used blue cotton (I’ve seen real examples) and started on my initials in the opposite corner.


I really do enjoy your website!! Just a comment about chain stitch (yeah, I’m still very much a novice with the tambour hook — takes a LOT of practice, it seems!) You can get an even, more controlled chain stitch if you do it the opposite of how it is usually done — loop-thru-loop. If you start with a small tacking stitch (small straight line), and then bring your needle back up a stitch length below — and make the loop by taking the needle THRU the tacking stitch and back down where you came up. Move down another stitch length — come up, take the needle under the base of the previous loop, and then back down where you came up. You get much more even (and smaller!) loop lengths, AND have a bit more control on the loop…… (And thanks for the linen thread — terrific stuff!!!)
LikeLike
Thank you for that! All of it. I will certainly give it a try. I love where I live, but sometimes it’s pretty obvious that I’m missing so much by not having classes, shops, or even other needleworkers nearby for help and inspiration!
LikeLike
You had quite an adventure with it, didn’t you! I’d second what Bobbi Chase said – reverse chain stitch, as it is called, is much more controllable than standard chain stitch!
LikeLike
And I didn’t even know there was such a thing. Thank you!
LikeLiked by 1 person
too too humorous ! But quite gorgeous anyway — about 100 % better than anything I could have done
cm
LikeLike