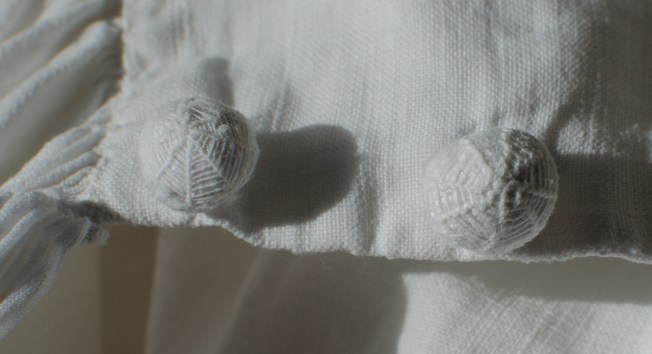
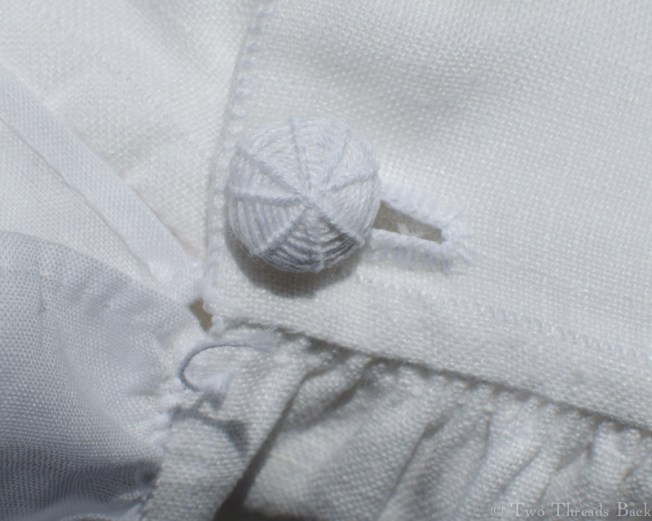
The Dorset Button! Not the more common flat disk with thread spokes, but a “high top,” a tiny sphere wrapped in a spider’s web of thread. I mentioned in the Love Shirt post that I would explain how I made the buttons for the shirt – a non-documented, unauthenticated version for the directionally challenged: me. Believe me, before I finished the trial button, it did look more like a Dorset Knot. But I persevered.
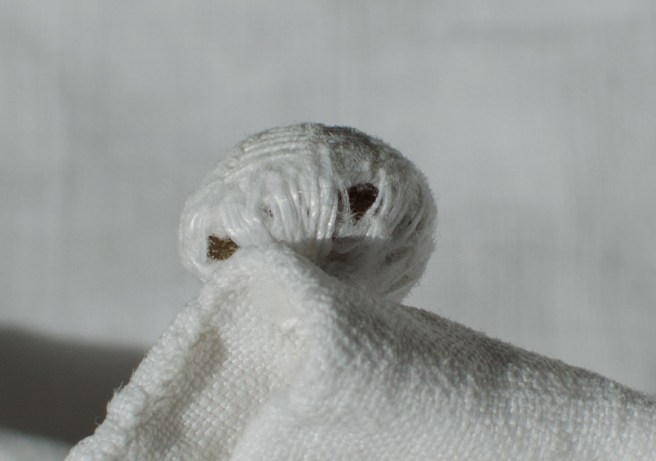
The originals I wanted to copy are pictured above. They seemed to be stuffed with a kind of fiber, but the base was a black substance with a greenish-yellow cast and waxy look. It had puzzled me for years. Then after reading more about Dorset knob buttons, I realized the material must be horn.
I didn’t have horn buttons, so I used shell instead, about 1 cm in diameter. I cut a little square of linen, about 3.5 cm, and on that I traced and cut out a circle larger than the button. The scraps served as stuffing for the knob. Waste not, want not.
Next I ran a gathering stitch around the circle, put the scraps in the center with the flat button on top, pulled the gathers tight, and stitched them closed. Voilà! The mold!
Then I wrapped thread around the button in a compass rose pattern and anchored it. Beginning at the top, I circumnavigated the button, taking a backstitch around each “spoke” and moving on to the next. It was a bit fiddly, having to smush the lumpiness of the mold and realign the spokes as I worked toward the base.
Once I had made a final pass around the base, I took a few stitches to anchor it all. And then I had to make four more.
For those who like pictures better, see below. For those who want a more authentic method, there is a lot of serious research available online now. And for everyone else… well, there’s always velcro.



![Joseph Keppler [Public domain], <a href="http://commons.wikimedia.org/wiki/File%3A%22Our_mutual_friend%22_LCCN2011661809.jpg">via Wikimedia Commons</a>](https://twothreadsback.com/wp-content/uploads/2014/05/our_mutual_friend_lccn2011661809.jpg?w=229)
