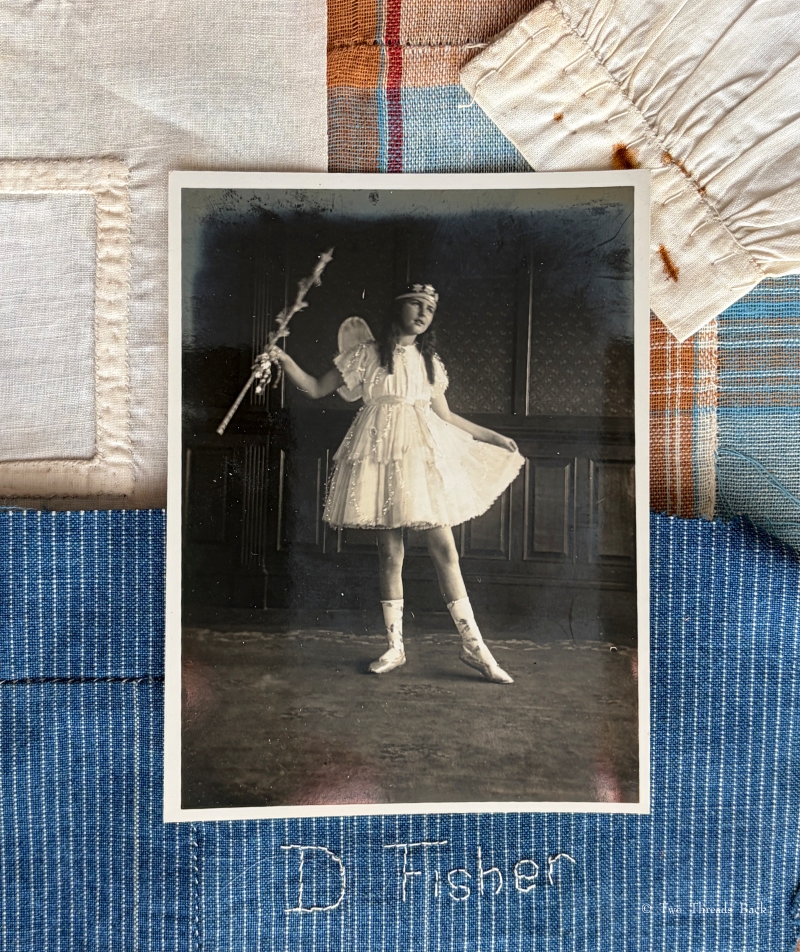
Well, one never was in Kansas and the other isn’t now! Here are two sweet sewing books. The one made by Eliza is American, from Kansas. The one made by Dorothy, who reminds me more of Glinda the Good, is from England. Besides the Wizard of Oz connection (I admit that was a stretch) they have other things in common.
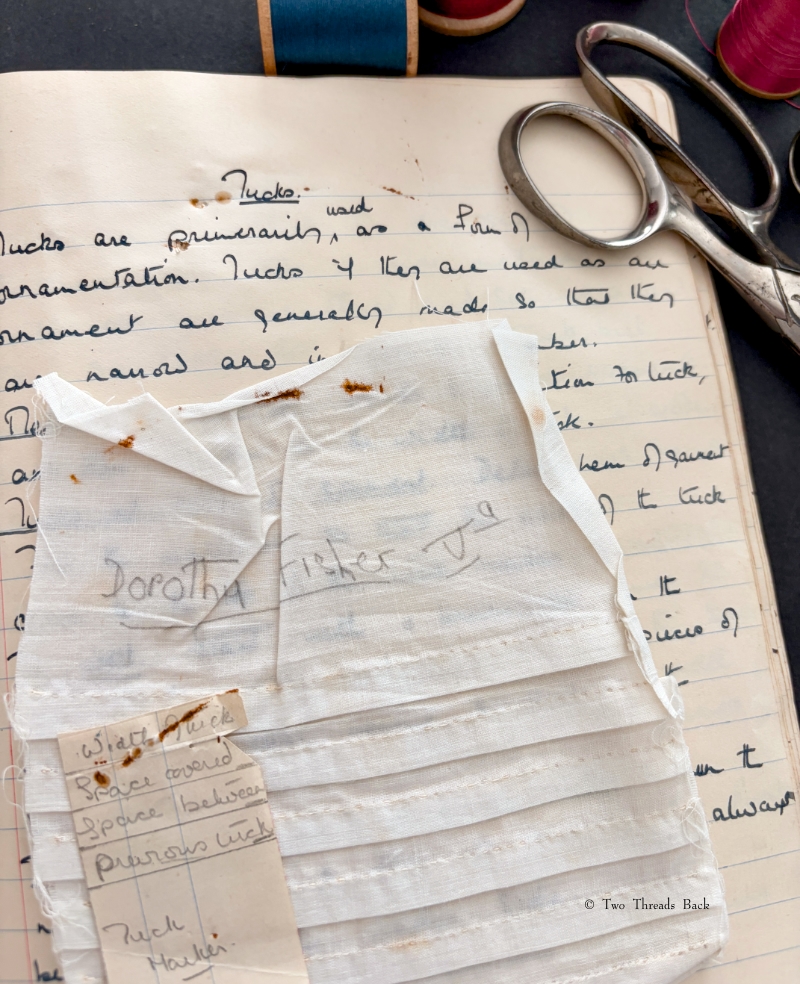
TIME. Eliza’s book is dated 1912-1913, and was compiled during her Home Economics Housekeeper’s Course at Kansas State Agricultural College. Dorothy’s book isn’t dated, but assuming the photo is of her and taken around the time she attended the class, it was probably made soon after Eliza’s. It seems they studied sewing at different ages, however. Dorothy was obviously still a young girl, while Eliza was over 30 when she completed her course, as census records show she was born in 1881.
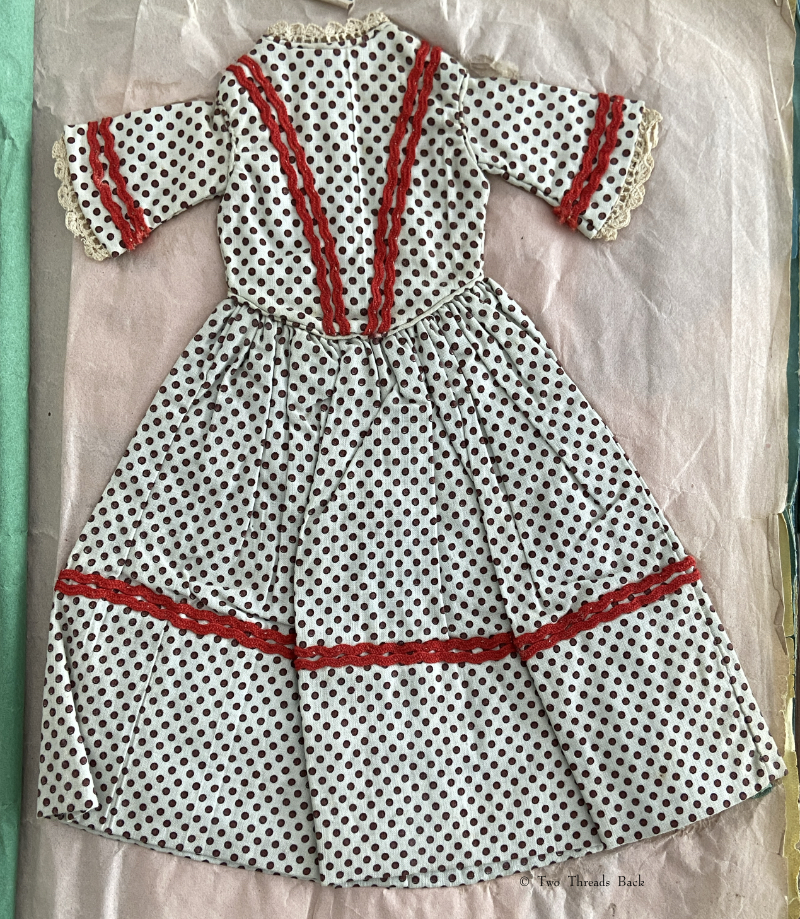
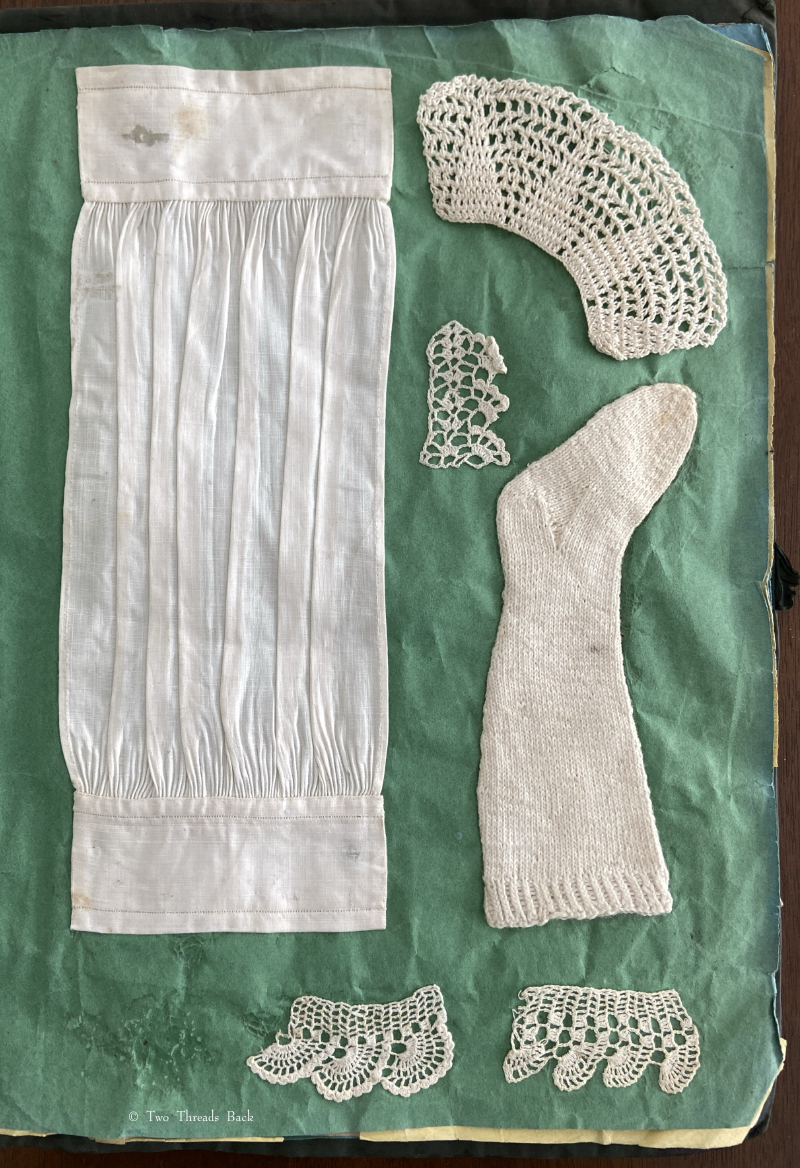
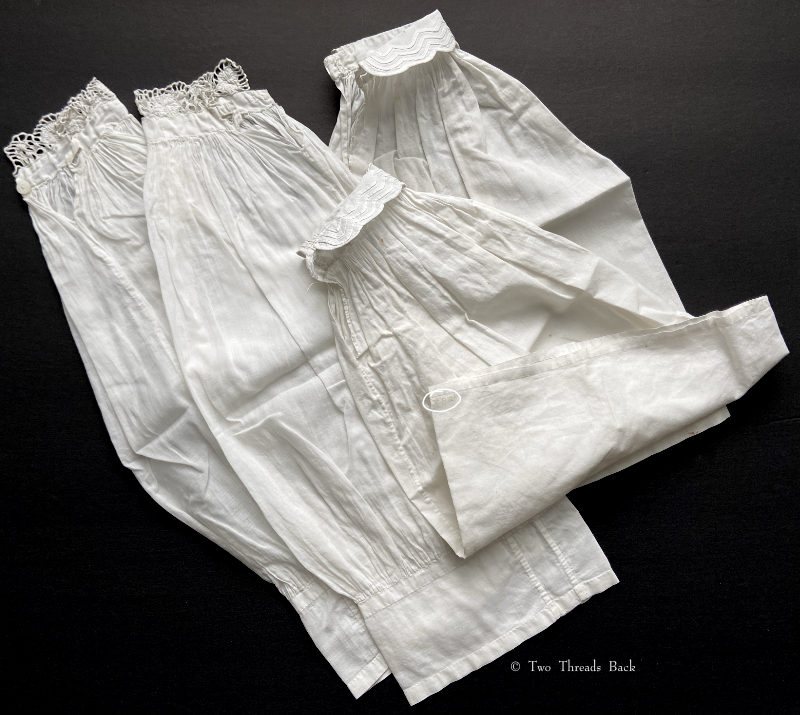
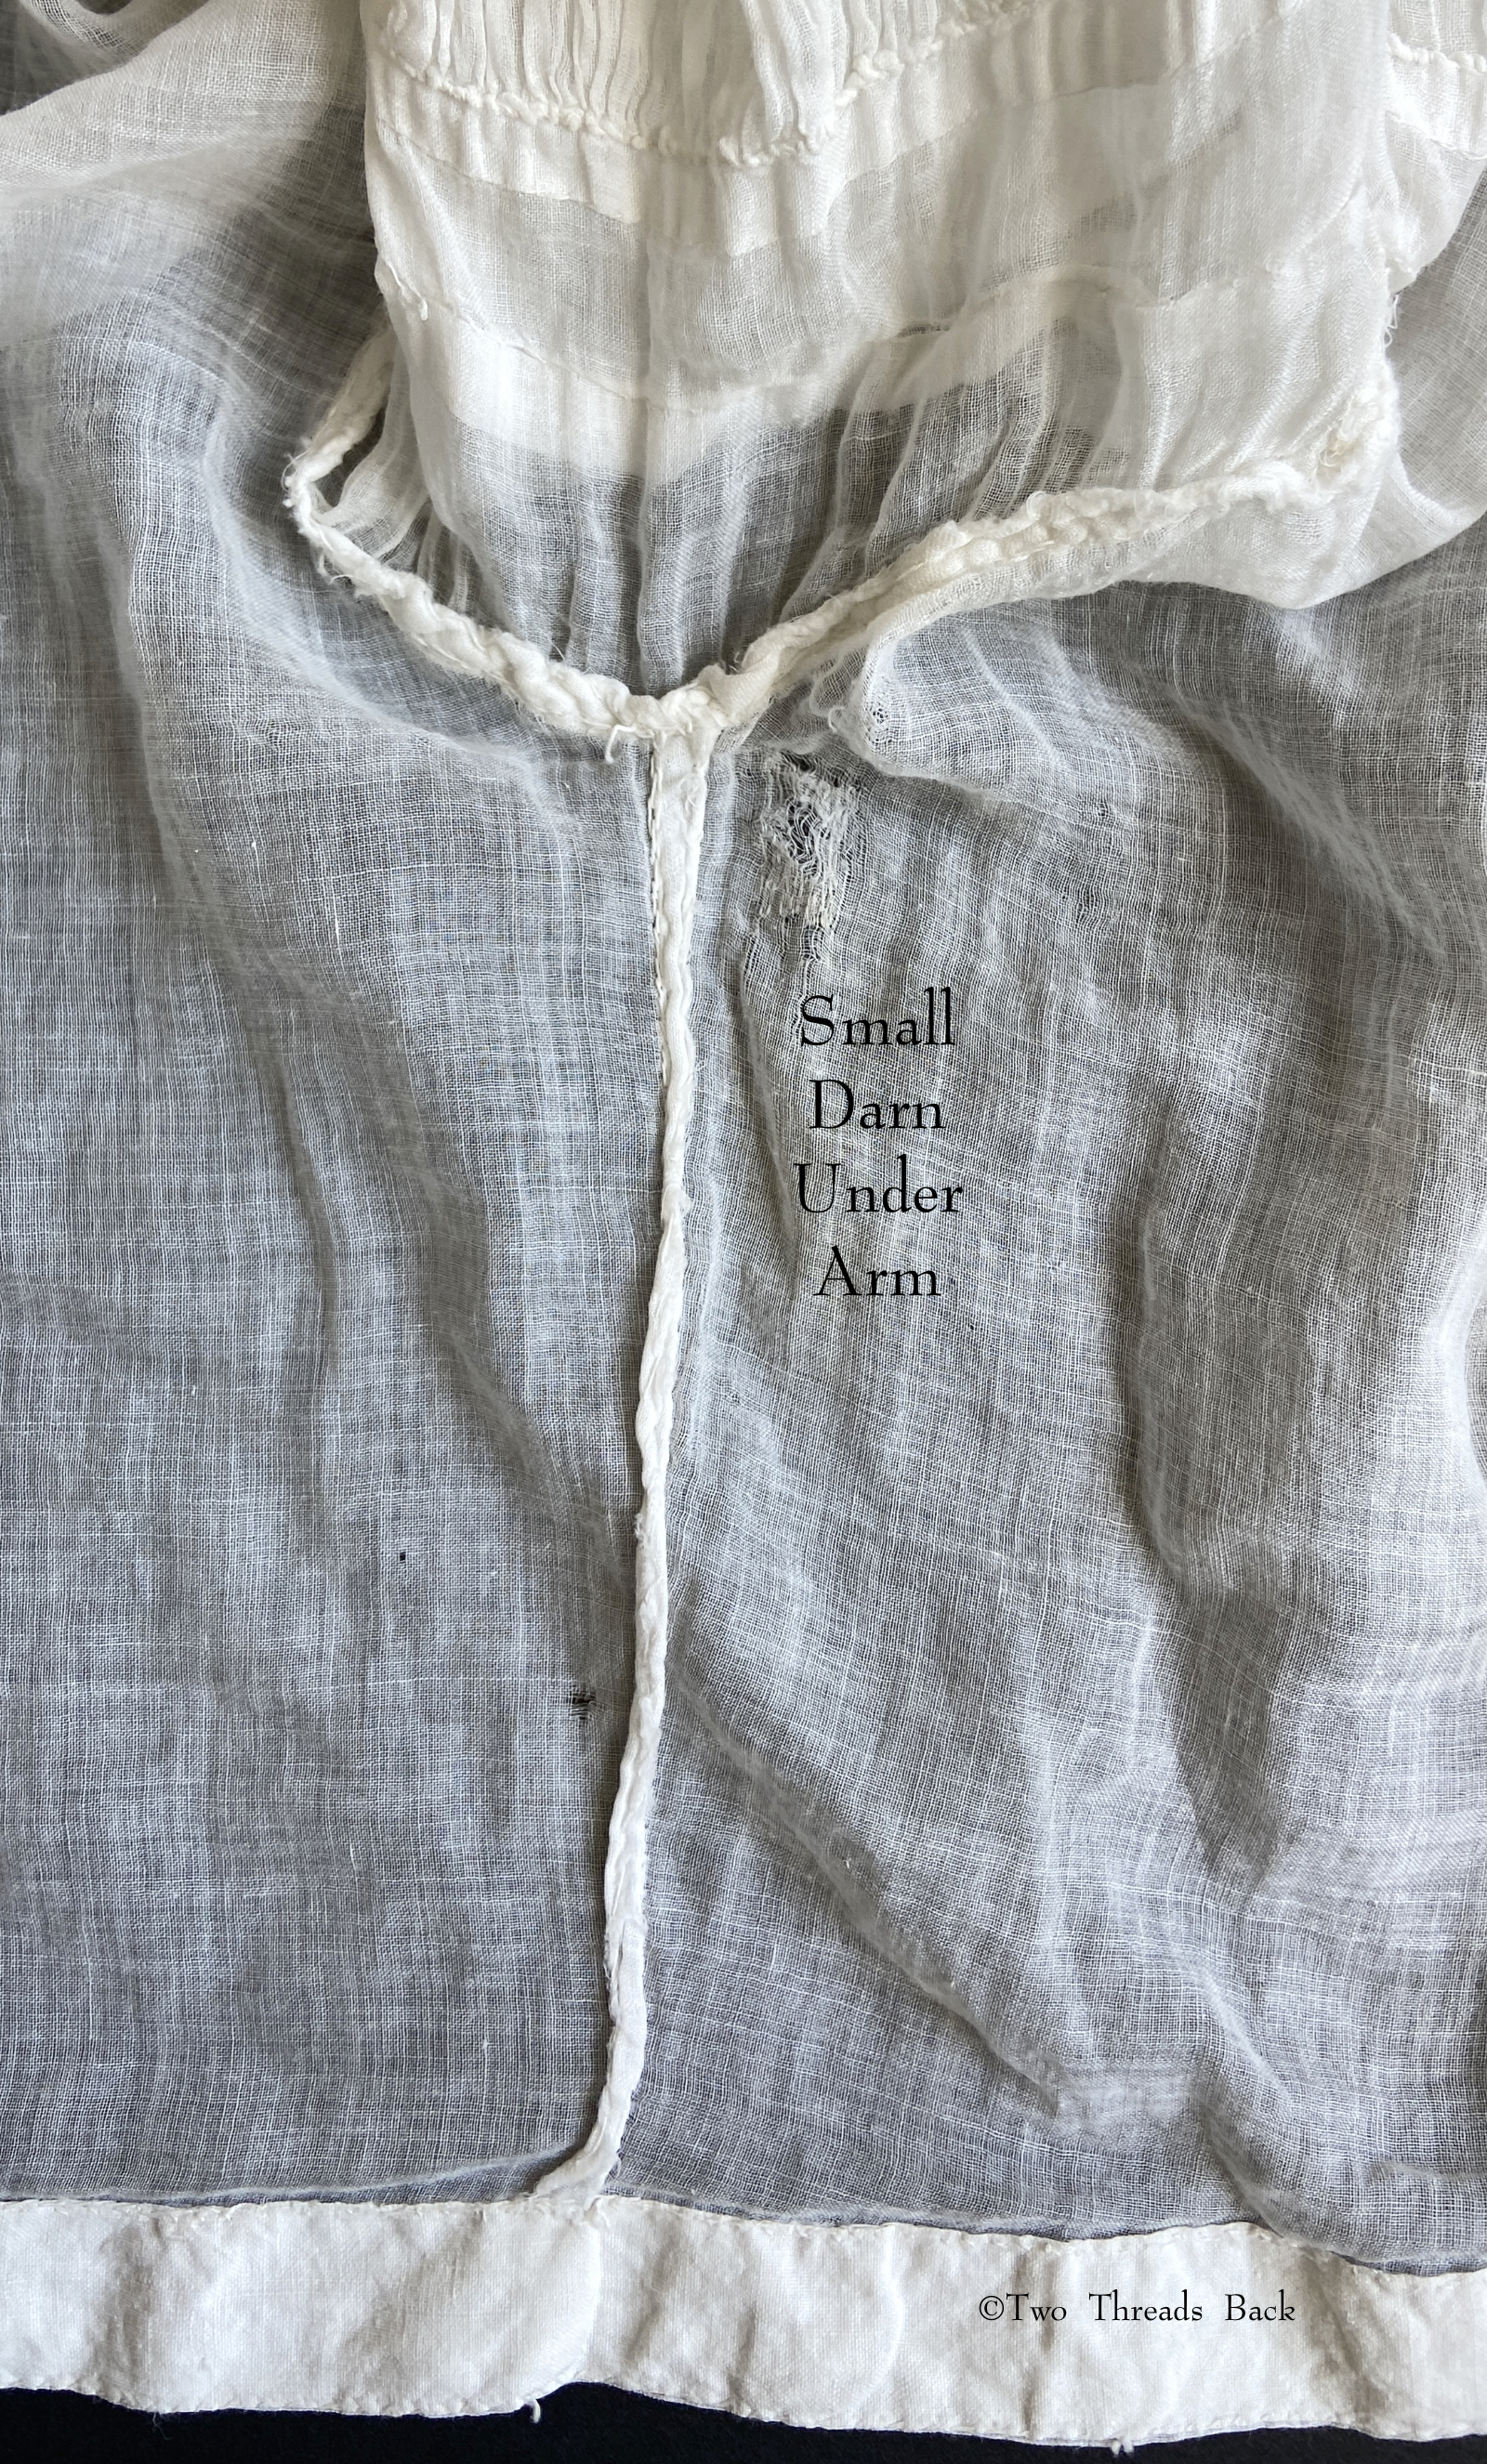
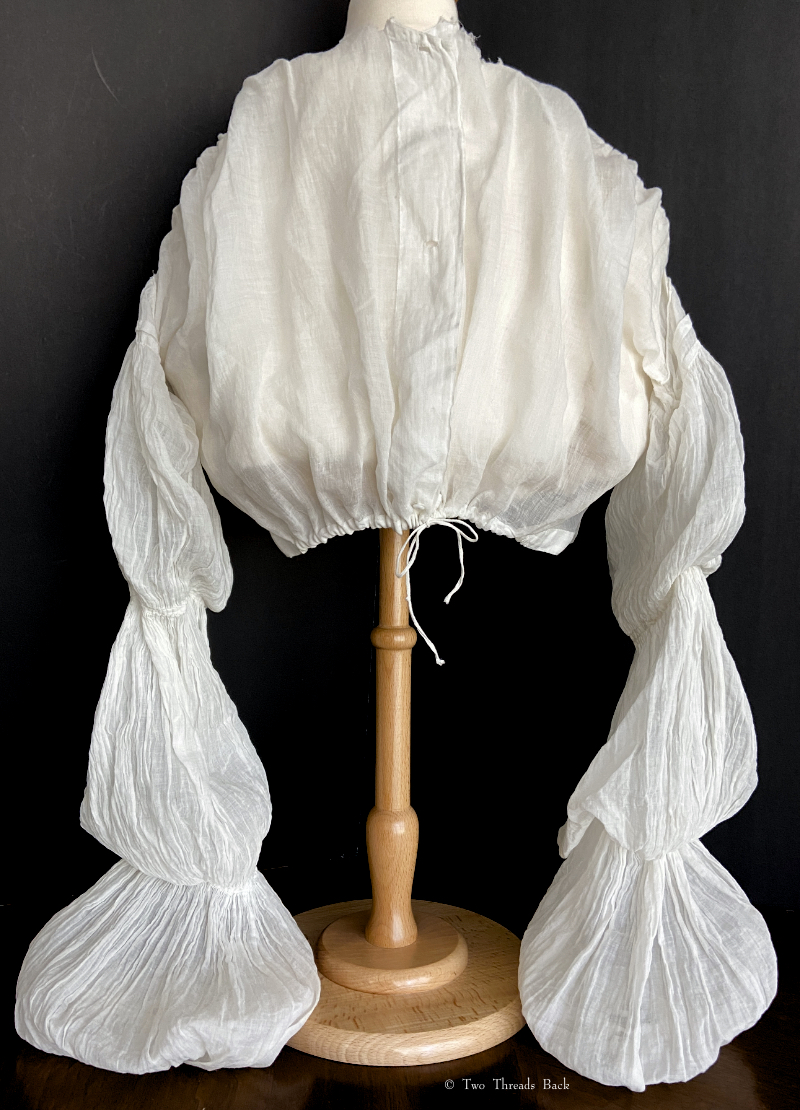
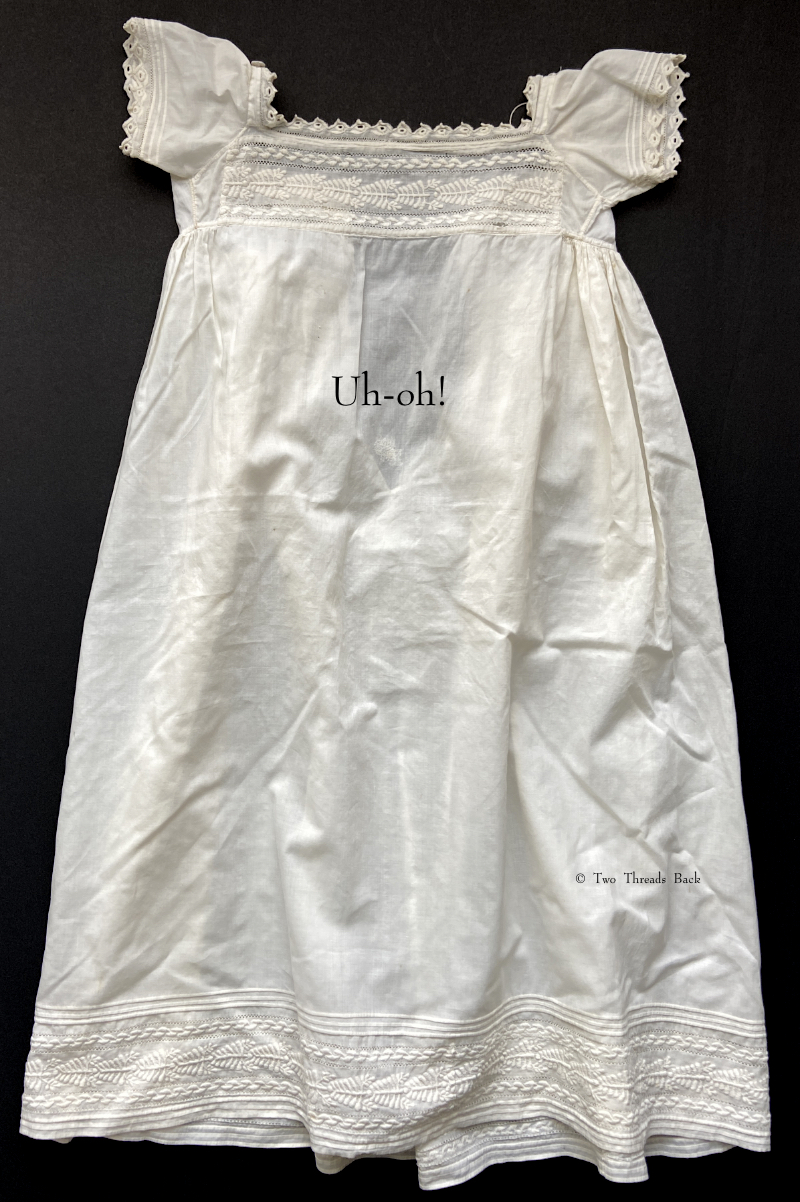
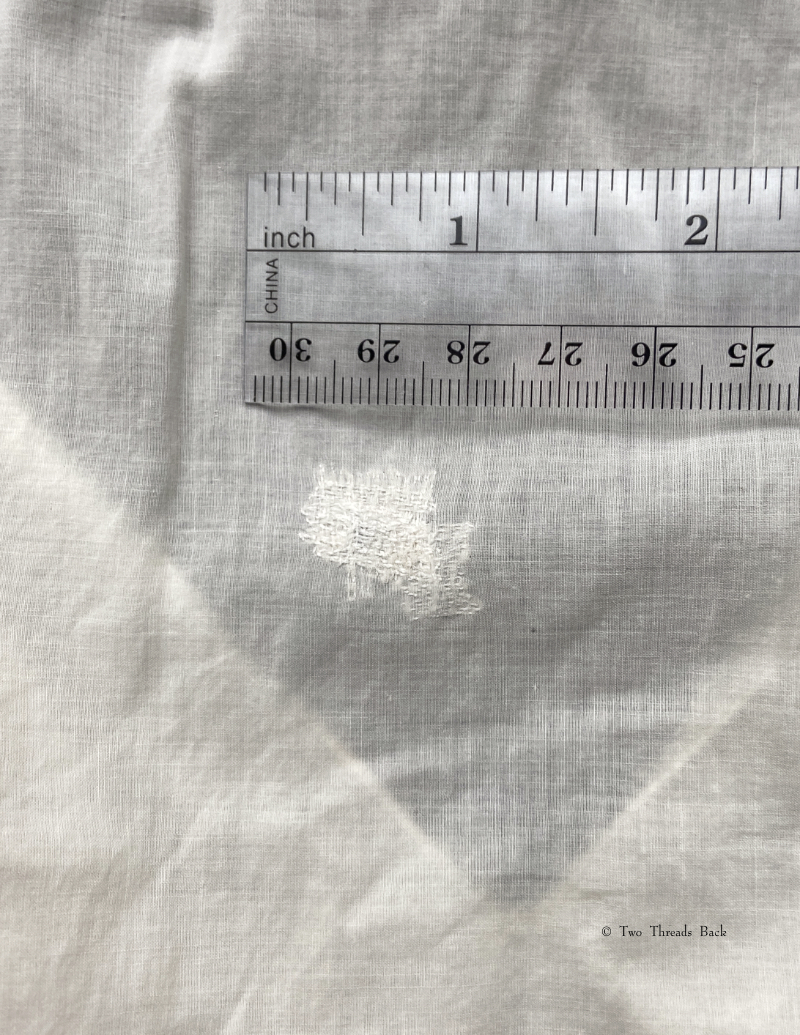
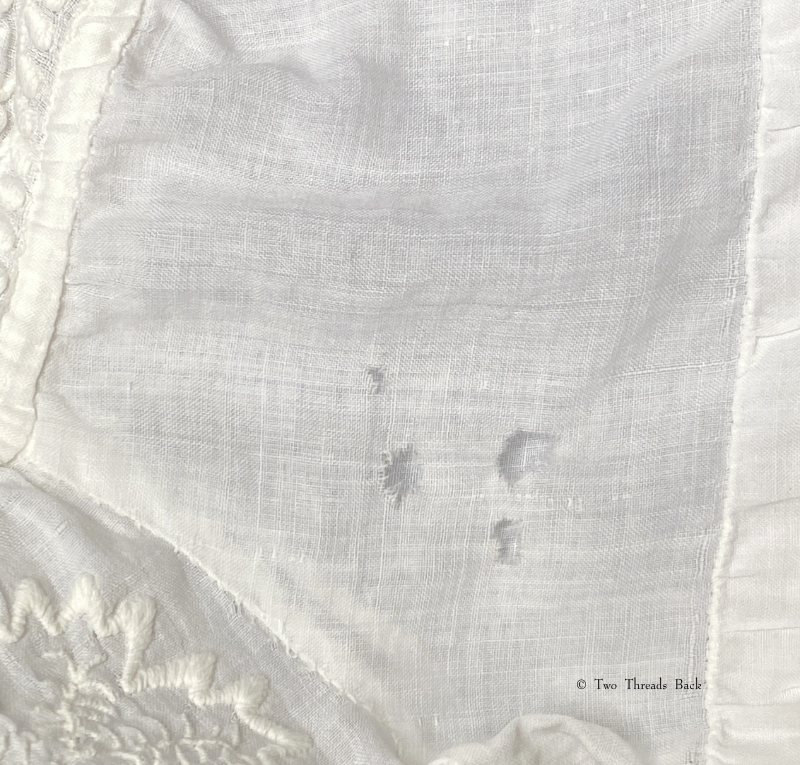
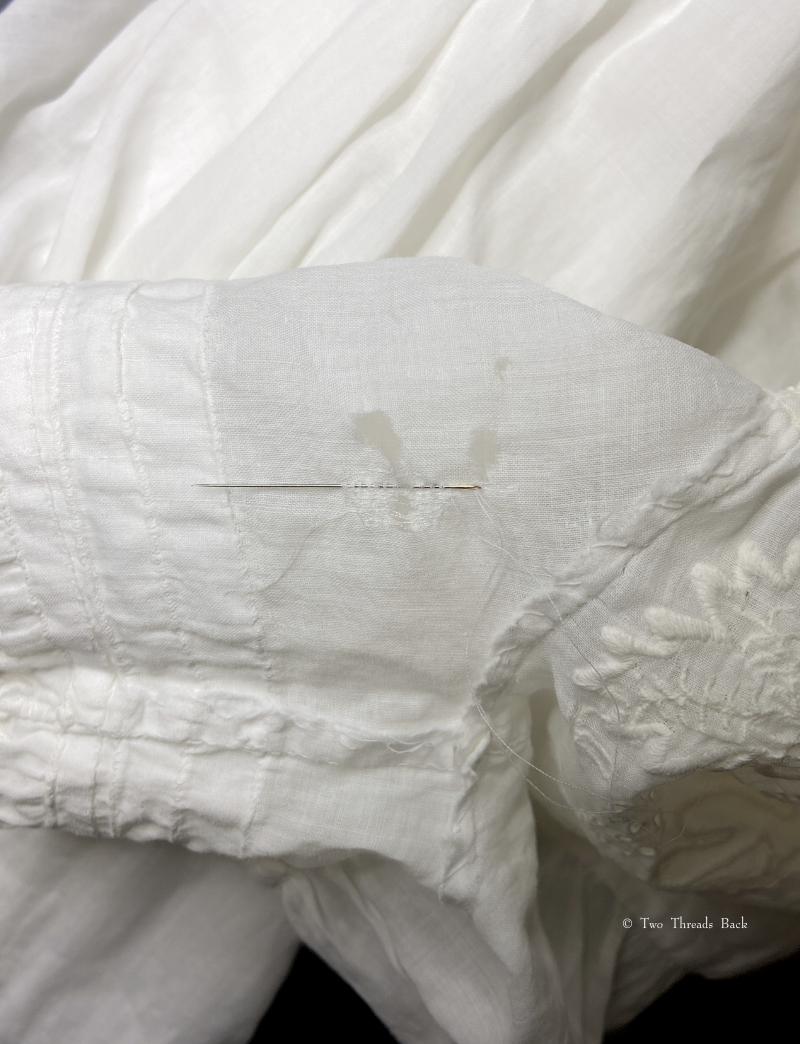
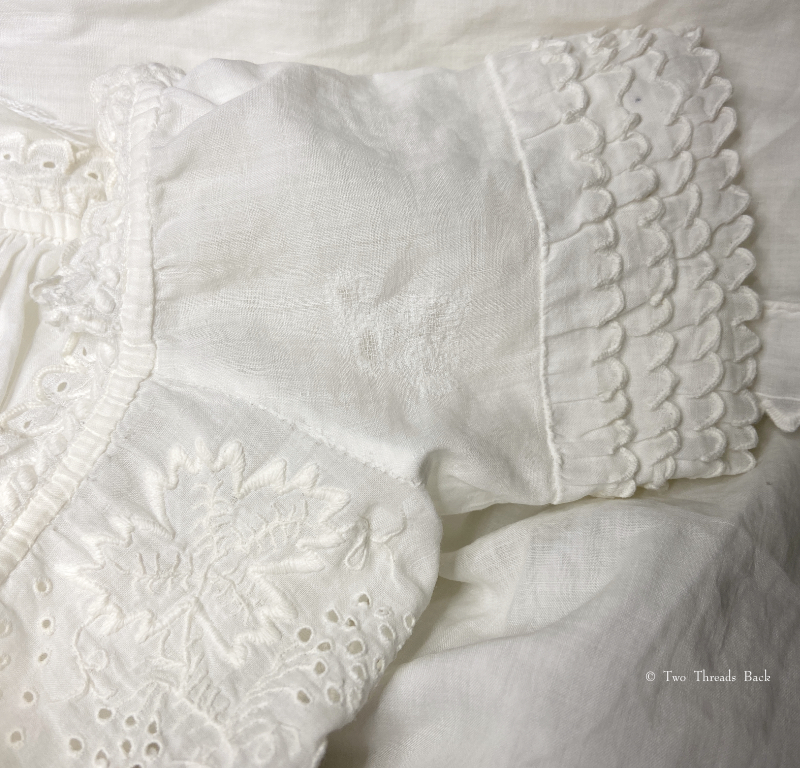
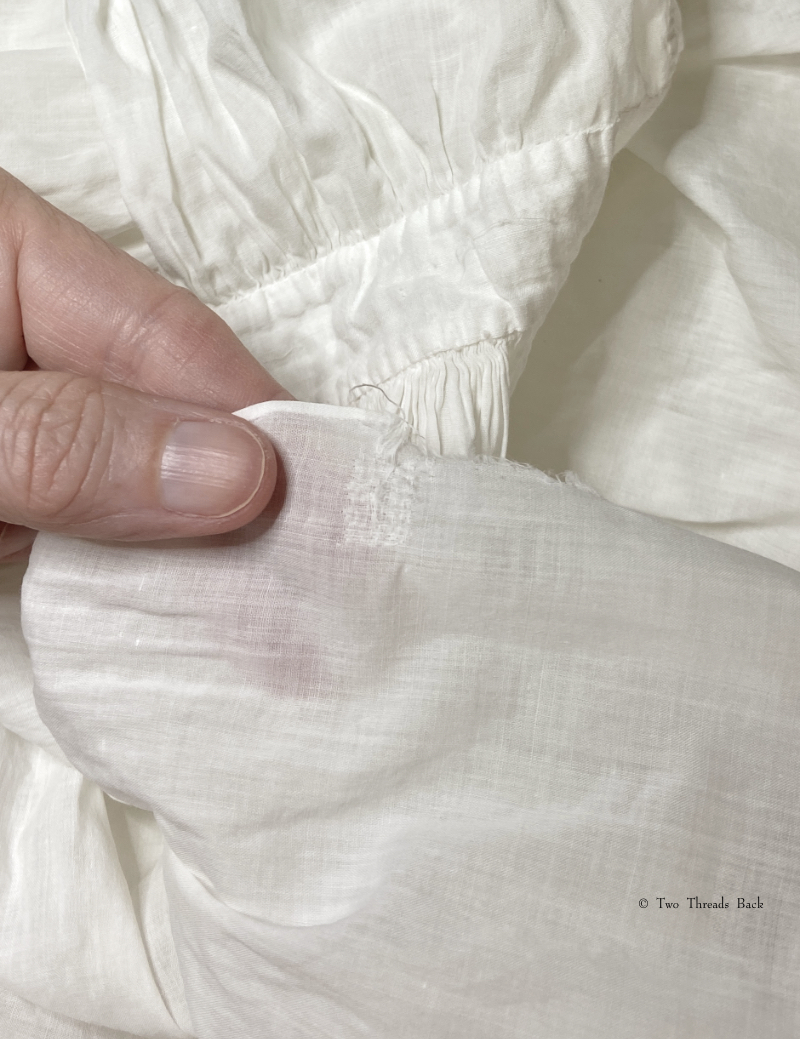
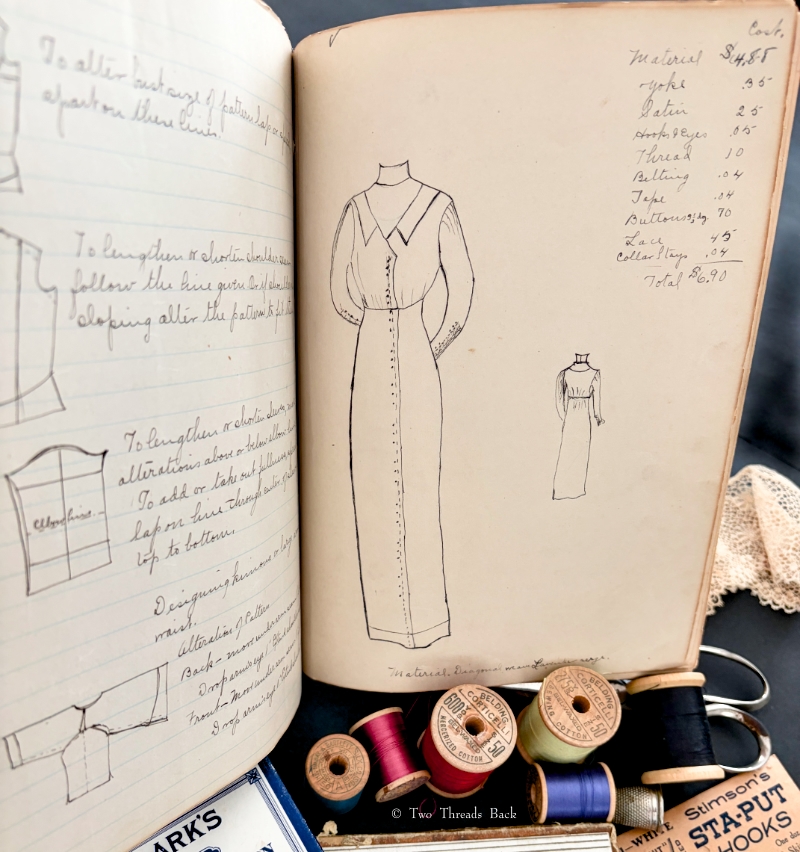
TECHNIQUES. Both cover the basic hand sewing stitches and seams, and they included samples of them in their books. They also learned patching, darning, and making plackets. Dorothy’s work is all done by hand, but Eliza has samples made by hand and machine.
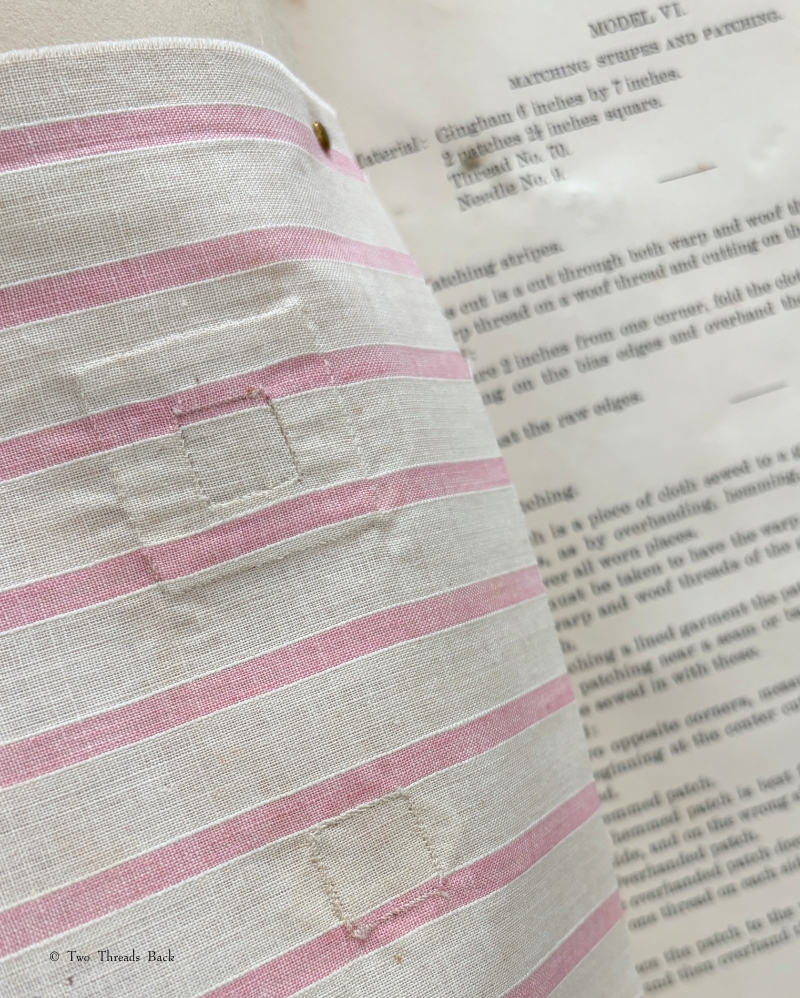
TEXTILES. Thrift was a virtue! Learning to make clothing economically was considered an important part of their education. Students needed to be familiar with fabric types and know which ones were appropriate for different garments. Truth in advertising could often be … well, elusive. And illusive. (For how to promote sales the right way, you can see some extravagant 1892 marketing here.) Textbooks practically encouraged suspicious shopping, and gave hints on how to distinguish good goods from bad goods. Both Eliza and Dorothy included swatches of fabrics in their books, a feature that became common after 1900.
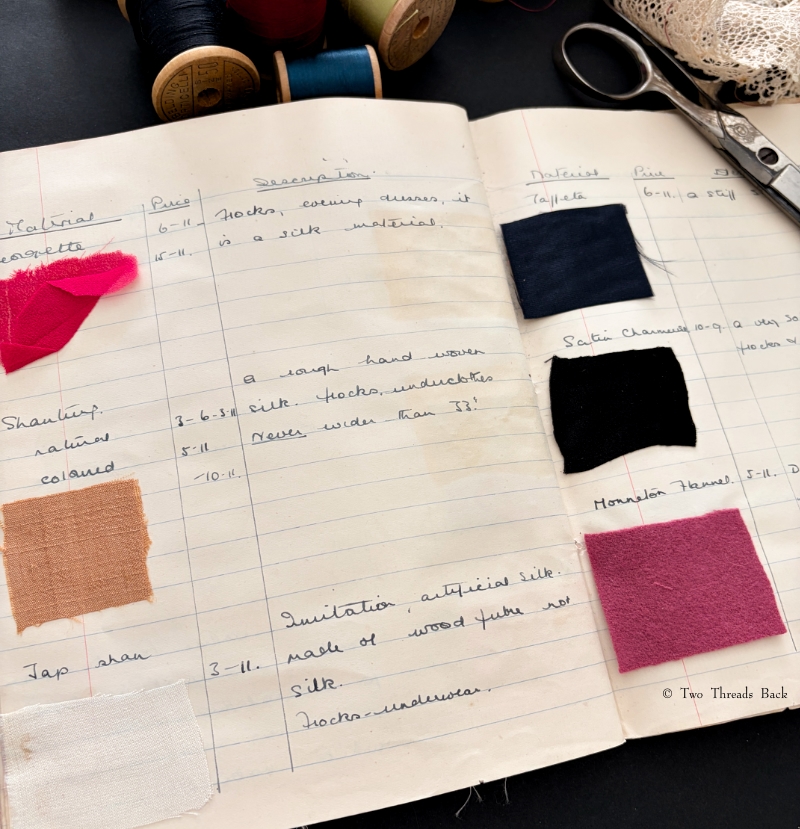
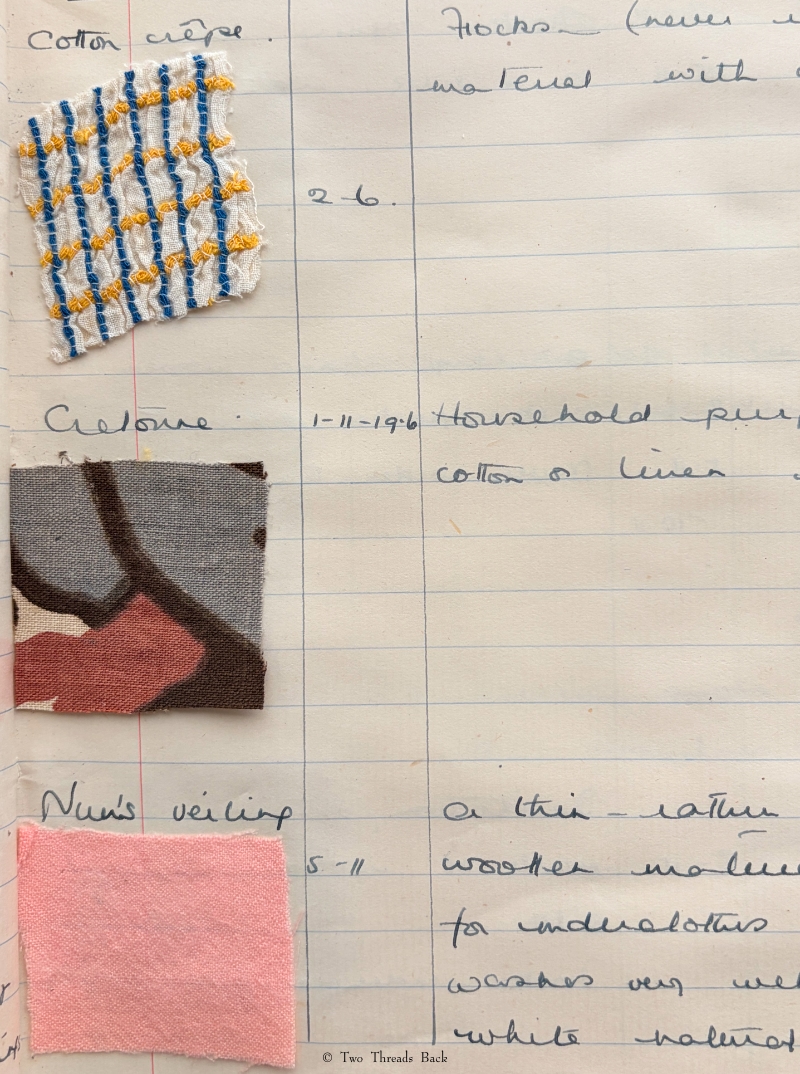
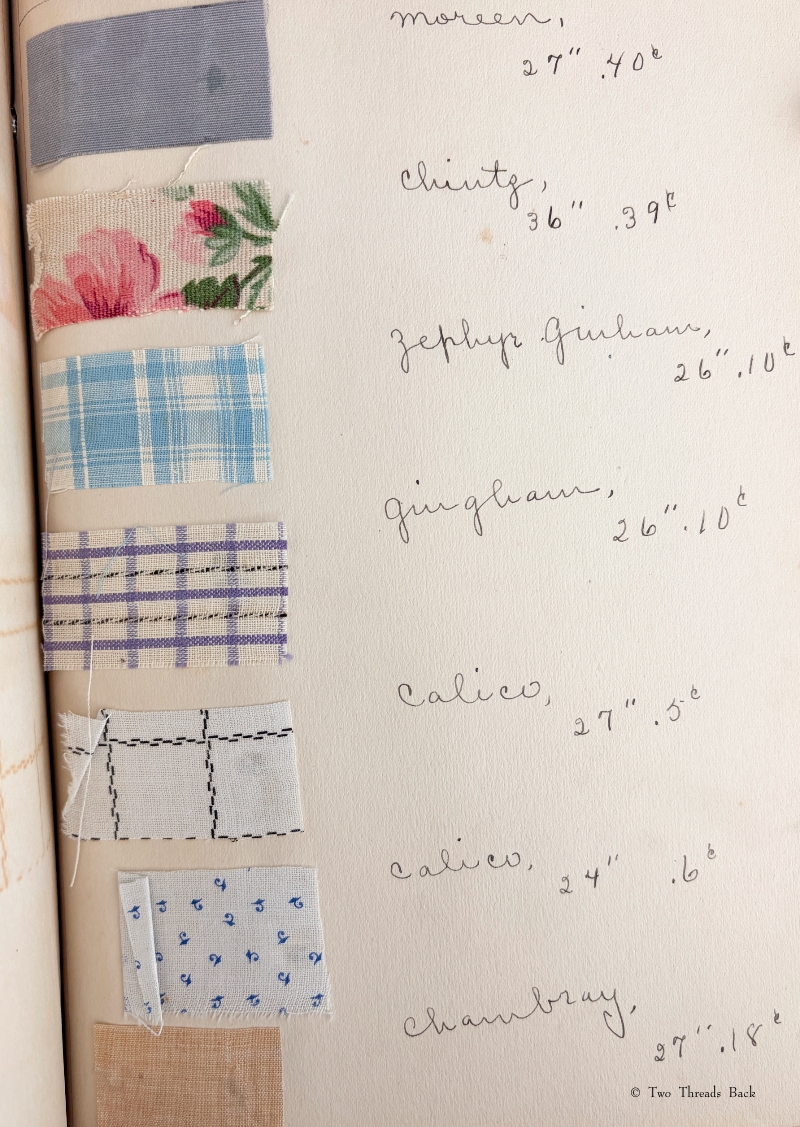
The fabric samples are my favorite part of early 1900s-era sewing books. “Extinct” (or nearly) names appear in catalogs, journals, and books from those days, and while research and historians provide helpful descriptions, there’s nothing quite like seeing and touching a tiny bit of the textile for myself. Tarantulle is longcloth – who knew? Not me. A dictionary defines nun’s veiling, and yes, you can still buy it today (I checked), but it’s so much more fun to see a pink snippet from 1915. Textbooks tell me that albatross was wool, but Eliza had a nice cotton specimen. I can’t imagine asking for albatross at a fabric shop today! Well, if there were any fabric shops left today. There aren’t any near me. Maybe they’re still in Kansas?