Maybe Graceless, Pointless, Feckless, and Aimless – but not Shiftless!
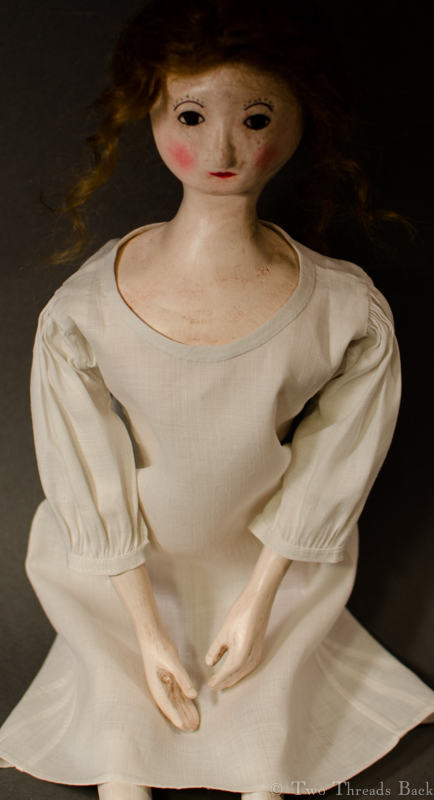
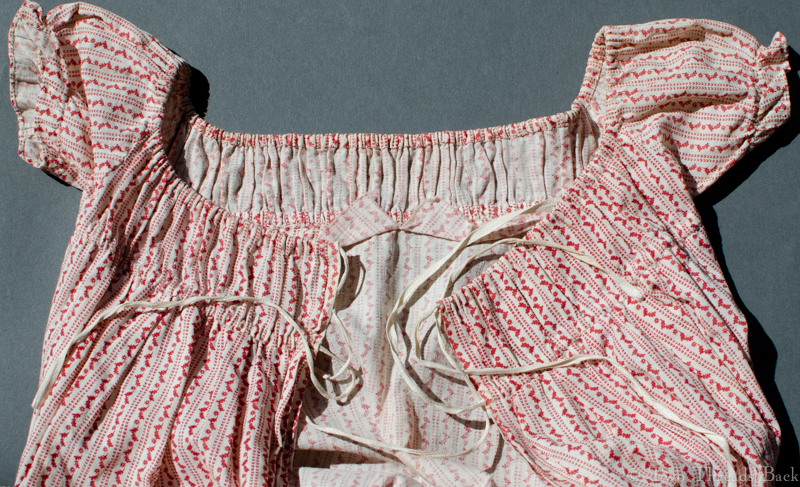
Shiftless no more! Pharaby can compost the fig leaves now.
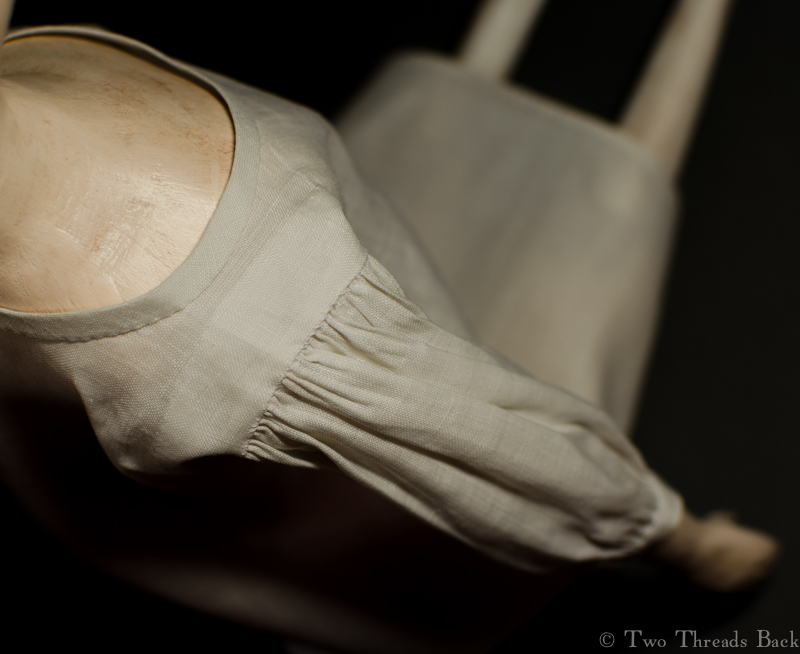
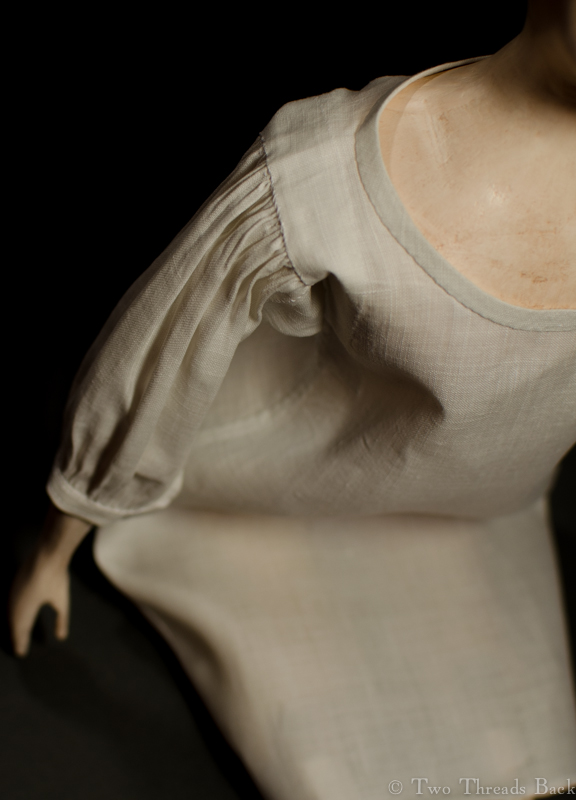
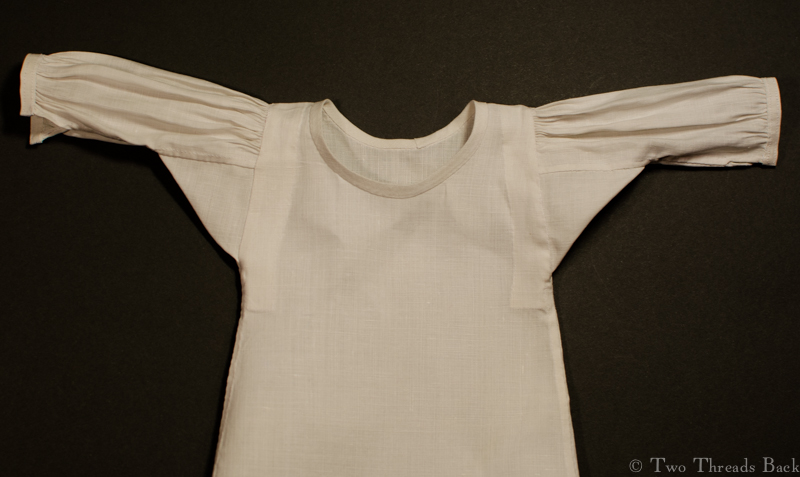
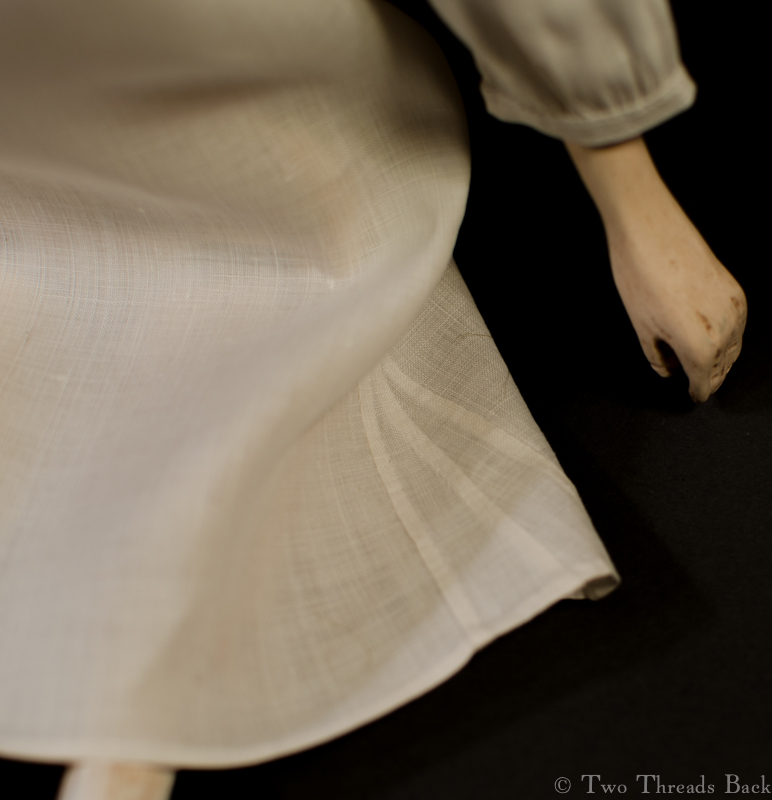
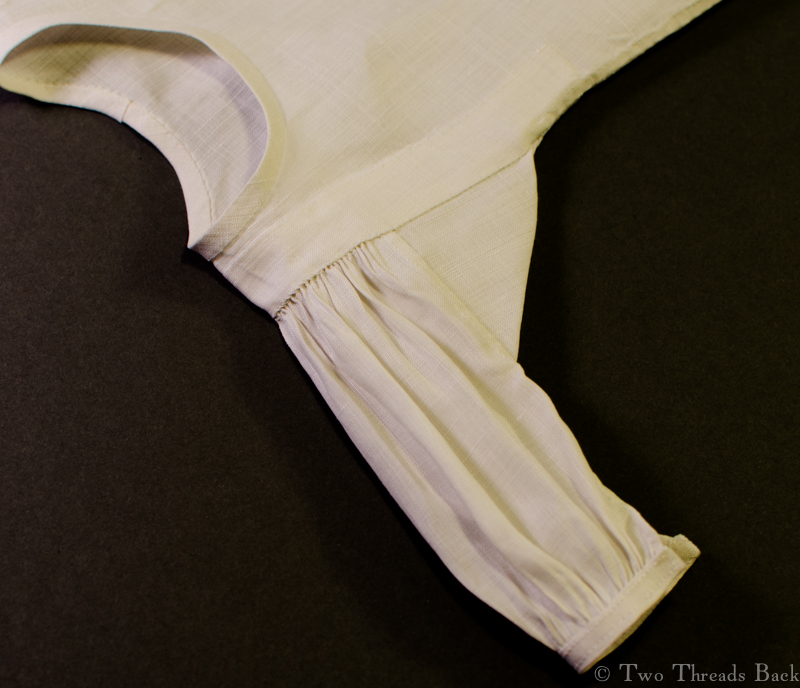
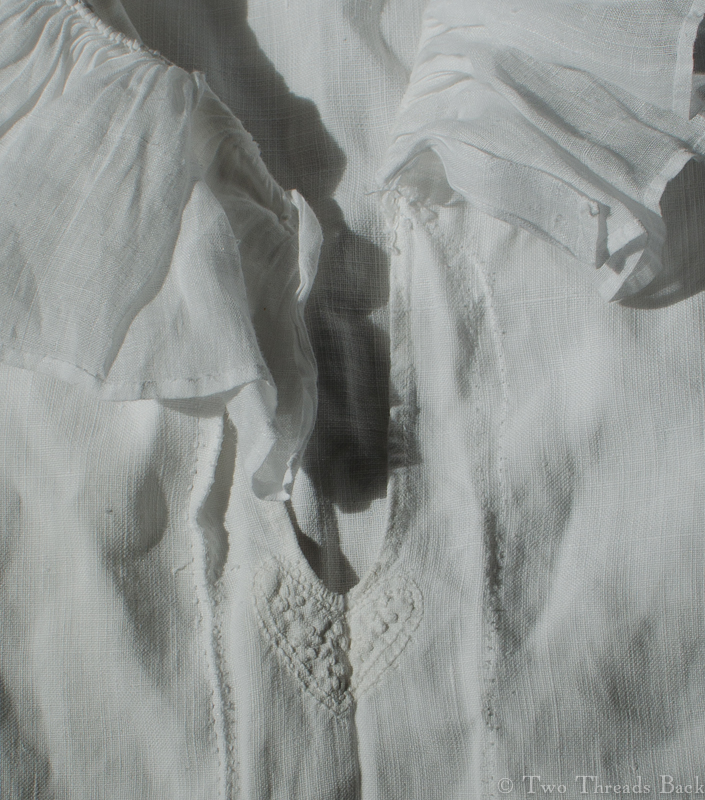
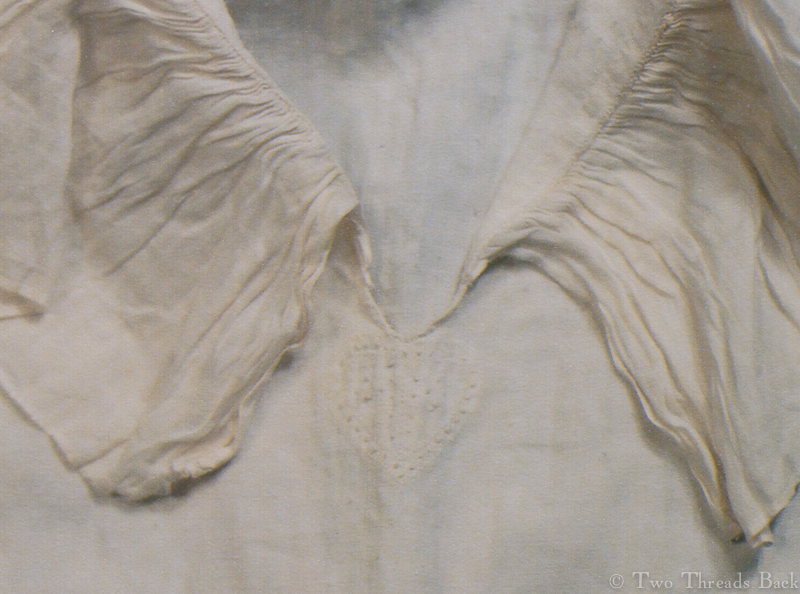
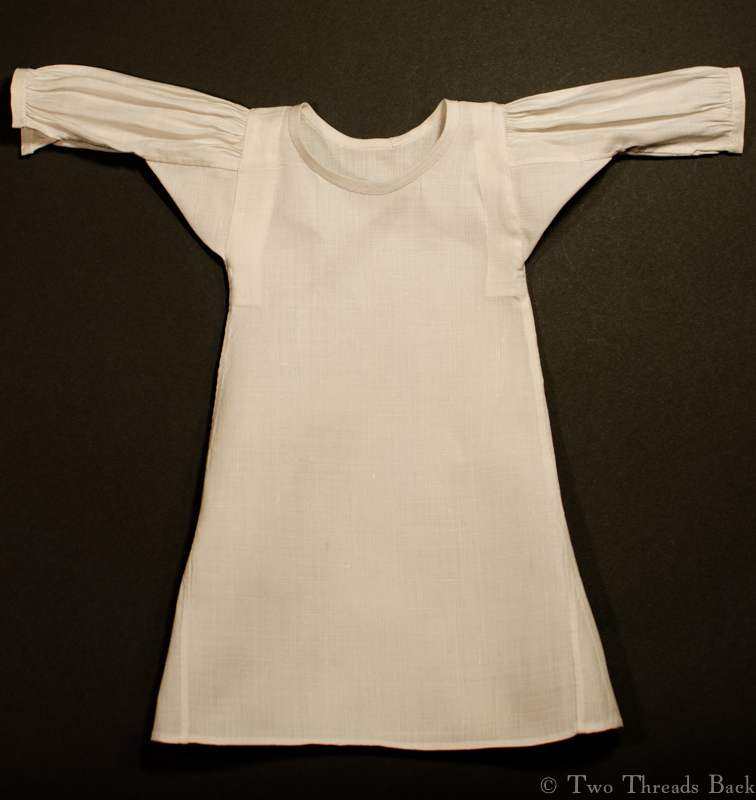
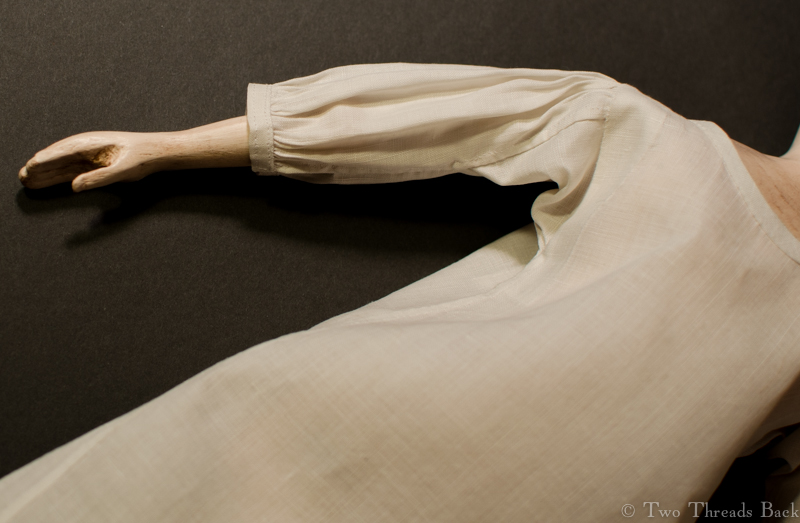
To make her shift, I used some fine old linen with a silky feel, and I scaled a pattern in Costume Close-Up (is there anyone who doesn’t use that pattern?). Then I proceeded to sew up the gores, body, and neckline. When it came to the sleeves, though, I was perplexed. What was typical, plain or gathered? I reeeeally wanted to do gathered.
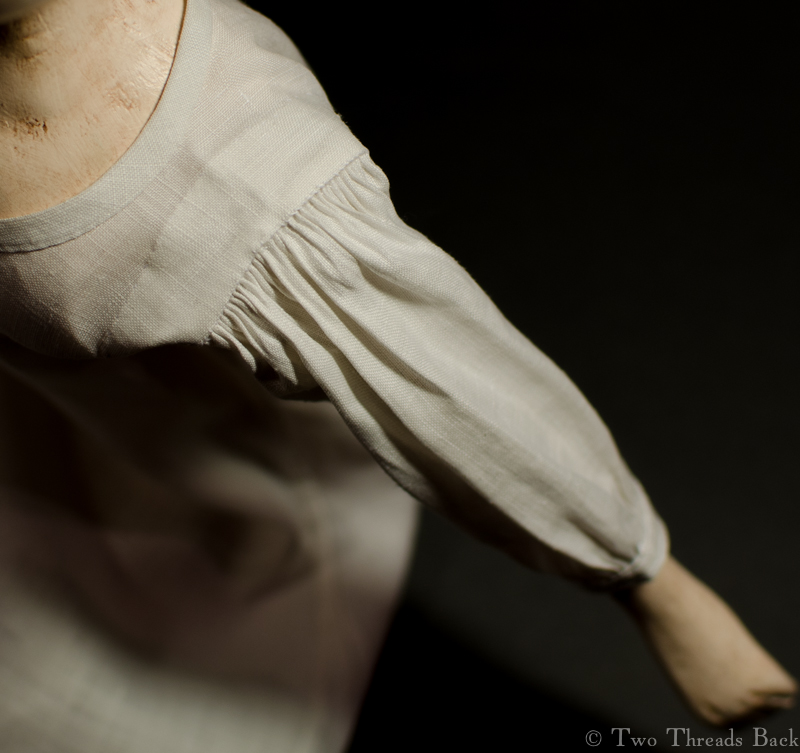
Not being an eighteenth-century-fashionista, I pulled out costume books and scoured the internet for guidance (see this awesome study). Most of the images of extant shifts I found – there were a few exceptions – had sleeves without gathers at the armscye, or shoulder. But period art seems to imply that shifts did have them; otherwise, how so fluffy? That means that 1) I didn’t look in the right places, 2) I couldn’t see details and misinterpreted the pictures, 3) they didn’t survive as often, or 4) some dates were wrong. Maybe all four, plus some more reasons I haven’t thought of yet. Oh well.
However! I found two or three images of exquisite little shifts on early wooden dolls in museums, and those had sleeves that were gathered at the armscye. I think. Anyway, I love setting in gathers and it’s my toy, so that’s what I did.
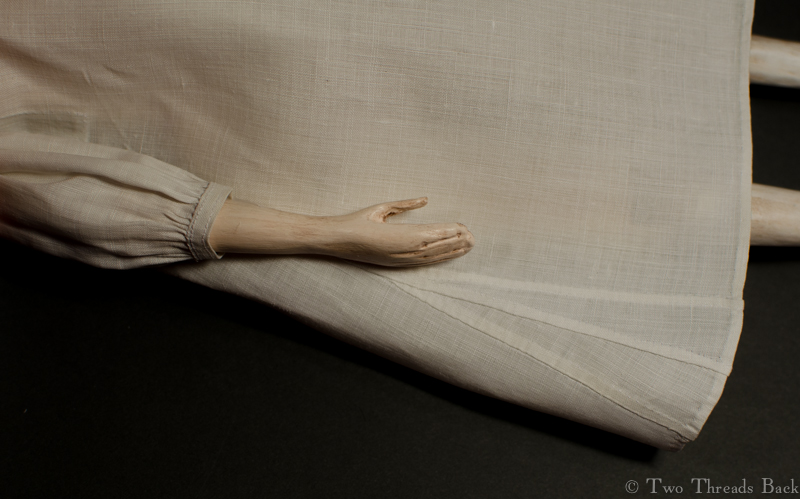
Now another dilemma. To stitch or not to stitch, that was the question. I was so accustomed to seeing the stitching (now called backstitching) on the wristbands of men’s shirts, that her little cuffs looked as bare as she did. But, duh for me, I’d already set in the gathers. Could I do it, post hoc stitching? Why not – if there’s a harder way, I’ll find it. You don’t see any close-up photos of the cuffs here, do you? Ha.
Next came the binders, those reinforcing strips that are a standard feature in men’s shirts. I can only guess how common they were in women’s shifts, because they don’t usually show in photos, nor are they noted in descriptions. But I’ve long speculated that originally binders were there just for “setting in” gathers – support for a stress area was just a bonus. So in they went.
Now the question you’ve been too polite to ask: did it fit? Pharaby said it would do. She’s not fussy. Any doll destined to wear fashions spanning a century or so – at the same time – can’t afford to be.
Oh, but she does expect me to mark her shift and add ties for her cuffs. She hasn’t decided about frills.
I’ve always loved order and simplicity. That sounds awfully smug, but I shouldn’t commend myself since it’s probably because my brain can’t handle very much at one time. This craving for minimalism is getting worse as I get older. Try googling the minimalist lifestyle and maybe you’ll see the attraction! Or not.
A conversation the other day started me thinking about simplicity in plain sewing. Hmm. What was the most basic stitch? Well, anyone who uses old sewing machines knows you can do just about anything with a straight stitch, which is closest to a backstitch in hand sewing.
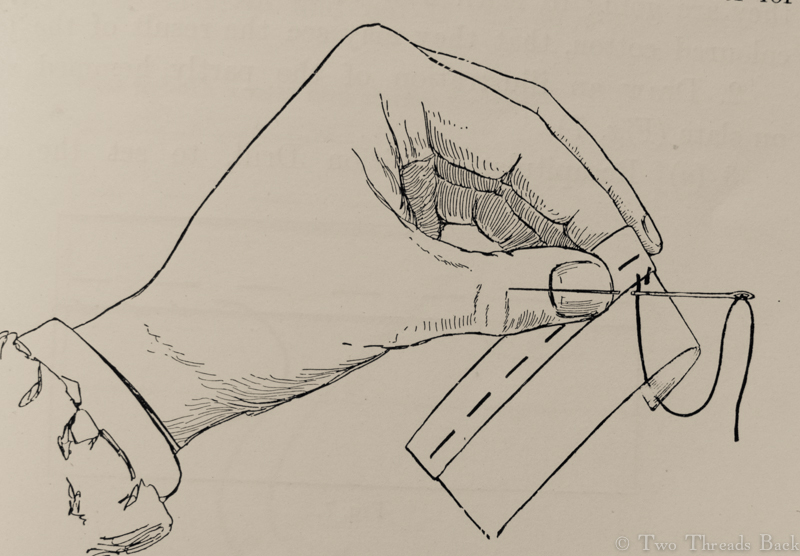
But backstitching wasn’t the primary stitch in 19th century sewing manuals, nor was running, as I learned when I studied plain needlework instruction. It was hemming. That’s the little slanted stitch that you would use to (surprise!) hem something. Once your hemming was neat enough, you could learn to work other stitches.
“Simple hemming is the first step on the road to proficiency in needlework.”
By the way, I’ve noticed that most costume historians, or at least ones I’ve heard and read, call this same stitch “whip” instead of “hem.” For example, “the edge is folded back and whip stitched in place.” But then, why shouldn’t they? I understand perfectly what they mean. If you’ve seen my post on muslin you’ll know I’ve come to terms with terms!
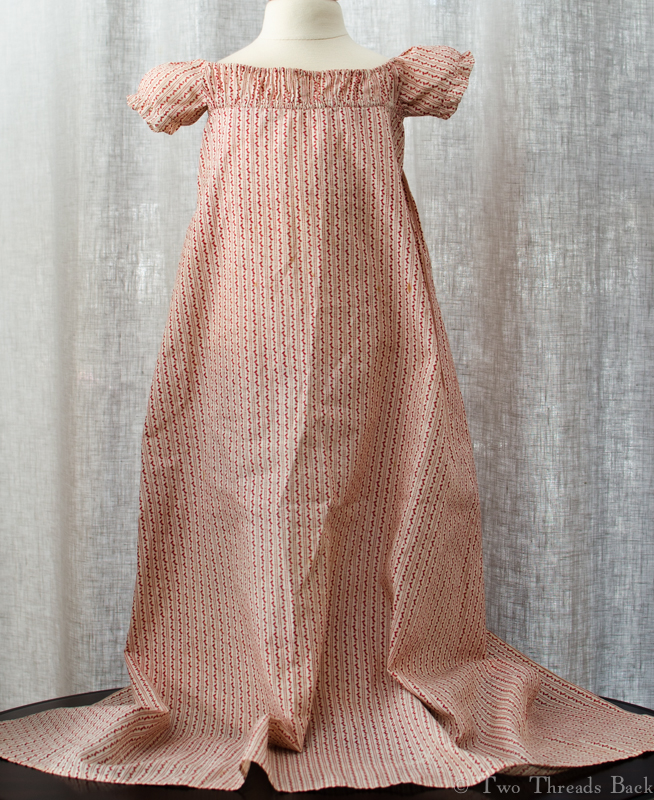
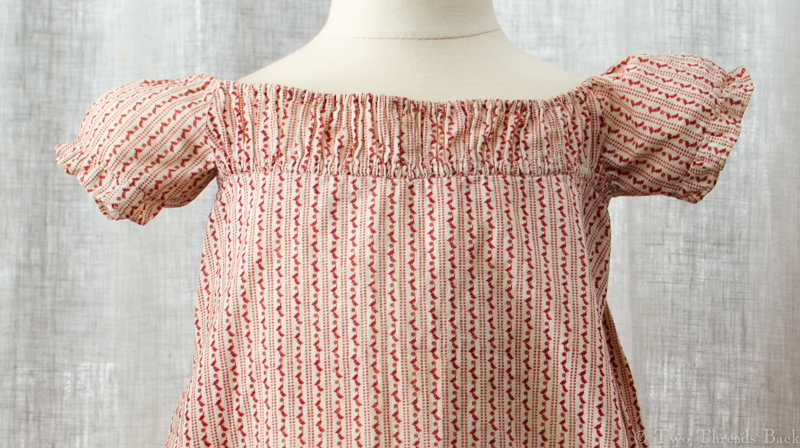
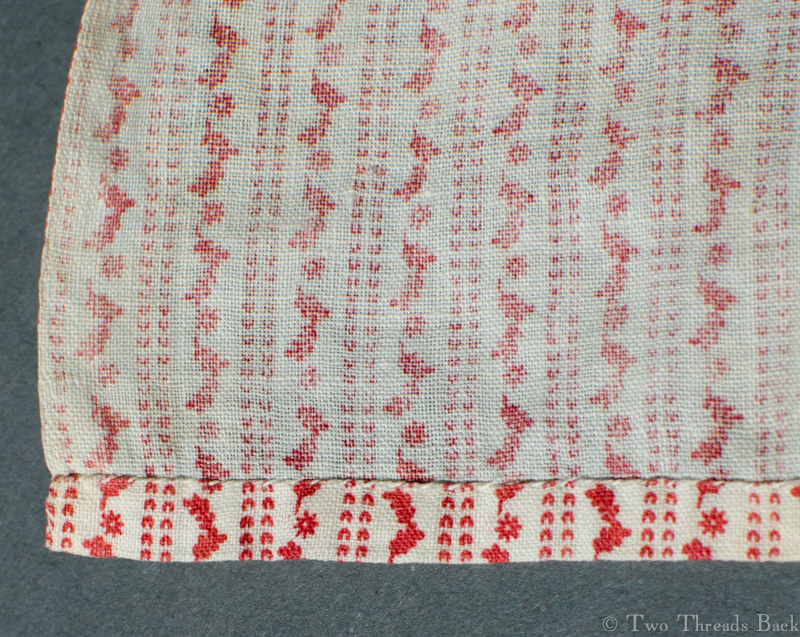
Getting back to simplicity. I decided to go closet diving for something that used only that one stitch, hemming, to construct a garment. And I found it! A Regency era calico baby dress. Granted, it didn’t have enough pattern pieces to warrant many stitches. But the whole gown was made by hemming!
Calico Baby Gown, c 1815.
Or was it? Well, in my eagerness to find what I was looking for, I didn’t look close enough, and I didn’t think it through.
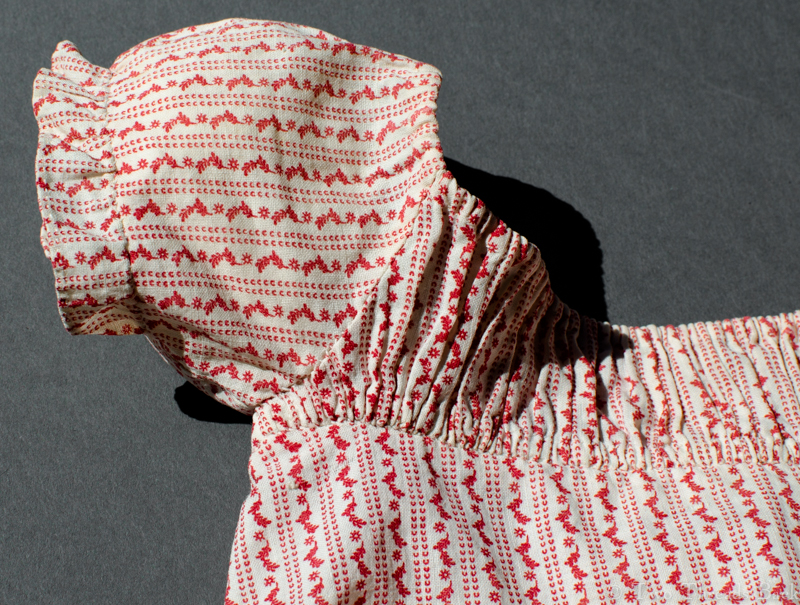
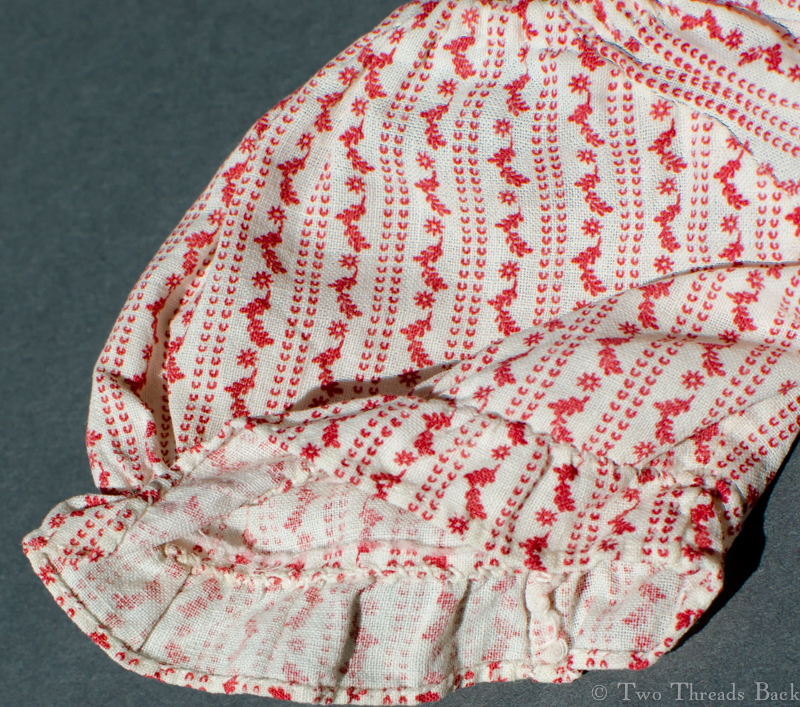
The skirt was made of one piece and hemmed, check. The casings for the strings were hemmed, check. The tiny ruffles on the sleeves were hemmed, check.
Hem.Casings for drawstrings.Sleeve ruffles.Back opening.
The bodice was hemmed to the skirt – whoa! Wait a minute. That wasn’t right. Things were unraveling. I mean my clever discovery, not the little frock.
Yes, the stitches looked the same at first glance, but any experience (or a practical mind) would tell you that you have to hold those two pieces face to face and sew them together. That makes it seaming, as they would have said, or overcasting, as we’d say today. Same thing for the ruffles attached to the sleeves.
And there was more. The tiny bodice sides, all three-quarter inch of them, were running stitch. As were the sleeves to the body – and then overcast!
So much for that, no single stitch here. I confess it doesn’t really bother me too much that it’s not pure minimalist stitching. I’m learning to slow down and look closer. And it’s still a wonder of simplicity!
It occurred to me this morning that I left out something in my last post. I forgot to mention the delay between doll wiggery, and doll wardrobe.
My dear, long-suffering husband! I like to modestly claim that he owes his great patience to me. I not only set the example myself, but I make it a point to try his, regularly.
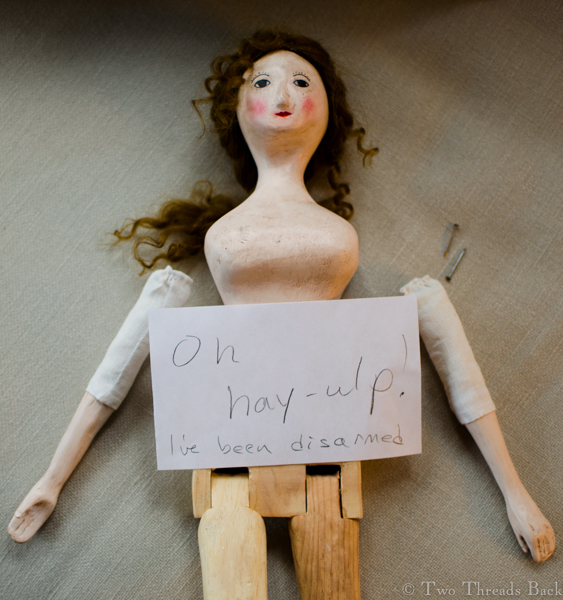
Pharaby was all ready to dress, except for attaching the arms. I knew if I made that simple little hammer tap through the layers of linen and reinforcing leather, I’d mess it up. So I wanted him to do it. I made the request, a time or two, and waited. And waited.
After a couple weeks I thought it was time for another delicate reminder. I know he is very fond of dangerous metal things that make loud noises. So I tried a new approach, thinking it would have particular appeal, especially if spoken with a charming southern drawl.
My mother always told me I had “a bad case of The Wants” whenever I found something that I just had to have – something usually beyond my means. Well, I’ve been grown up (sort of) for a long time now, but I can still get a bad case of The Wants. There are a few cures.
1. Get the means (mildly difficult to sometimes impossible)
2. Wait it out (The Wants are often fickle and fade away)
3. Make it myself (may provide many hours of hilarity at my own expense)
This time, my want was a Queen Anne wooden doll, and I decided on option #3. I researched dolls in books and on the internet. I saved pictures, read descriptions, watched YouTube videos, ILL’ed references. I didn’t want a cloth, clay, or resin version, I wanted real wood.
Want would’ve been my master, if it weren’t for my father. His hobby is woodcarving. He’s been retired for many years and mostly carves birds and decoys. But he was willing to try this for me. Hooray!
I revere authenticity in historical crafts, but for this doll I had my own vision, not to mention my own skill limitations. Therefore she would be more like what I wanted in a toy than a replica of an antique. And besides, when you award yourself a disclaimer like that, you’re free to mess with chronology, styles, materials, and measuring up to the experts! No guilt! Yay!
I was very excited when he finished, and ready to start my share of sanding, painting, and assembling. It’s taken a lot of time and trial and error. That’s where the hilarity has come in. Funny how the ends of paper clips make a perfect pattern for eyebrows. And if you dot the eyebrows really fast without thinking, they’re much more even. But … what to do about hair?
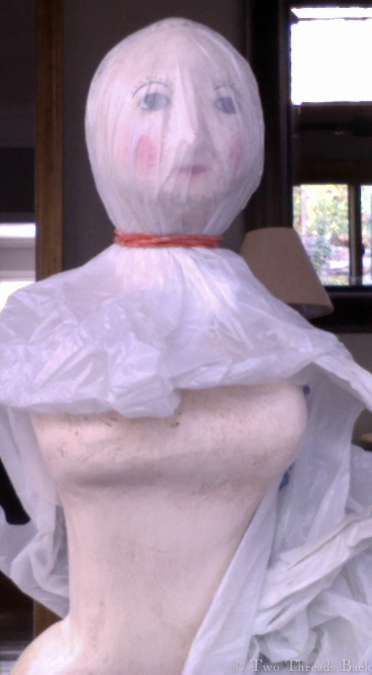
Pharaby attired in “Paper or plastic?”
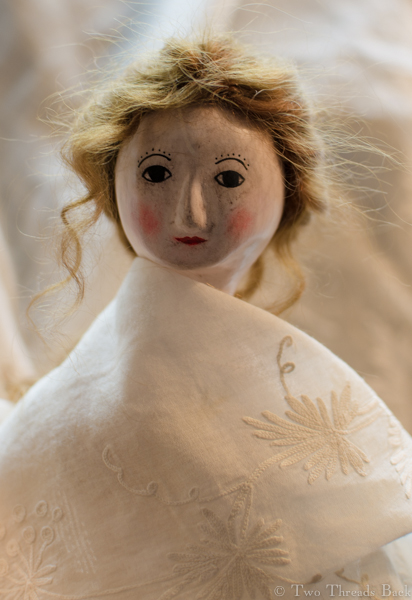
Did you know there isn’t much (free) information available on how to make wigs for wooden dolls? No? Well, there isn’t. So I painted her hair, figured I’d hide it with a cap anyway. Unfortunately, that left her looking like she was recovering from a virulent fever.
A wig would have to be attempted, using the little info I could gather and my own ingenuity. I decided to make it removable in case it was a total disaster, so that meant a wig cap. I found a scrap of antique linen dress lining to use, but I could have saved the scrap, since after the cap was finished you couldn’t tell it was anything special. Oh, well. You can see, left, how I protected her paint job.
The linen would have to be slathered with glue, so more protection was in order. Keep in mind I was making this up as I went along. I still didn’t know how I’d make goat fur look like people hair, especially dressed for the 18th century.
Pharaby kidnapped and held for ransom? Hardly.
YouTube to the rescue! There are some generous dollmakers out there who are also very tech savvy. I found one who showed how to glue the little locks and then attach them.
So I ordered the wool. It came in a lovely loooong skein, woohoo! Plenty here to allow for mistakes! That set the stage for the first one, because I cut into the skein, a good 6 inches or so, and began to separate it into little clusters. Duh!
What was I thinking? Goats grow hair three feet long? Yeah, right. You see them tripping all over the pasture, tossing their heads like little Rapunzels as they graze.
Perhaps you can imagine my dismay as I combed the first tiny strands and watched over half the wool pull away. I realized then that 1) I’d better not donate my brain to science, and 2) I’d need every inch of that mohair.
Reminds me of Ben Franklin.Clothespins: the other duct tape.
After two days of playing Psyche gathering wool and peeling hairy glue off my fingers, face, and furniture, I never wanted to see a goat again. But the fun really started when I got to the top of the wig cap and couldn’t decide how to style it. When I was a girl my dolls had awesome wardrobes, but their hair was pathetic. I relied heavily on rubberbands.
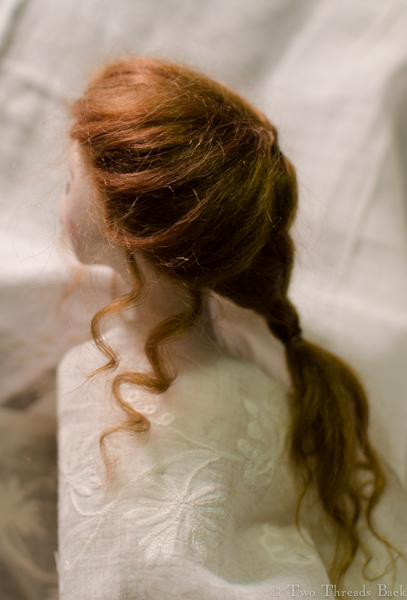
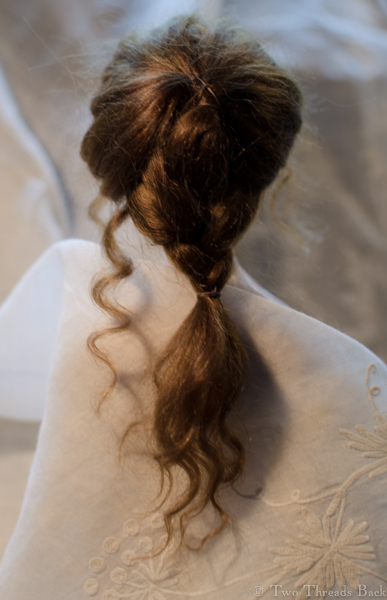
In the end, I decided to leave some long in back, and poof the rest up on top of her head. (What that will mean when I come to making a cap is yet to be seen.)
So. I got the wig finished and styled. A nice braid hanging down in the back and the crown piled high, with a few strands hanging loose – just to make sure she had that modern Hollywood version of an 18th century hairstyle. But I wasn’t completely satisfied. The strands were all straight and wispy, no curl. I’ve got curly hair myself that I’m always trying to straighten, but I love curls on everyone else. So how to curl wool in tiny ringlets?
Why, you make your own curling iron, of course. Take an ice pick, clamp it in your flat iron for a minute, then veeeery carefully wrap a wisp around it. Hold it till you think you smell something burning, and voilà! You’re done!
Ta da! After ten grueling years (ok, I don’t really know how long, but it has been years) I finally finished a 19th century gentleman’s square-cut shirt of fine linen. Complete with all twenty parts, including the frill. And Dorset knob buttons.
Where did the name come from? Well, a long time ago a friend and I (I miss you, Janet!) were studying one of these shirts, one that had a heart-bit (see that blog). We reached frantically for our vinaigrettes, trying not to swoon on the artifact, as visions of Mr. Darcy flitted around the room. Somehow we started calling that handsome relic The Love Shirt. So it has been to me, ever since. And I wanted to make one myself.
That type of linen is impossible to find nowadays. However, a dear friend (thanks, Dianne!) provided the closest thing possible, and with a pattern from an 1820 book, I commenced.
Darned little gussets, all the work I did backstitching was mostly hidden when assembled. Having since acquired some cobwebby 100-year-old linen lawn, I intend to replace the muslin ruffles, this time hemming them the right direction. If there’s a harder way to do anything, I’ll find it.
Unfortunately I have a memory like Dory, so every time I put away the project for a spell, I’d have to practically learn how to do the next step all over. A 19th century seamstress would have been appalled to see me.
Um, do I sew both ends of XYZ before I ABC? Do I cut or fold first? Did I sew the sleeve on backwards? Oops. Front and back are the same before the collar goes on, right? Not if you hemmed them first. Oh right, I was supposed to check that I was putting the slit in the front. Well… I’ll just cut the back shorter and make it be the front. And my g-g-g-g-great-grandmother could make one of these in a day or so? How embarrassing.
I did learn a lot. I learned how hard it is to backstitch over two threads without going blind. I learned that there is NO not-shiny sewing thread available today. I learned that linen thread breaks, other people’s buttonholes always look nicer than mine, knots are usually unnecessary, even poor work looks better when ironed, and a drawn thread is no guarantee you’ll sew a straight line. I learned that you had to love your man, or love survival to make one of these. And I learned how to make Dorset knob buttons, my own way! Maybe I’ll write about that next time.
You can see the backstitching that nearly blinded me. And you can see the gauging thread I used to hold the stroked gathers in place. I’m going to leave it there a loooong time.
Heart-bit? No, I don’t mean smitten with love, phrased in a folksy sort of way. I mean a little bit, or piece, in the shape of a heart! Worn right over the heart.
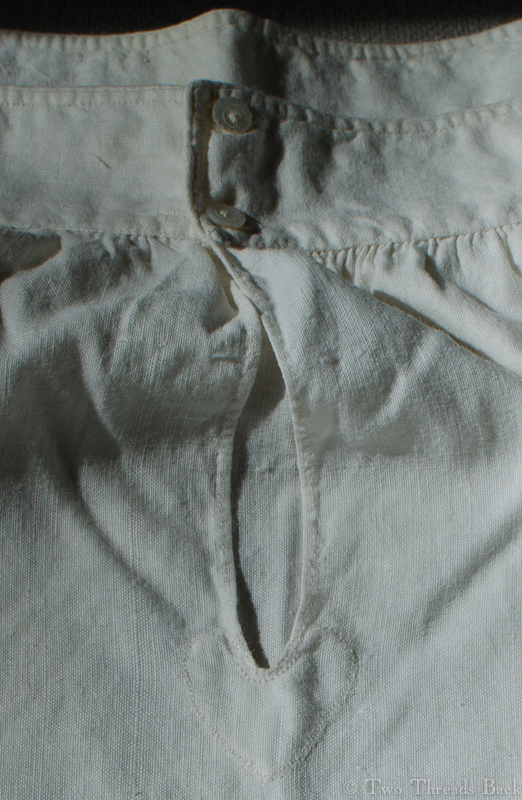
Heart-bit with decorative knots on an early 19th century man’s fine linen shirt. The shirt was rescued from captivity where it had been altered and abused with scissors, sewing machines, and synthetic trim!
That perfect specimen of plain sewing, The Shirt, has a romantic soul. Back in days when shirts were only slit down the front, and not buttoned closed the full length, that end of the opening was vulnerable to tearing. There were various ways to prevent it, and I came across references to this lovely way when researching early sewing instructions. For example, Instructions for Cutting Out Apparel for the Poor, 1789, givesa description of cutting linen for shirts:
This half overplus being a quarter of a yard in length, serves to cut out hearts for the bosoms.
Or a sewing manual from 1833:
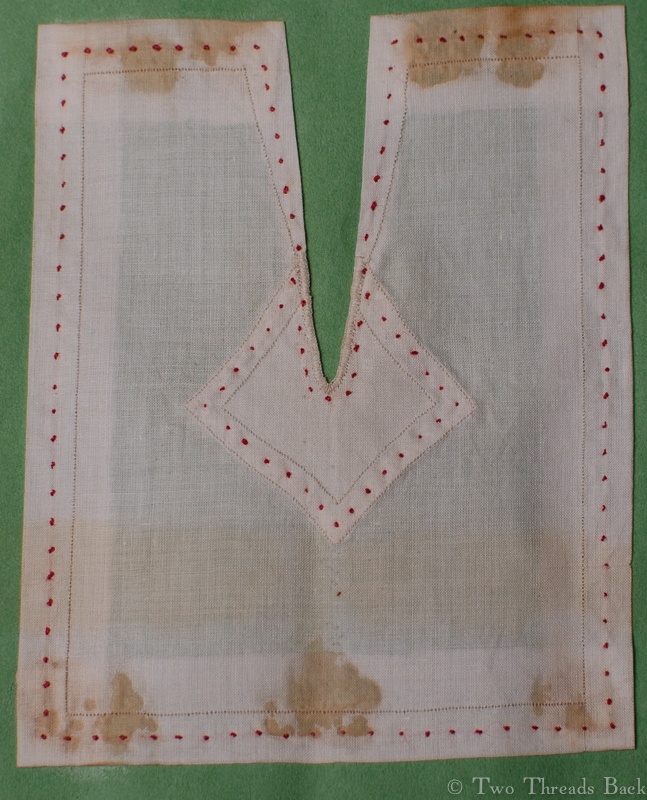
HEART-BIT
Before commencing the shirt, small pieces of muslin are given to each girl, for the purpose of learning to settle in, and work the breast-gusset.
Of course not all shirts had them. Some had a triangular gussets, or a buttonholed reinforcement, or a tiny rectangular piece to prevent a tear, and some had nothing at all. But you have to love linen with a heart!
Another early 19th century man’s fine linen shirt, with a beautifully worked heart-bit. Unlike the shirt above, this lucky gentleman spent his retirement carefully packed away.
An early 19th century woman’s chemise made of muslin, showing she had a heart, too.
A girl’s sewing manual from the mid-19th century displays an alternative shape for the gusset, but still called in the instructions a Heart-piece.
An infant’s sacque: a miniature version of Mother’s.
If I kept my attention only on plain work, I suppose I would be very limited indeed. And truly, the impulse to add ornamentation seems timeless and universal. Often the pretty pieces I study reveal high standards in the basic plain stitches, but also have considerable fancywork on them.
The profile reflects women’s styles of the same era.
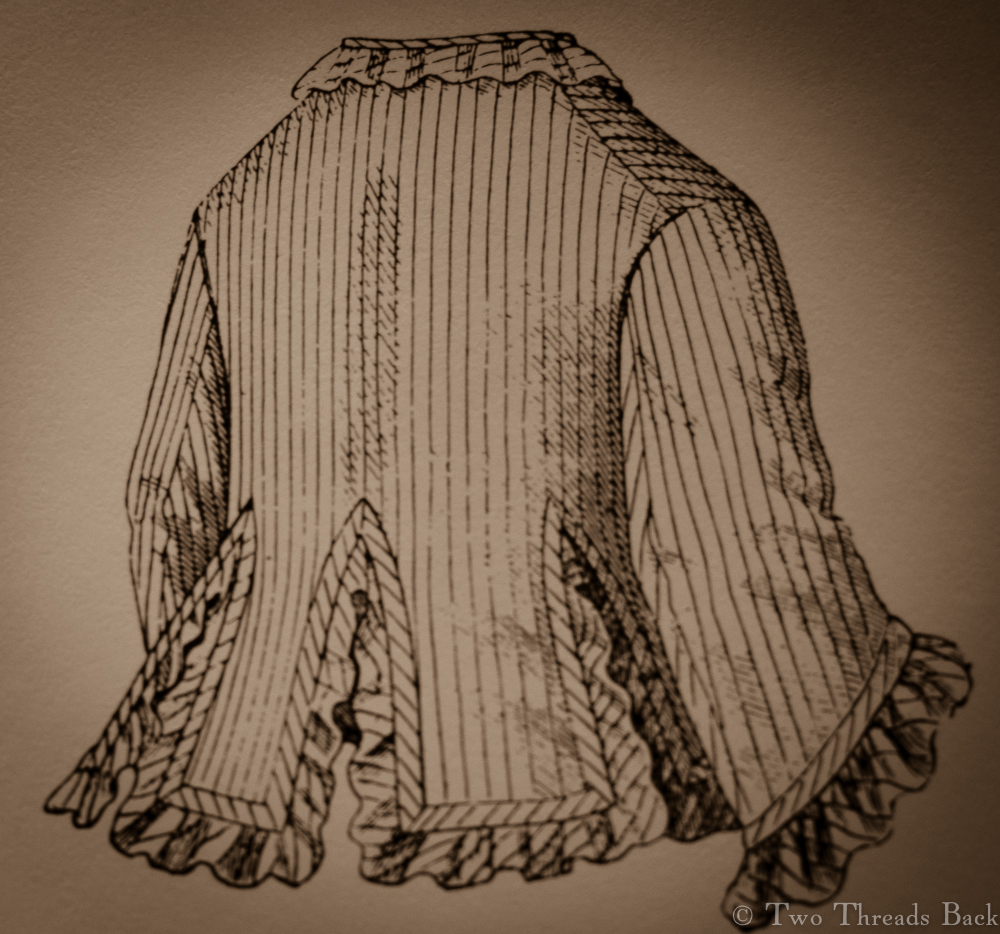
Here is one example which just seems to shout Baby Version of Mommy’s 1870 Upholstered Look! Notice the dropped shoulders, two-piece sleeves and sort of tabbed lower edge, with its allowance for a wee bustle? I doubt baby wore one, but the cut of the sacque would have suited it! The pattern is a match for women’s garments of the late 1860s and early 1870s.
Pretty fussy back! But I love it.
The Look, c1870
It’s made of a very fine muslin – a previous owner must have bleached it white again – and uses basic hemming, running, and stitching (called backstitching today). It shows some of the earliest use of (what we call today) a french seam on the sides and shoulders. The sleeve seams are overcast.
I’d love to see this with a poofy baby bustle! Not likely, sigh.
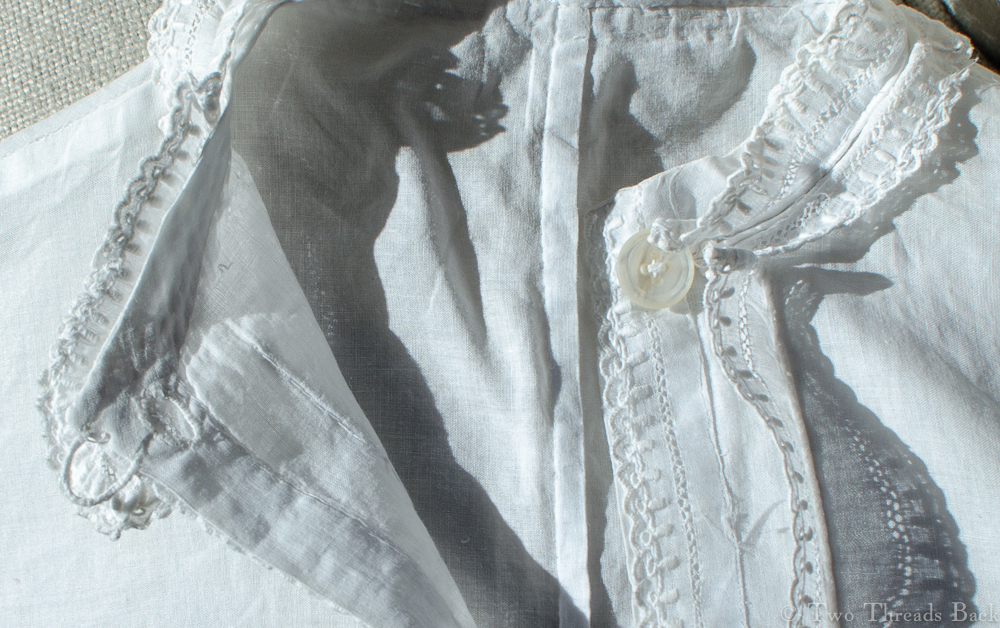
The sacque has a high collar with hand-embroidered trim and fastens with a single mother of pearl button and thread loop. There’s a buttonhole hiding under the trim on the collar, but Mother must have decided it was too tight or difficult to fasten. The same trim edges the front, hem, and cuffs. There’s even a bit of piping.
Close up of the collar & fastening.
The cuffs were taken up with a hidden tuck to fit shorter arms, and they also have tiny thread tassels. I thought at first the threads were drawstrings for the cuffs, but closer examination shows them to be attached separately and knotted around… a bit of wool? …held with glue? I can’t see it well enough to tell, but it has yellowed over time.
Close-up of the little cuffs – you can just see the tassels.
A view of the back, showing the pattern.
The trim down the front is turned toward the center, the opening. This is typical of 19th century clothing, although my modern expectation is to see tucks or trims folded or facing outward (toward the arms).
In all, it’s plain made fancy. And enough to make me swoon over the tiny confection!
In spite of my plain shirt obsession, it took me forever to finally reproduce one myself. I have a tendency to procrastinate, and it doesn’t seem to matter if it’s something I really love or not.
I’ll start with enthusiasm, and then the motivation fizzles and the project goes on the UFO shelf. So it’s been with the fine linen shirt I’ve been playing with for the proverbial seven years.
But then last year I had to make one for a local history event, and a Deadline With People Waiting On Me provided the necessary spark.
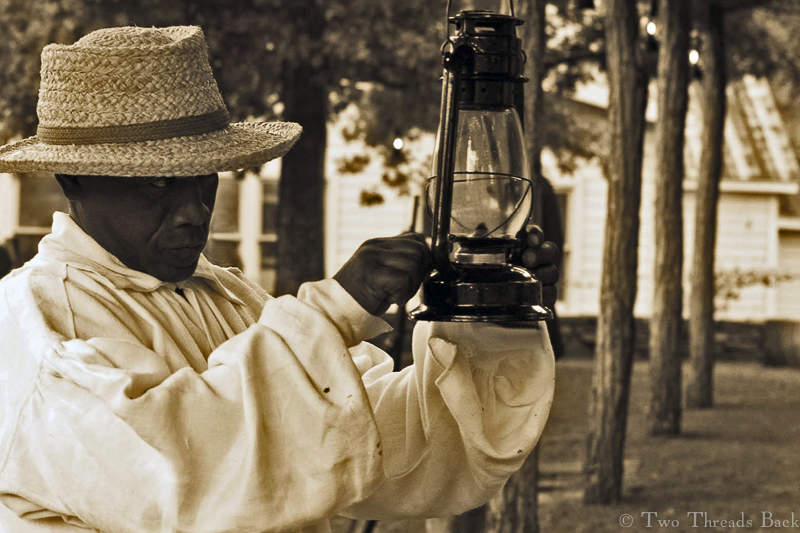
This square-cut shirt wasn’t made of fine fabric, but of worn-out linen, since it was to dress an interpreter at a historic slave cabin. It was easier to do since I was replicating an old and tattered garment: all my stitches didn’t have to be perfect, thread could be mismatched, patches were expected.
The hard part was working on a heavier material that still contained prehistoric starch, as well as making the shabby parts fit the pattern in the right places. Working over two threads on lumpy and uneven material made the finished product look a bit coarse. Um, not my fault… right. However, I made the deadline although both the shirt and I were worn out!

 When it came to the sleeves, though, I was perplexed. What was typical, plain or gathered? I reeeeally wanted to do gathered.
 However! I found two or three images of exquisite little shifts on early wooden dolls in museums, and those had sleeves that were gathered at the armscye. I think. Anyway, I love setting in gathers and it’s my toy, so that’s what I did.
 Next came the binders, those reinforcing strips that are a standard feature in men’s shirts. I can only guess how common they were in women’s shifts, because they don’t usually show in photos, nor are they noted in descriptions. But I’ve long speculated that originally binders were there just for “setting in” gathers – support for a stress area was just a bonus. So in they went.