How have I missed this for so long? It’s been reviewed elsewhere – when it was new – but I just can’t resist sharing, even belatedly, whenever I find a gorgeous book.
Published in 2009 to accompany an exhibition at the Yale Center for British Art, it was my Christmas present last month and all I want to do is rave about how brilliant, beautiful, and beguiling Mrs. Delaney & Her Circle is. And not just the book, I think Mrs. Delany herself must have been an astonishing woman.
She can’t be considered a polymath, or even an opsimath (don’t you love that one?), but in an 18th century upper-class lady’s world of art, learning, and taste, it seems like she dabbled in it all – at least, all my favorites! From craftwork to costume, needlework to natural philosophy, her interests included everything beautiful.
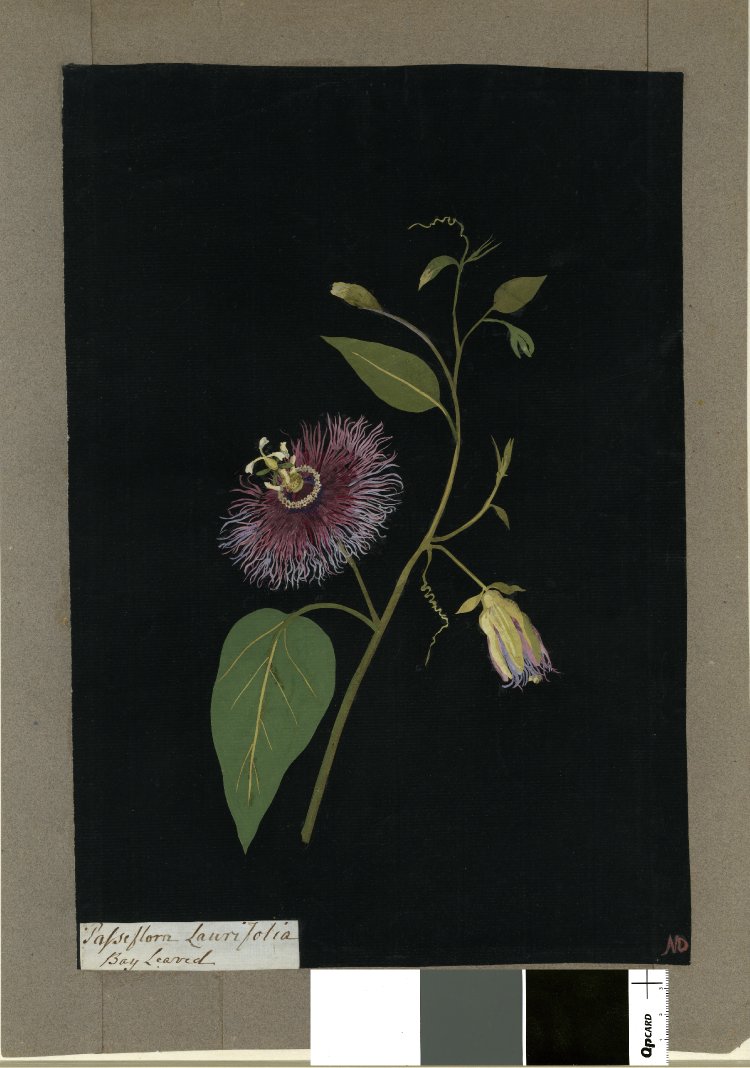
The image on the front cover and first words of the jacket blurb were enough to get my attention. “At the age of seventy-two, Mary Delany, née Mary Granville (1700-1788), embarked upon a series of nearly a thousand botanical collages” – what, she only started her paper flowers at that age? I can still hope?
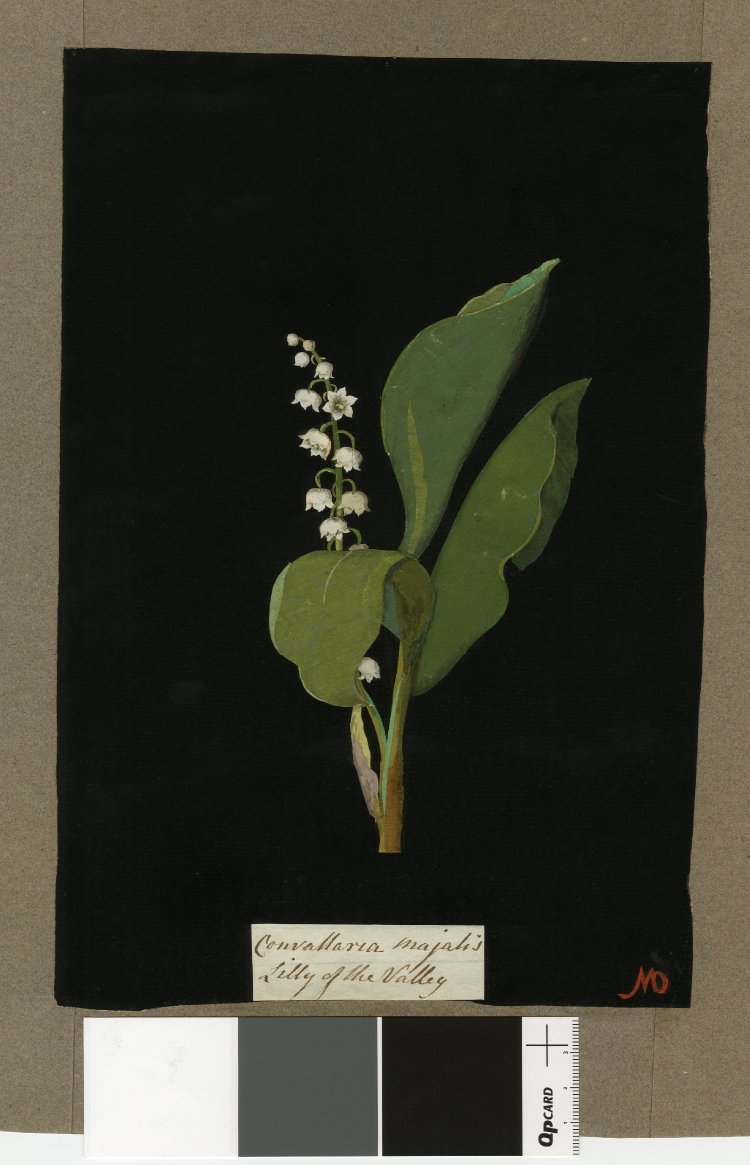
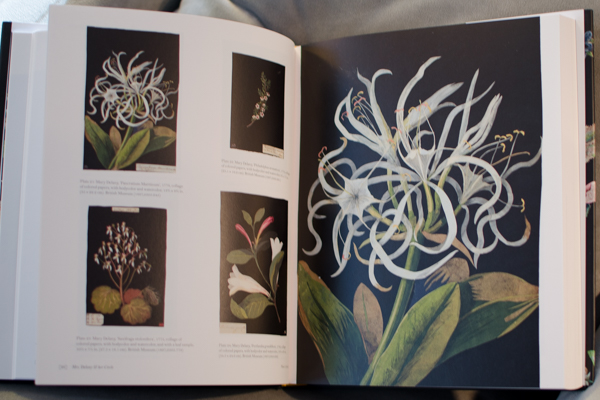 Indeed, the book is packed with illustrations of her stunning “mosaicks” of botanical beauty. There is a wealth of information on her floral collages. From an experiment in reproducing them, to an explanation of period paper-making techniques, the text answers all questions that come to mind.
But that’s not all. She had many more interests which are covered in detail in the 12 essays, all written by experts in their fields. She was a member of the Bluestocking circle and lived a rich life in a fascinating era, counting as friends some of the most notable figures in art, science, society.
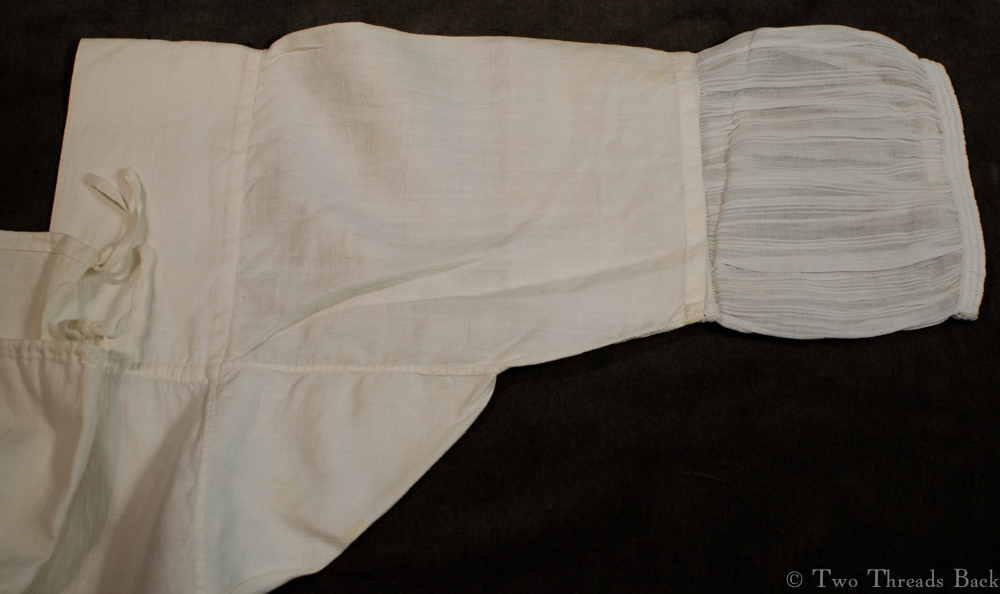
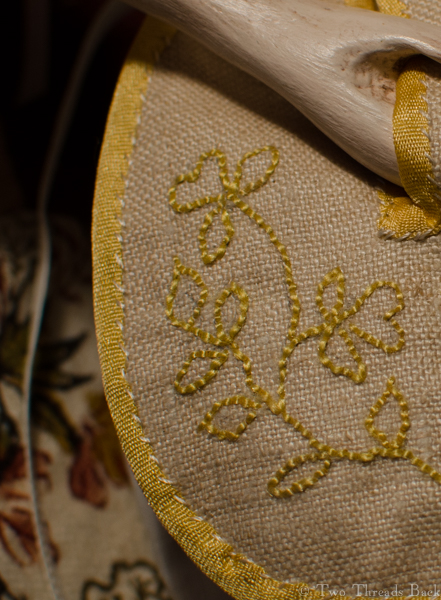
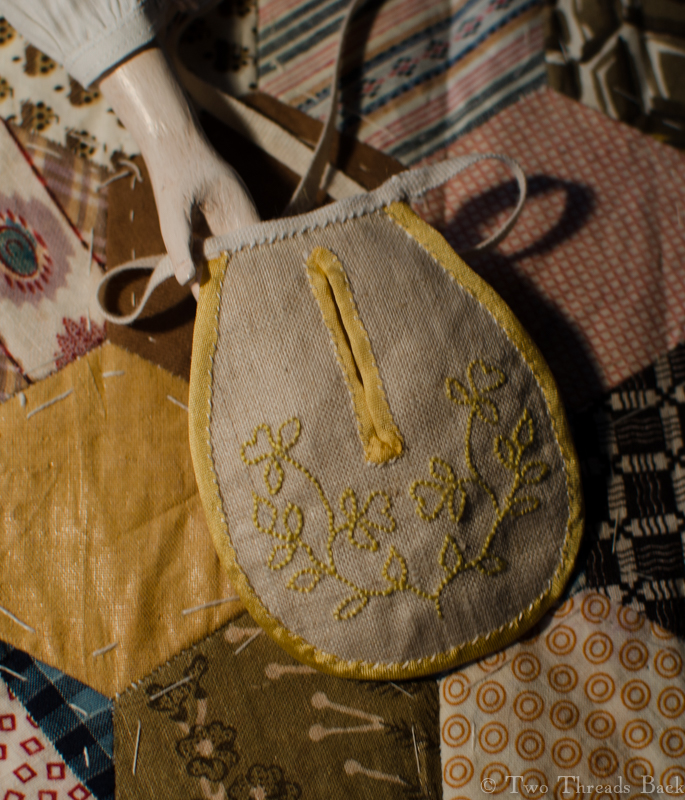
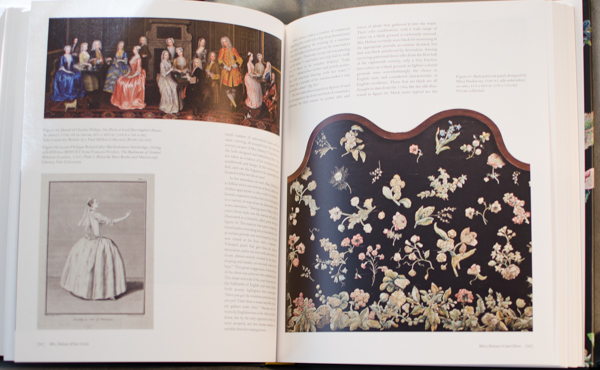 Oh, did I mention The Dress? Mary Delany lavished her black satin court dress with the most exquisite, scrumptious, dazzlingly beautiful floral embroidery I’ve ever seen. There’s a whole essay devoted to it. Other illustrations include workboxes, tools, patterns, fashion plates, cartoons, etchings, prints, shells and shell art…. In all, enough to keep me fascinated for a long time.
The bad news is that the book is out of print. The good news is that the museum bookstore has (or had before Christmas) copies in stock. Whether you find it in a library, or track down this treasure for your own, I think you’ll fall in love. Opsimathematically, I did!


 www.metmuseum.org")