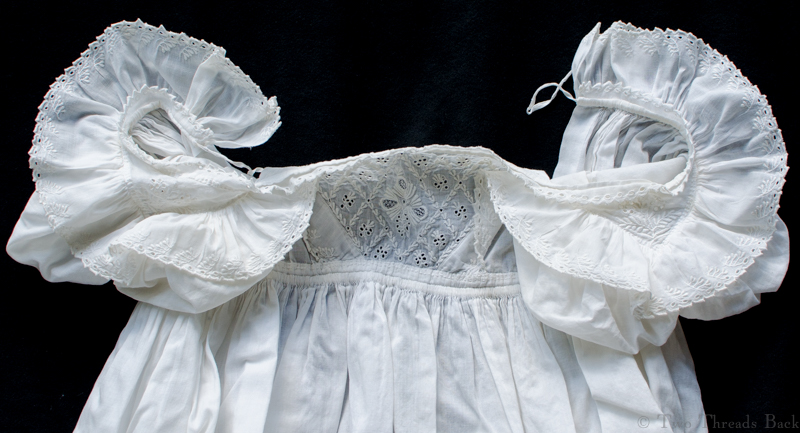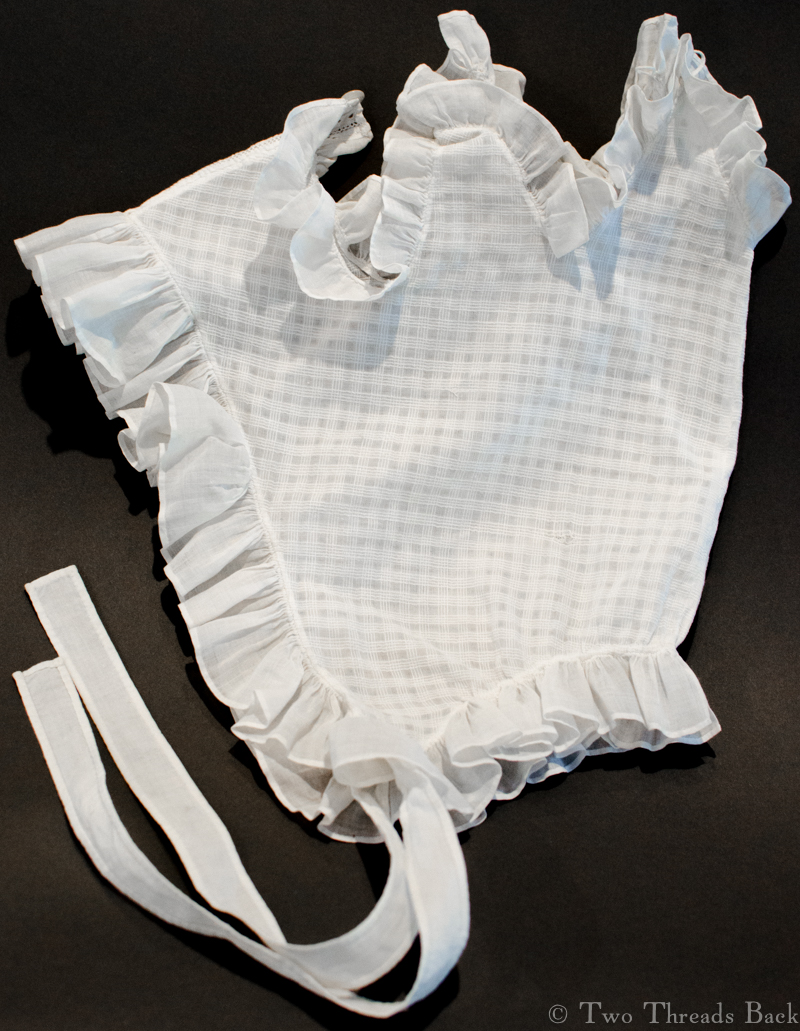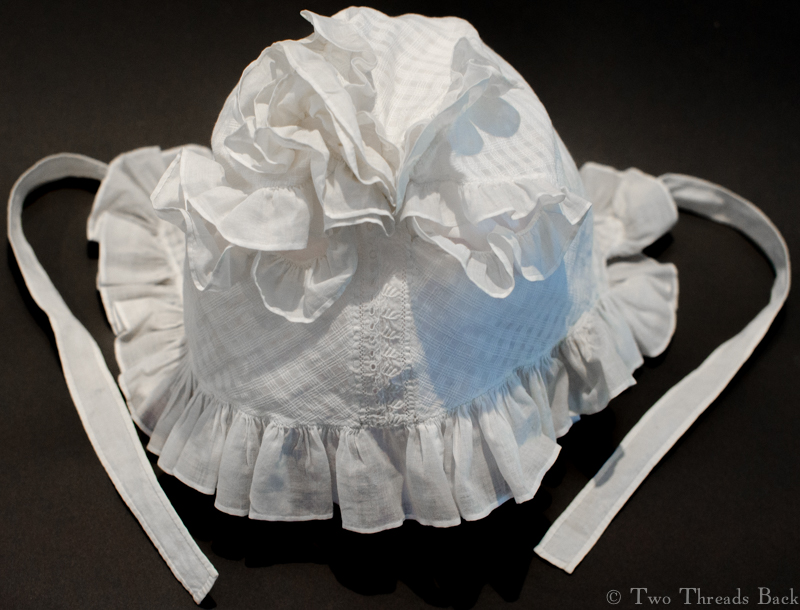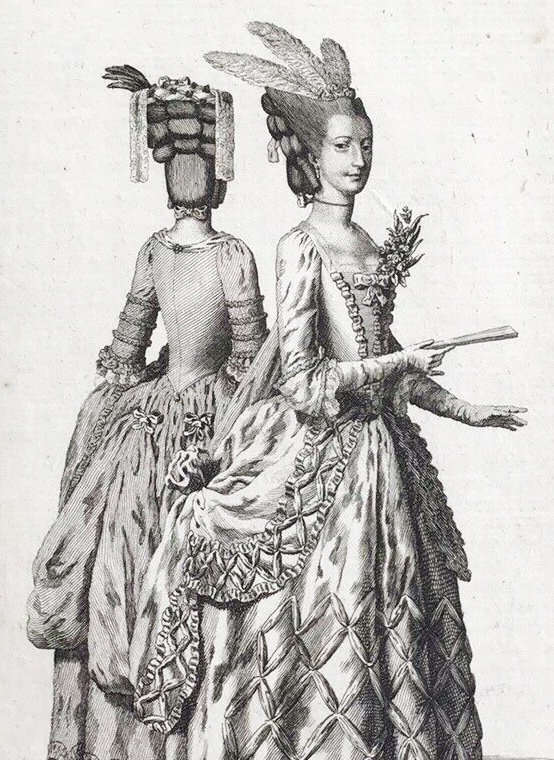
I know what lappets are, costumely speaking, and with regard to women’s millinery. They’re those long, lacy, streamer things that hang down from a headdress. The fanciest ones were made of fine lace and could be terribly expensive. They were popular in the 18th century but seemed to fade by 1800 when the classical look was in vogue, and then regained favor, at least with “mature” ladies, in the middle to late 19th century. Early ones were usually found in pairs, or occasionally joined slightly shaped in the middle, while 19th century ones could be . . . more creative.
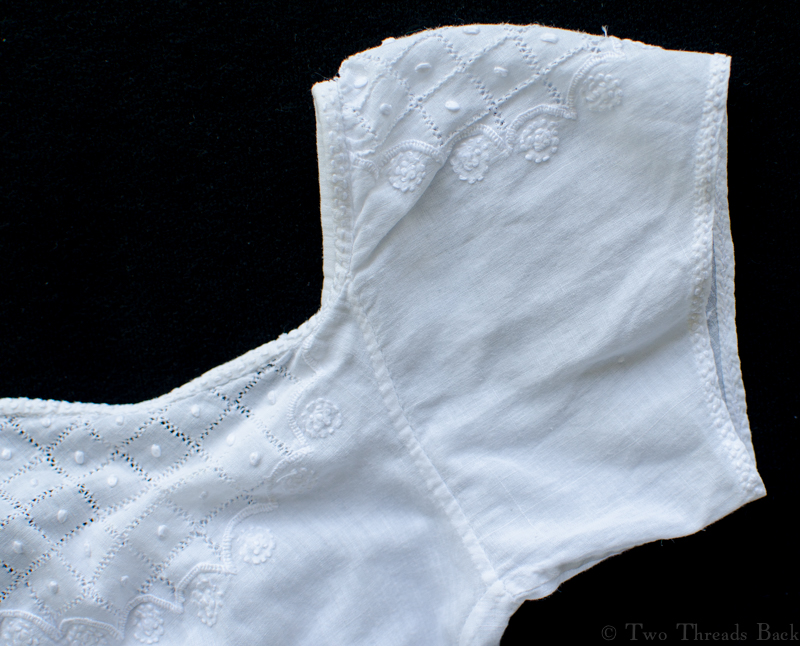
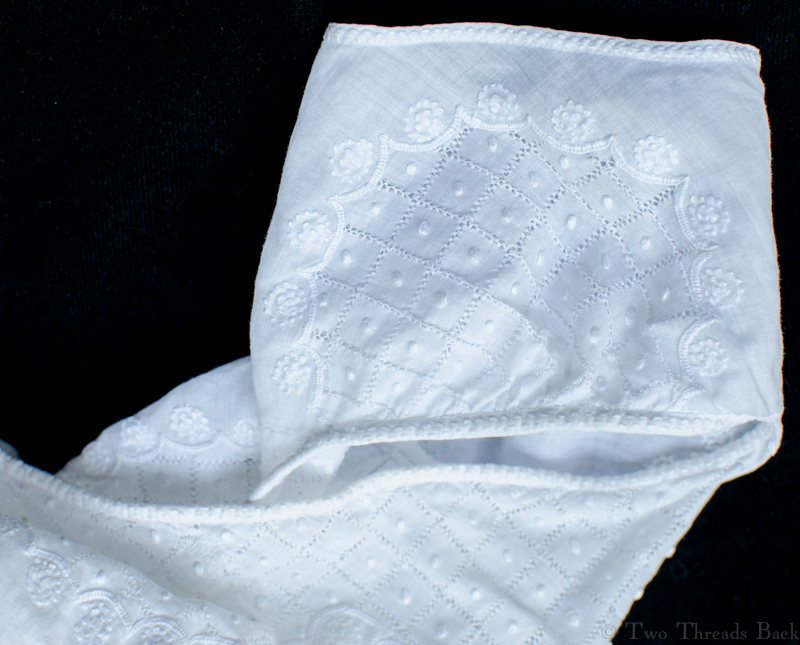
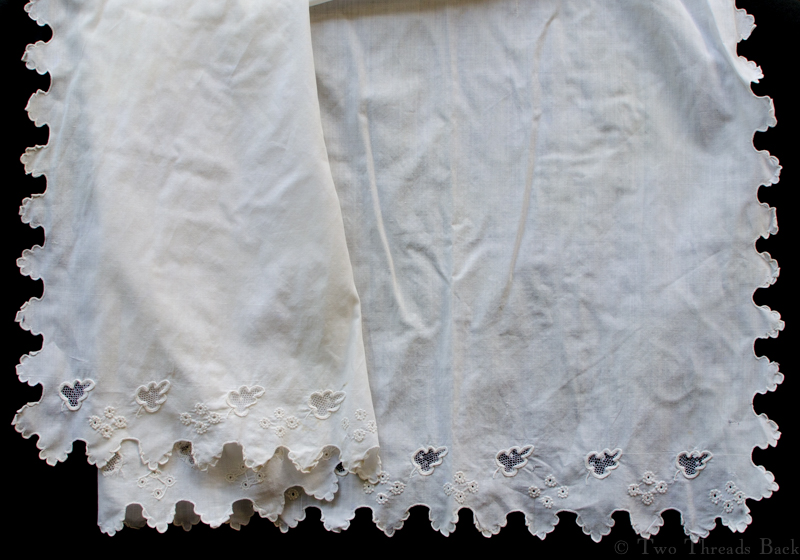
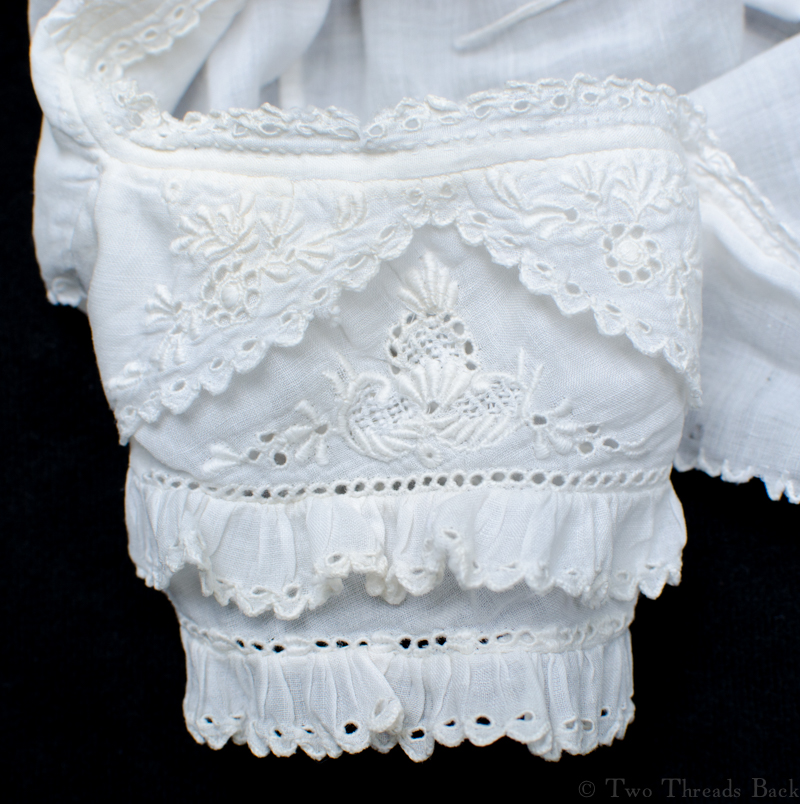
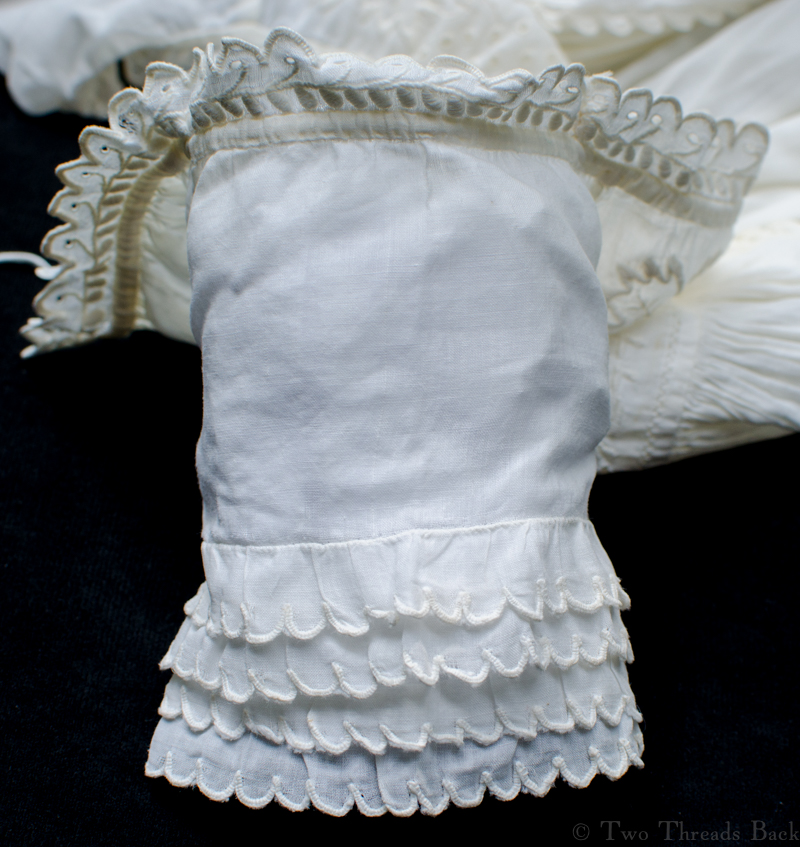
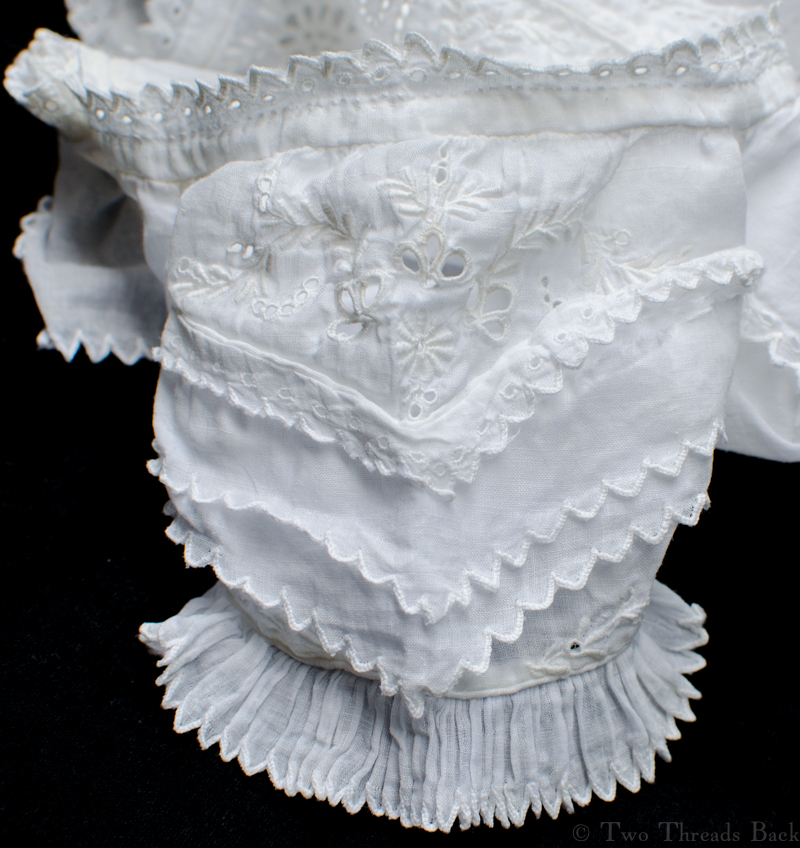
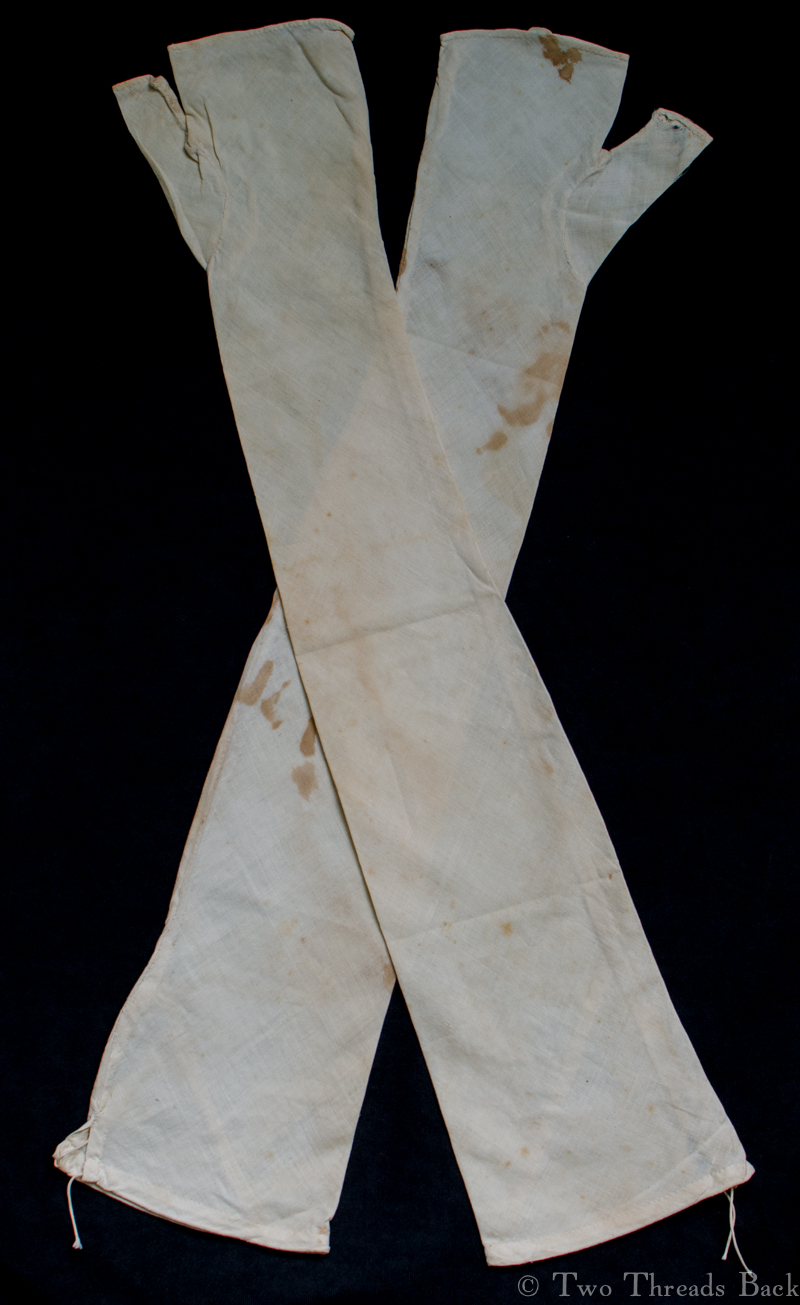
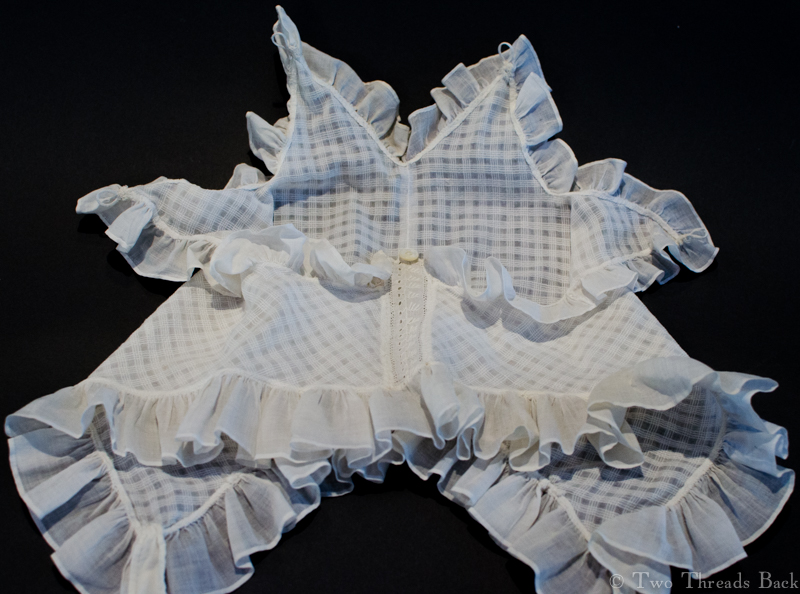
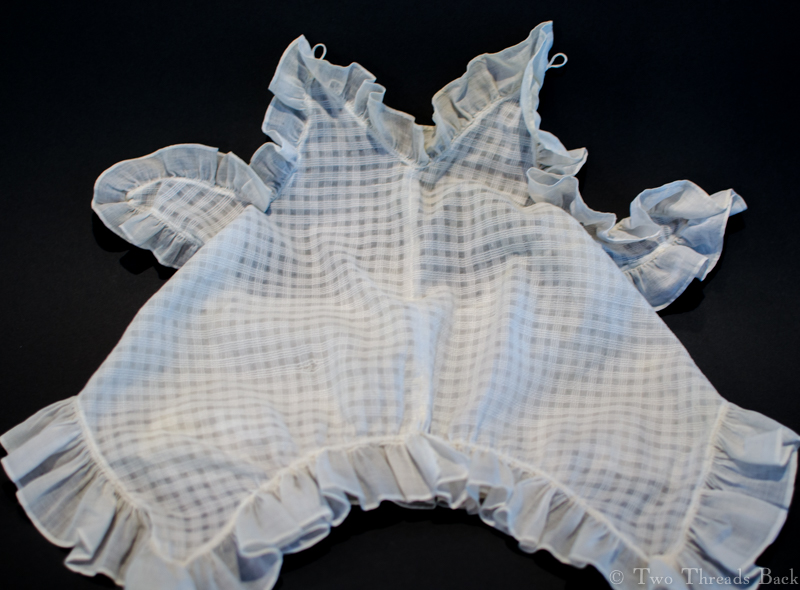
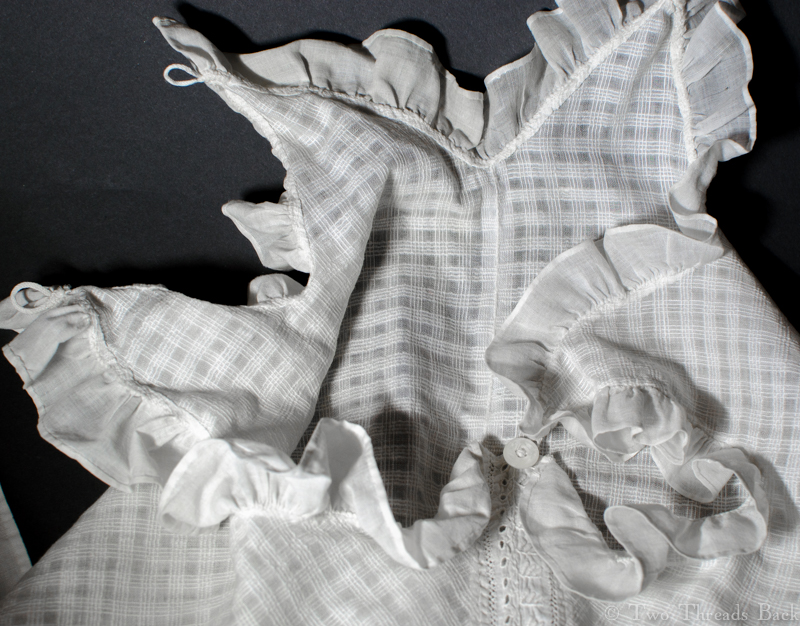
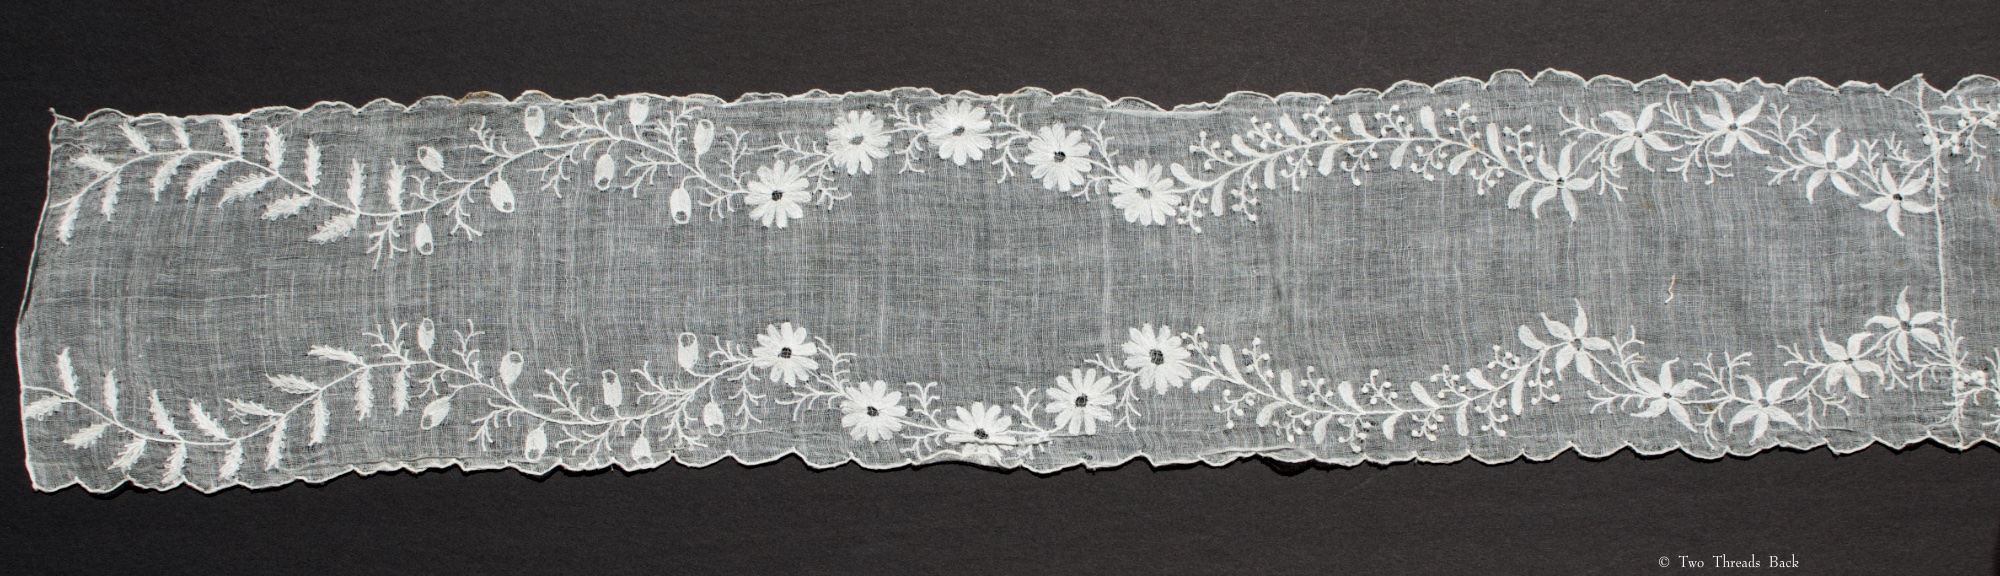
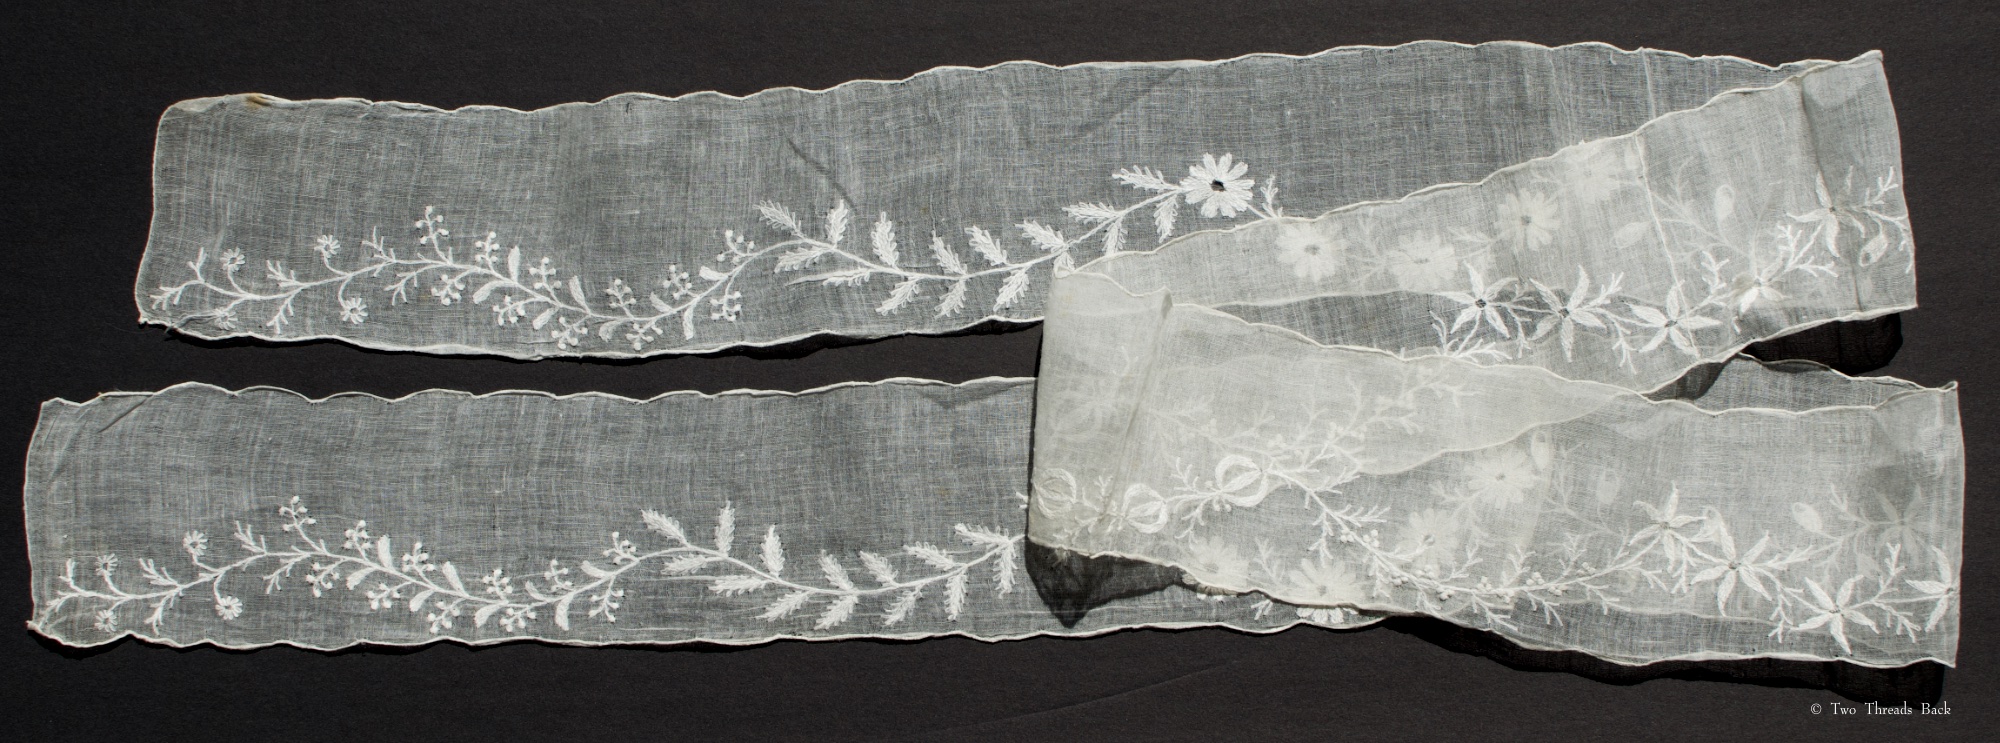
But what have I got here? Two different long strips of fine white muslin, neatly (but probably not professionally) embroidered with whitework. Are they one-piece lappets, or something else?
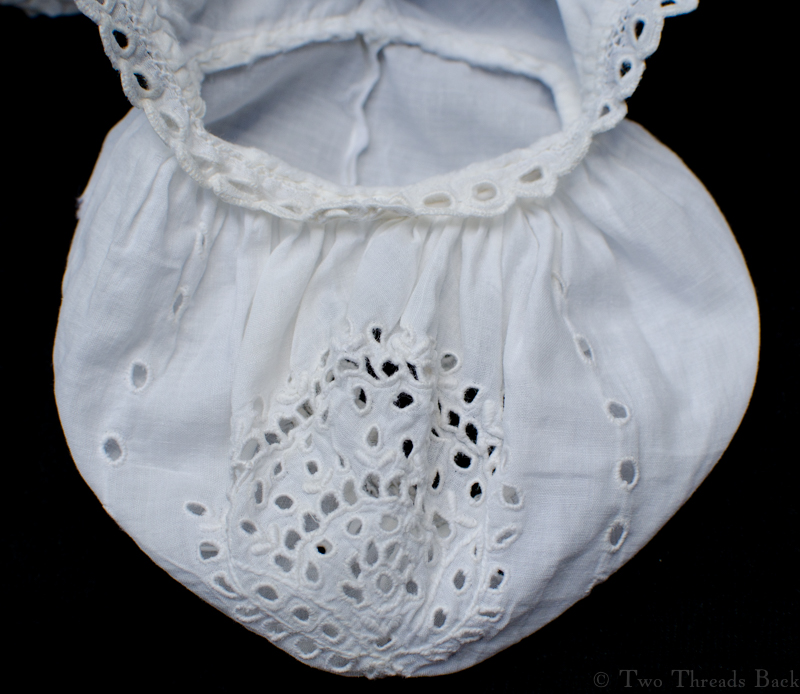
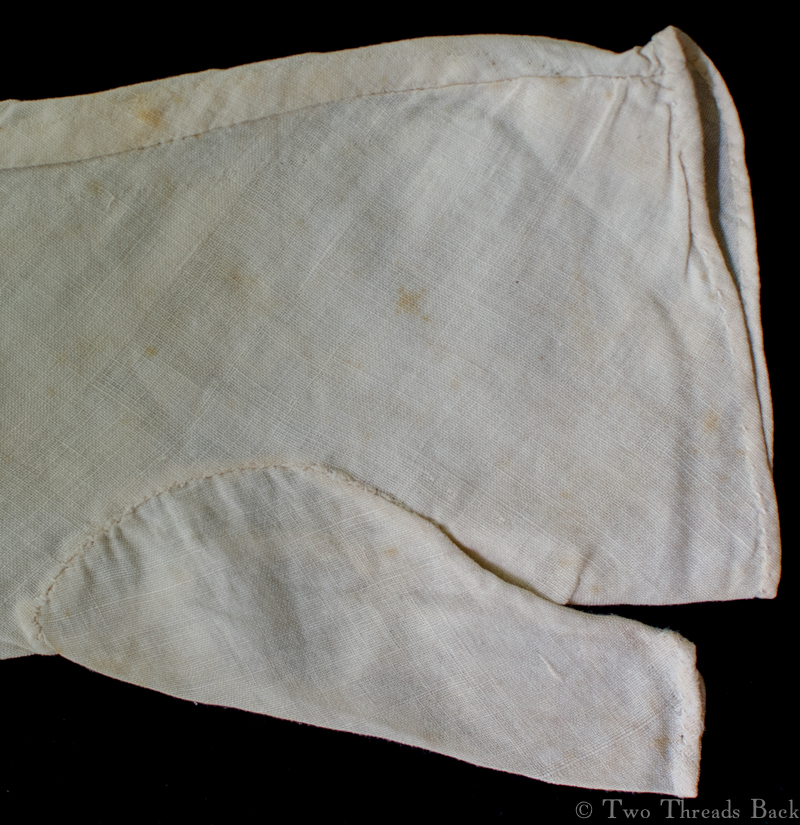
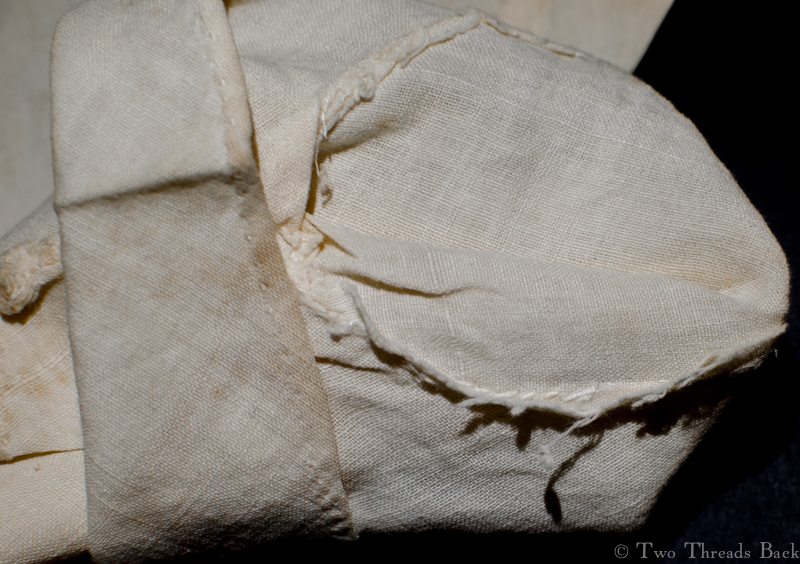
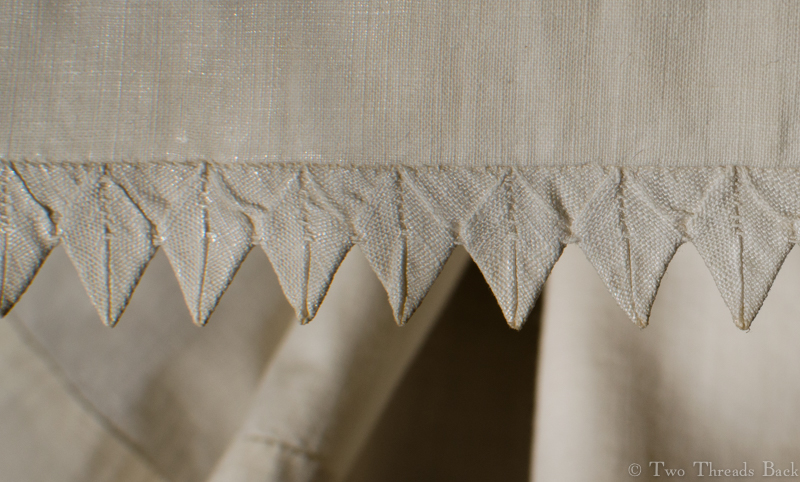
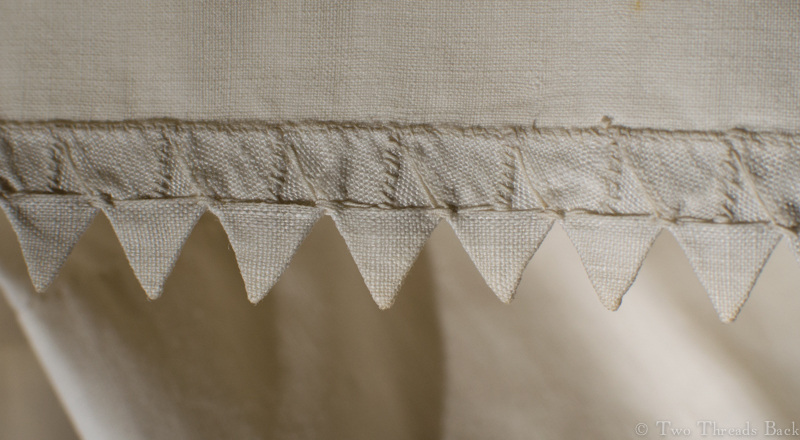
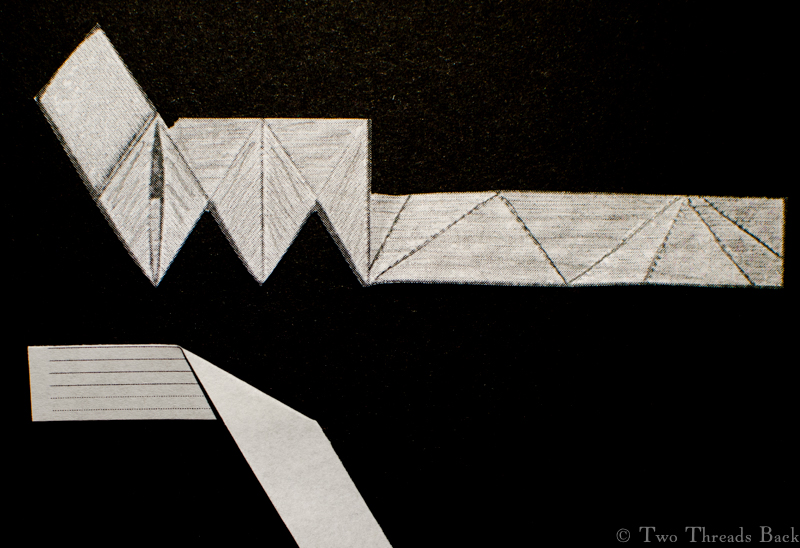
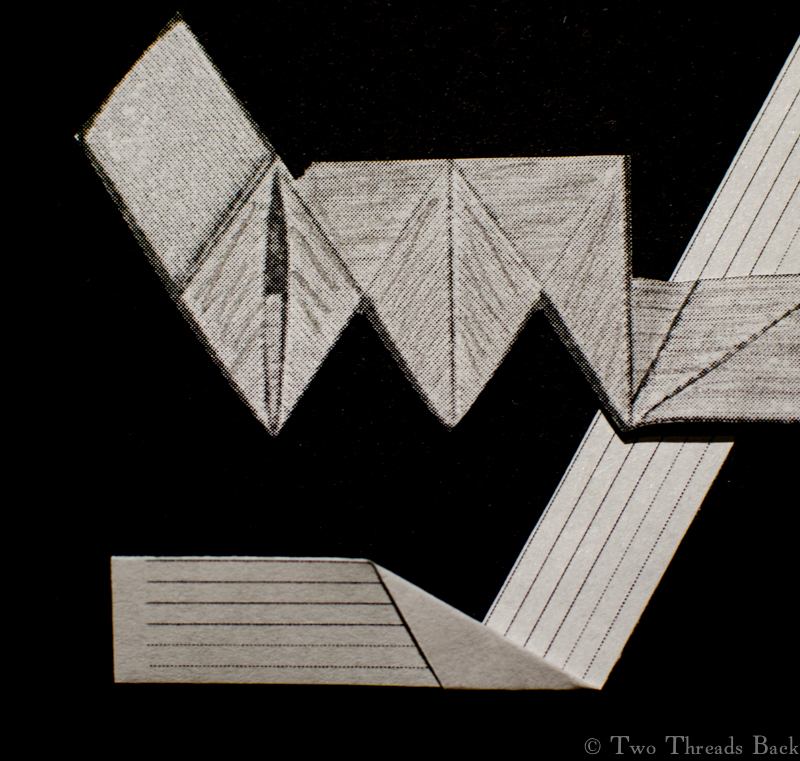
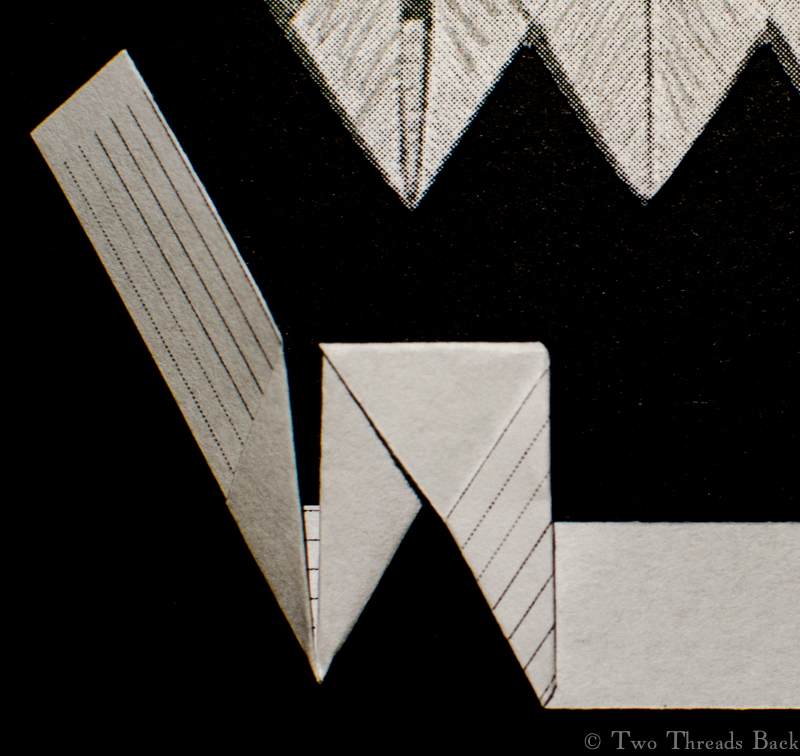
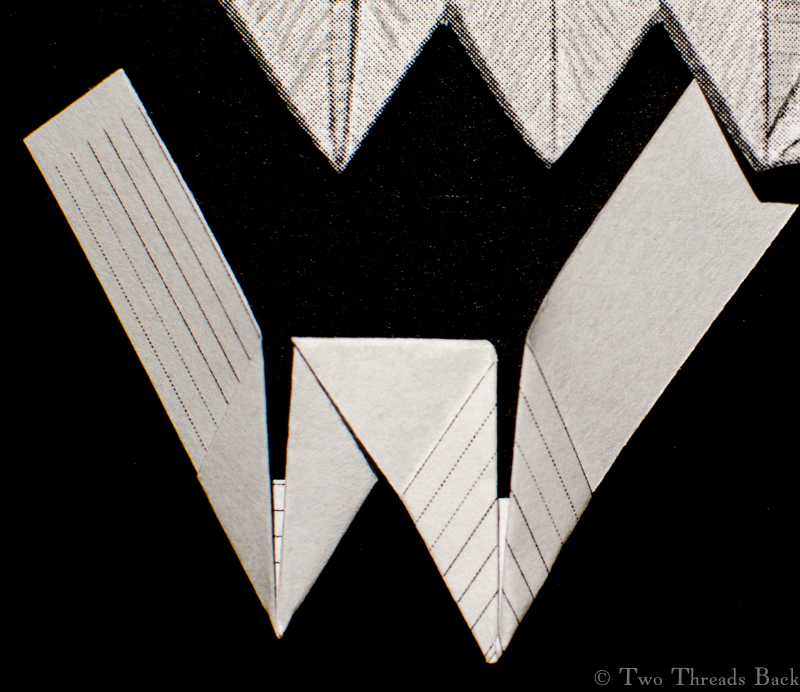
They appear to date to the late 1700s or early 1800s, judging by the materials and floral patterns. One is 58″ x 4″ and the other is 63″ x 3.” The design on the wider one is mirrored on both edges, while the other is worked along one edge only. All edges are scalloped, and there’s a join on both at 20 inches (not the middle) from one end which the embroidery carries right across. Found together + like patterns + like materials = same maker? The design was embroidered to fit, which indicates they weren’t cut from another garment. They seem too fragile for a sash and too narrow for a scarf.
So how in the world would you wear them? It seems like draping across the top of your head would be a bit awkward.

The most fabulous book on accessories of this era is Heather Toomer’s Embroidered with White, and I searched it for clues. It has beautiful photos of lappets. In pairs. With dense embroidery. Sigh. In her book on the next time period (just as brilliant), lappets appear as extensions of other accessories, such as fichus and pelerines. So I’m still wondering what these were for. Help!


While on the subject of long narrow textiles, I’ll present my next puzzle: tuckers. I’m wandering into dangerous territory when discoursing on 18th century costume, since I know so little. However, I had no trouble finding period references to tuckers. Their wearing location on female anatomy guaranteed attention, one way or another.

Tuckers, as defined in 18th century dictionaries:
TUCKER, tuk’-ur. f. A small piece of linen that shades the breasts of women.
-A Slip of Linen or Lace, pinned along the Top of Women’s Stays
-A border of linen or lace on the bosom of a shift
-A fine piece of lace, cambrick, &c. pinned or sewed round the neck of a woman’s shift, gown
-A shred of linen &c., about the neck of a woman’s shift
-A slip of fine linnen, run in a small kind of ruffle, around the uppermost verge of the women’s stays
-A strip or ornament of linen worn by women at the uppermost verge of the stays
Then we have Garsault’s 1771 L’art de la lingère, where I’m up to my tucker in speculation:
Tour de gorge en mousseline festonnée. Il se fait d’une aune de long sur un seizieme de large. Painfully translated: Scalloped muslin tucker. It is made one [≈yard] long by one sixteenth wide. A 1788 French-English dictionary defines “tour de gorge” as “tucker,” and “tour de dentelle” as a lace tucker.
This post is already too long to include Joseph Addison’s slightly naughty essay on the tucker – although if you’re curious, you can find one of many reprints here.
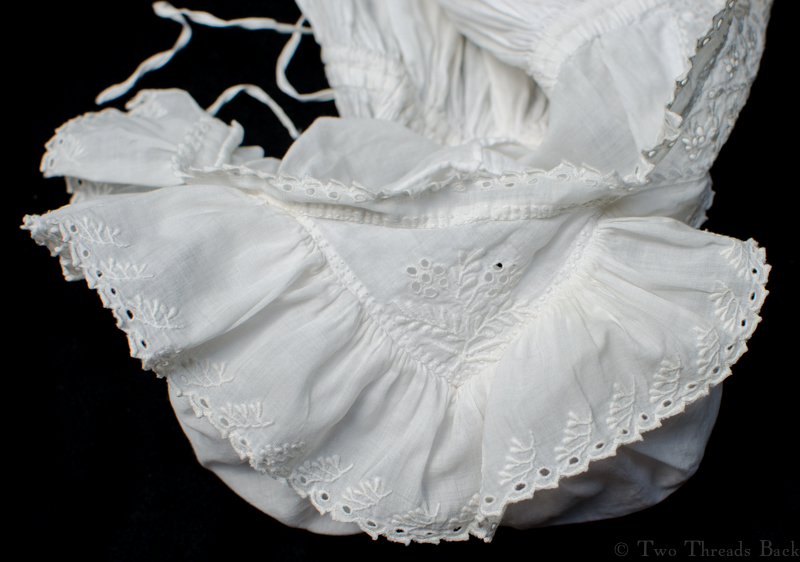
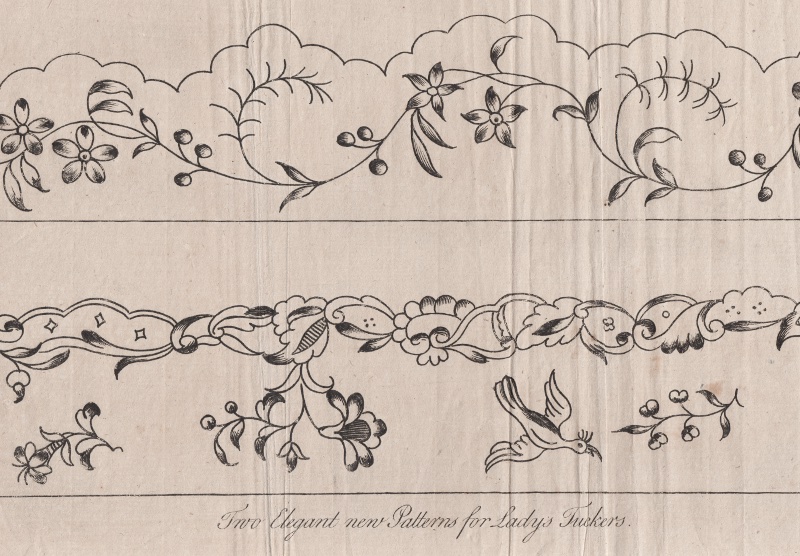
There’s no lack of period illustrations of tuckers, but it’s the logistics that have me baffled. Sure, you can tuck a straight band of fabric around the top of your stays – but then all but a few inches in front is hidden under a gown. You can tuck a straight length around the neckline of your gown – but then you have to negotiate the curves, and my mystery pieces seem awfully wide to do it without looking rumpled.


Many paintings show gathered ruffles at the neckline, whether lace or embroidery, although the Lady’s Maid Soaping doesn’t look very frilly. Of course you could always adorn your own tucker, if you were good with a needle.
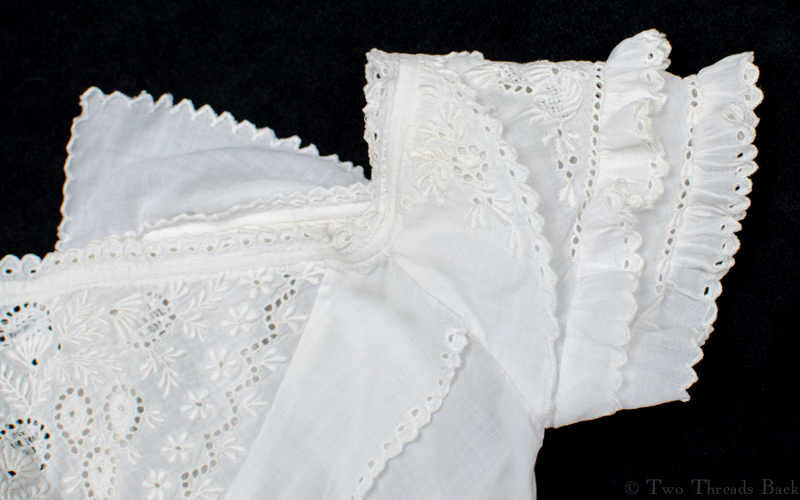
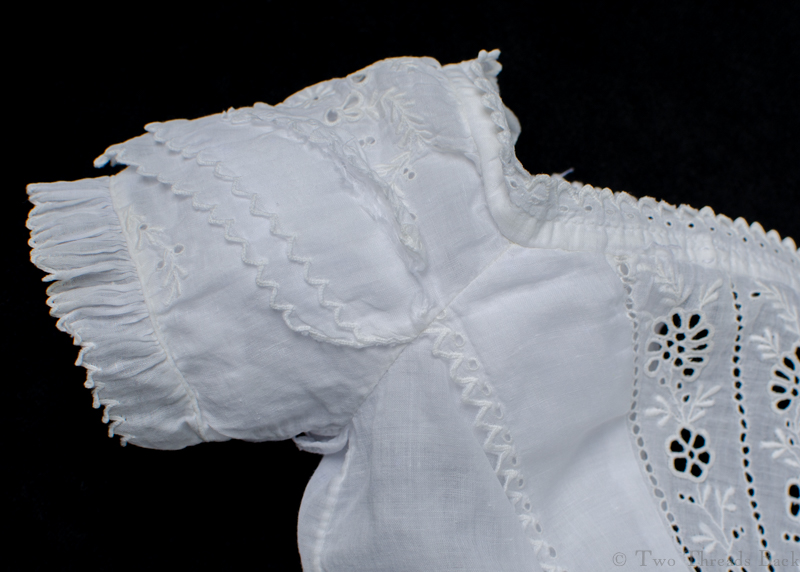
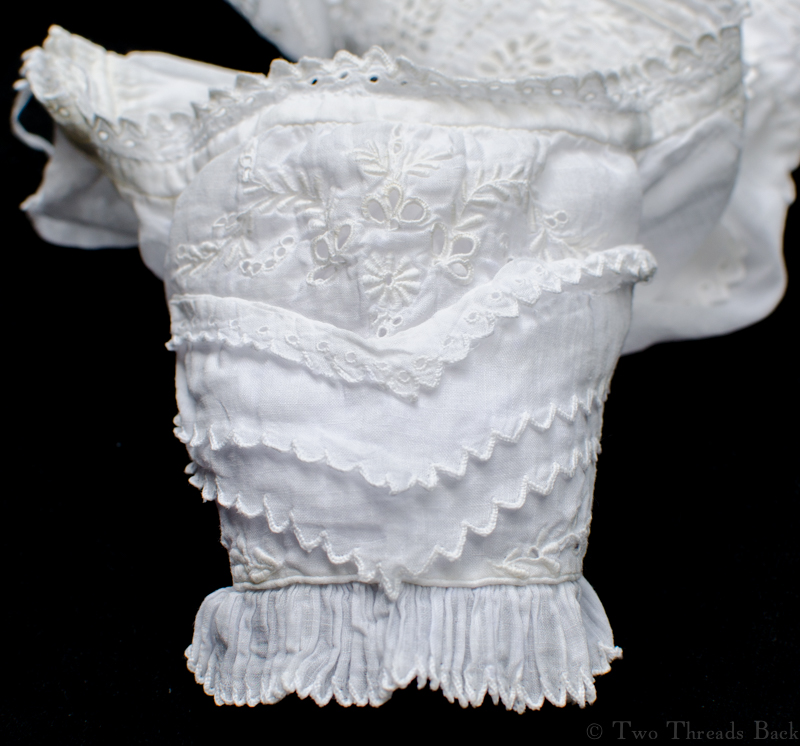
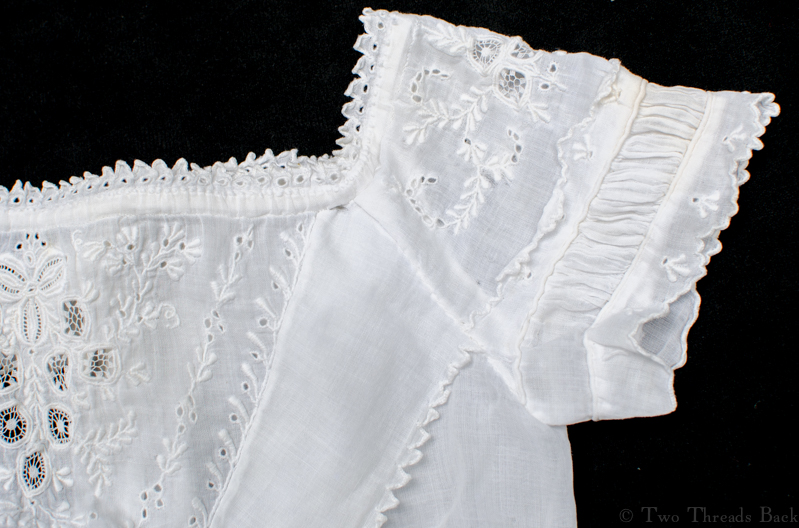
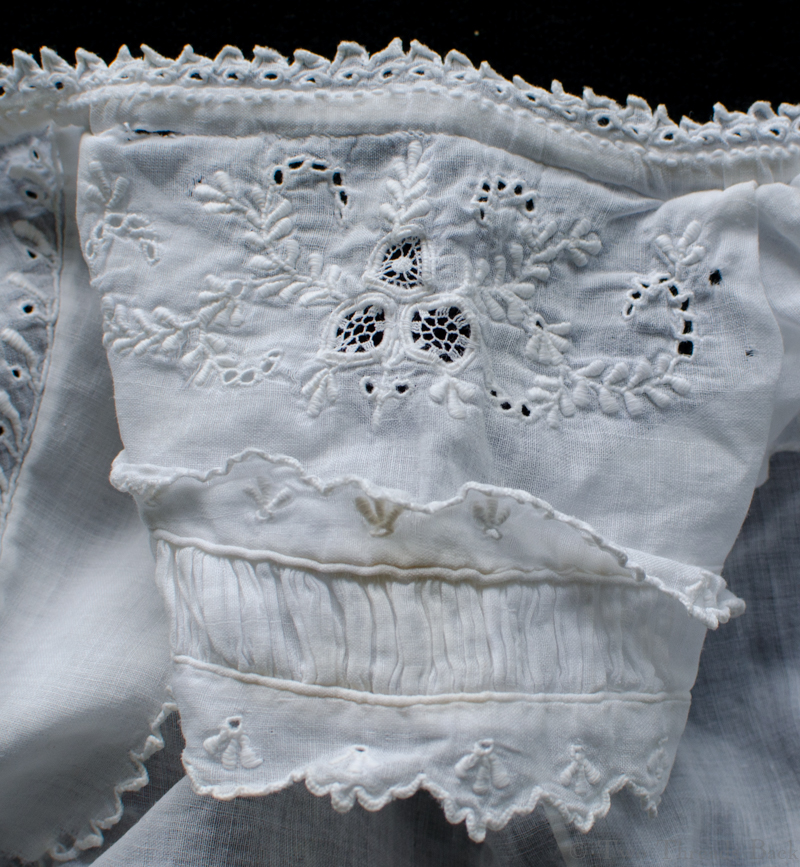
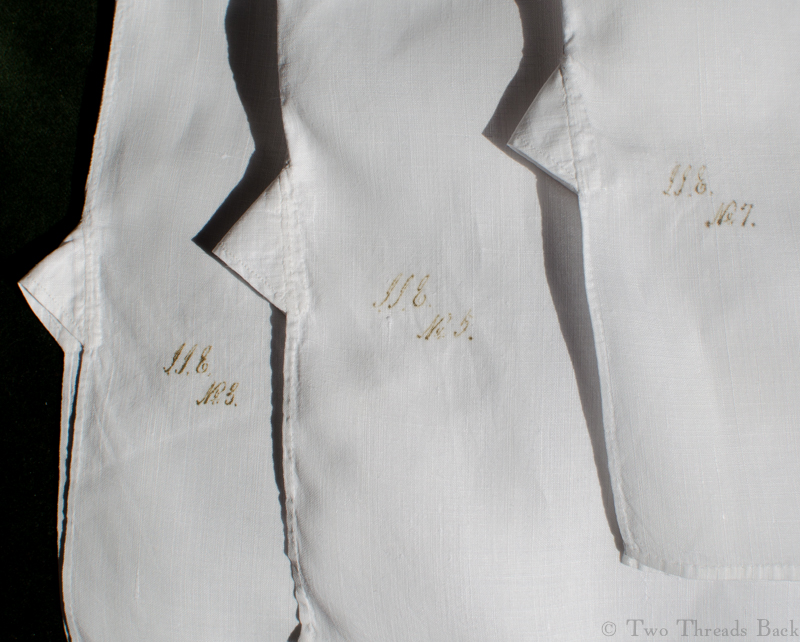
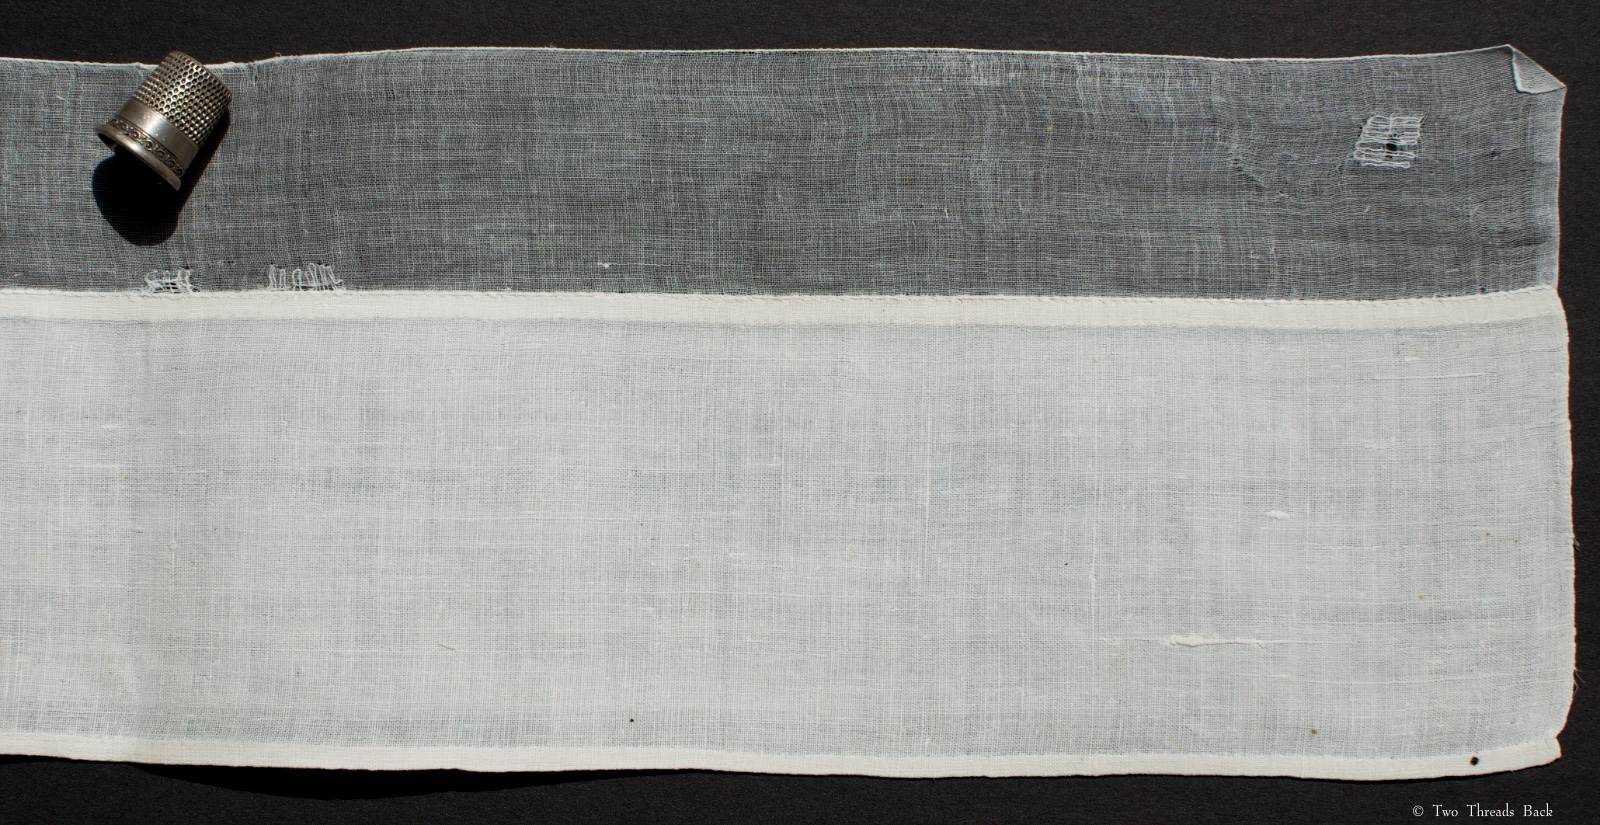
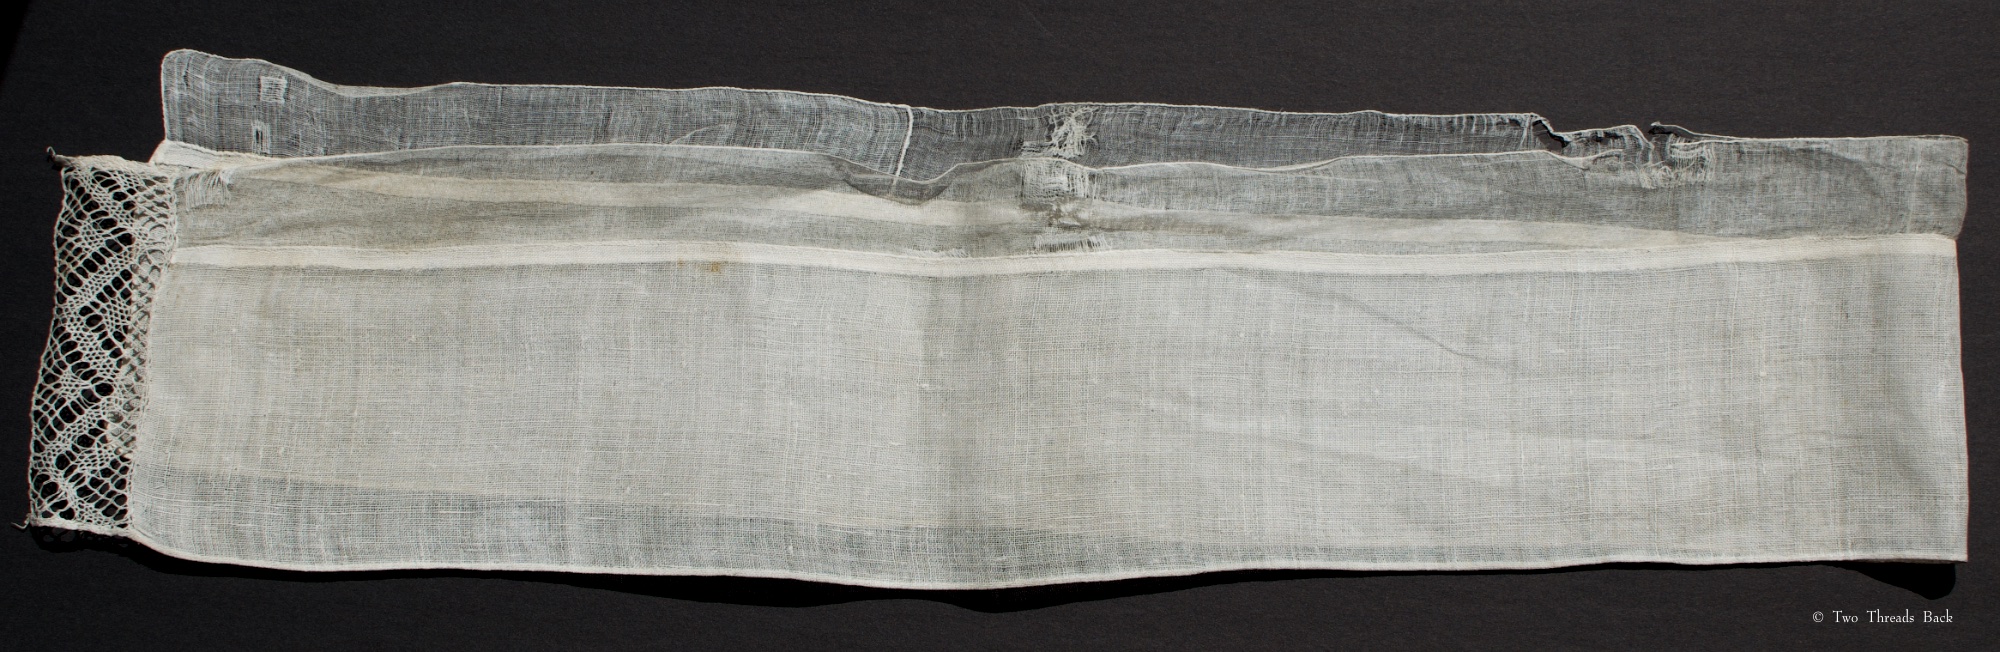
Now here are the four long strips of linen that perplex me, ornamented along one edge, all owned by a woman who lived from 1760-1805, in France. They measure a bit over 40″ long and the linen is @3.5″ wide. If they’re not tuckers, what the heck are they and how did she wear them? Maybe they were part of a headdress. Folk costume. Dresser scarf. Tourniquet with feminine flair.


I’ve called these pieces lappets and tuckers, but I truly don’t know. Research didn’t settle anything for me this time, so any help is welcome. Maybe someday in the future our descendants will ask the same questions about our garments. I know I’ve shopped for workout clothes and been just as confounded – these strappy scraps of spandex go how?!