You’ve probably heard of “writer’s block” before, but I wonder if there’s such a thing as “sewer’s block”? Perhaps for a designer or pattern maker, running out of ideas is not an unfamiliar experience.
Edwardian era lingerie dresses came in numberless variations and played large a part in enticing me into sewing history; my plain sewing passion started out as a fancy for fancy work. The snow-flake variety of designs, using only white fabric, lace, and embroidery, is mind-boggling. No surprise then that an English seamstress of 1900 was troubled by a dearth of ideas as she tried to earn her bread with her needle:
“In ladies’ dress the blouse has become a prominent feature, and it is one that lends itself to home industry…. Recently I visited a maker of blouses who was concocting with much taste and skill blouses of white muslin trimmed with embroidery. These would probably sell in shops for but a few shillings, yet the labour involved was not insignificant, for there was much tucking and trimming. The blouse-maker was a young married woman, and, having a small child to look after, could not perhaps easily go out as a dressmaker. Yet her occupation was fully as laborious. During the months before Christmas, she was obliged by her employer to make none but pattern blouses, that is to say, bodices of her own designing, no two being alike. She told me that she found this business of designing was most trying, and that she often lost her rest at night trying to think of some new style… She could make from three to six blouses a day.”*
Bless her heart, only three to six? When I made a simple one – with a commercial pattern – it took several days to do it! She was using a machine by that date, but those faster stitches meant more elaborate work was expected.
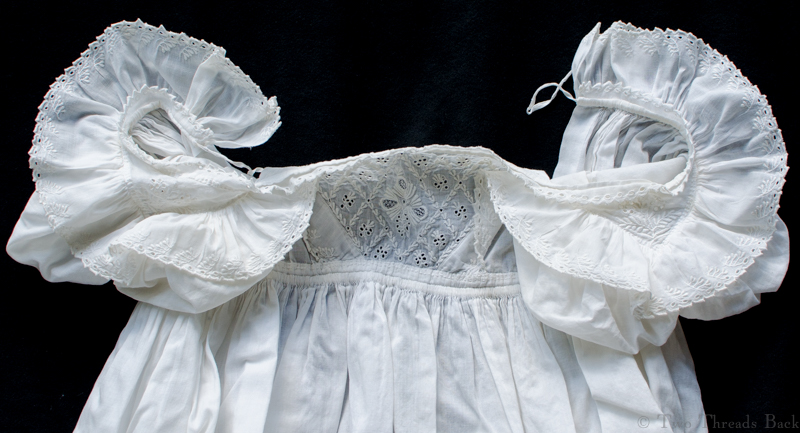
Ladies’ accessories (like collars and cuffs) and baby dresses also showed amazing creativity and variety. The surviving specimens are often the fine work that was done by professionals, but someone had to think up those designs, too!
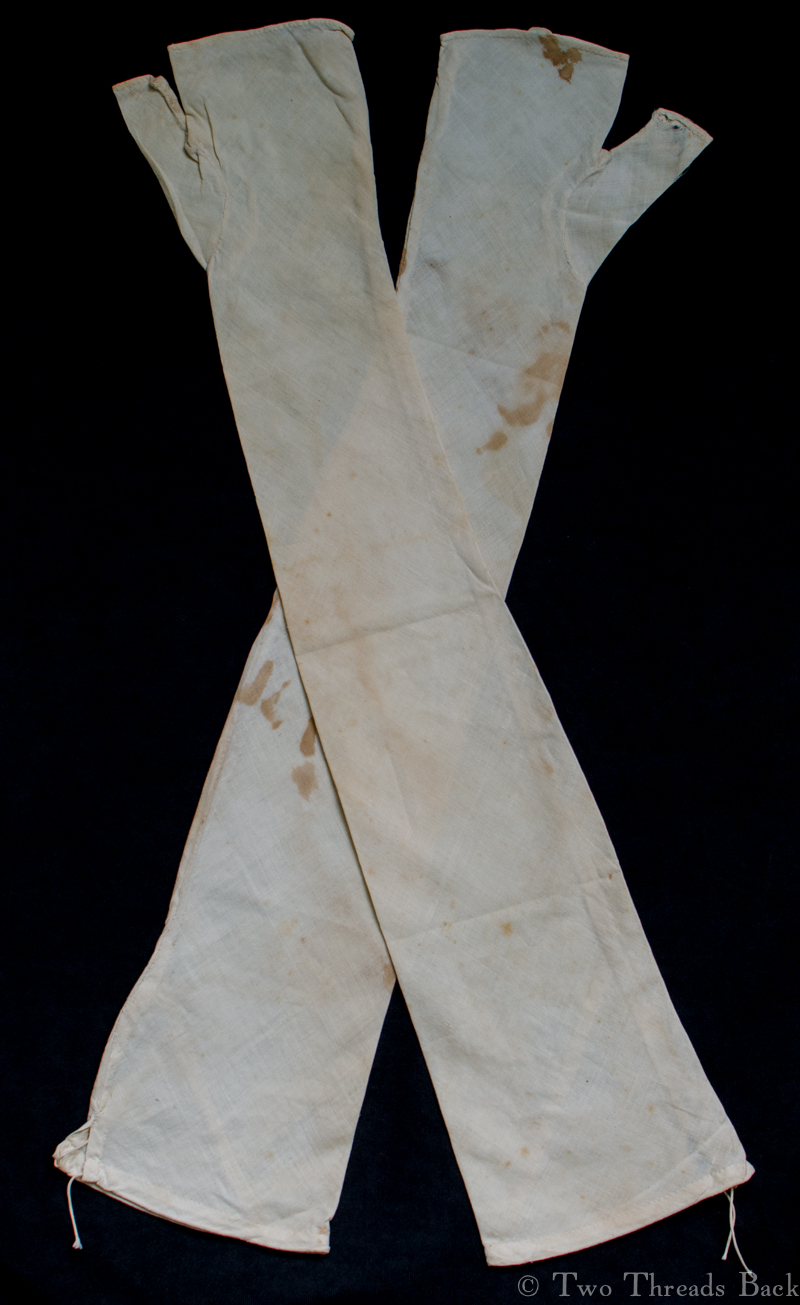
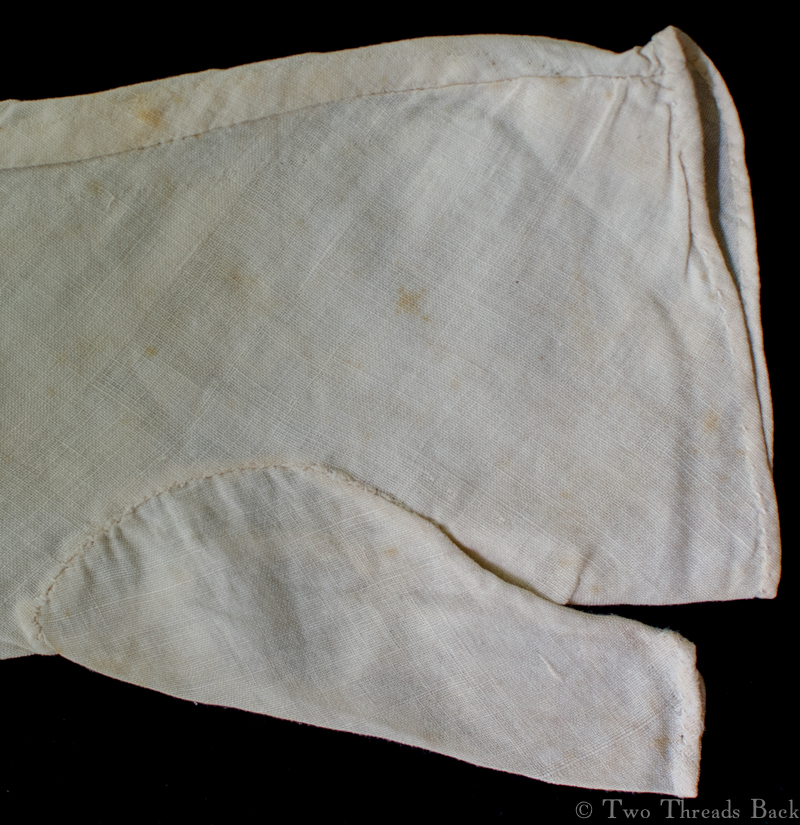
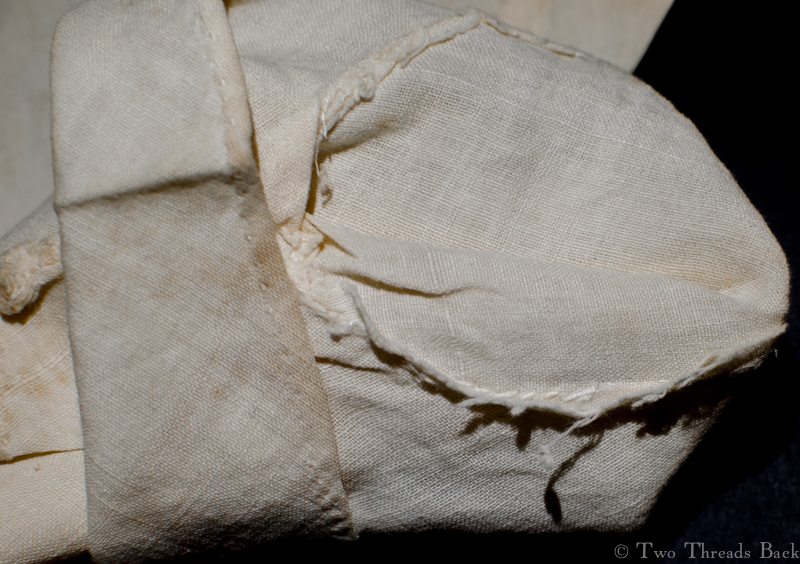
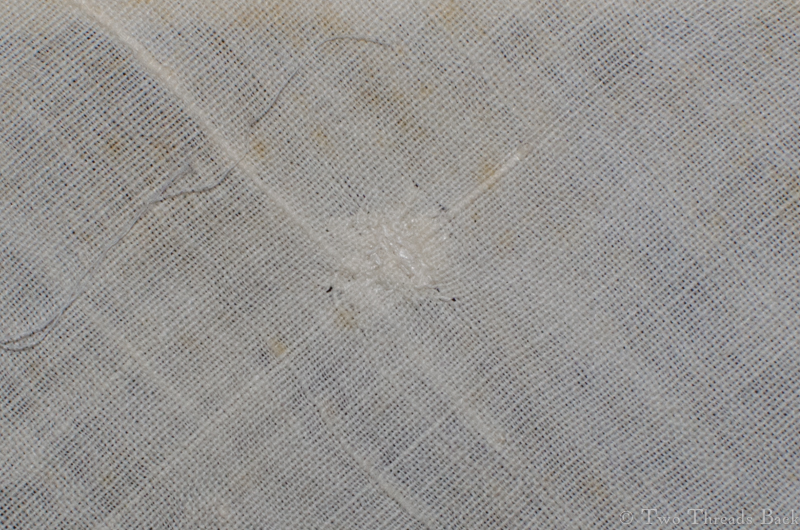
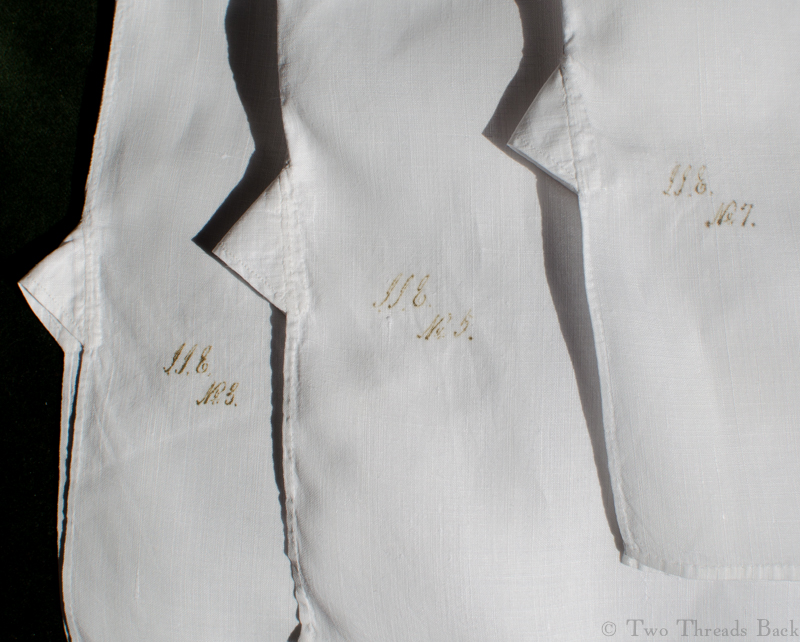
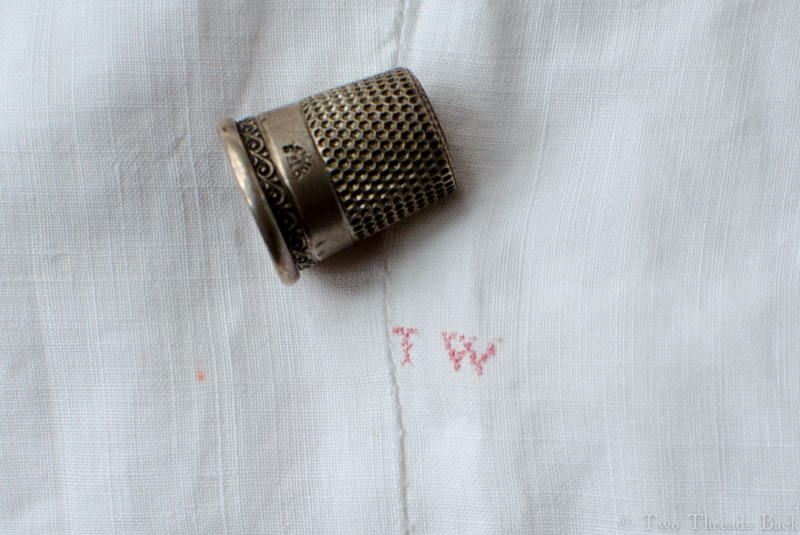
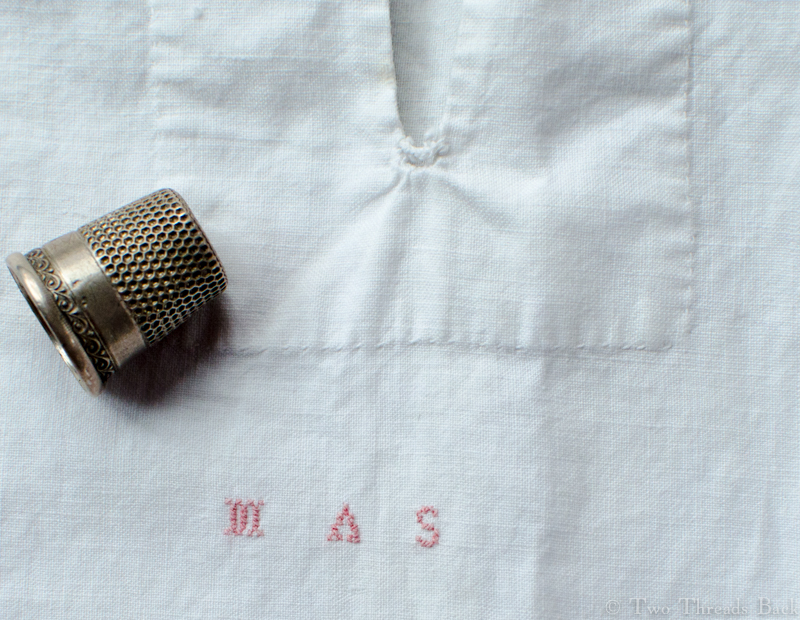
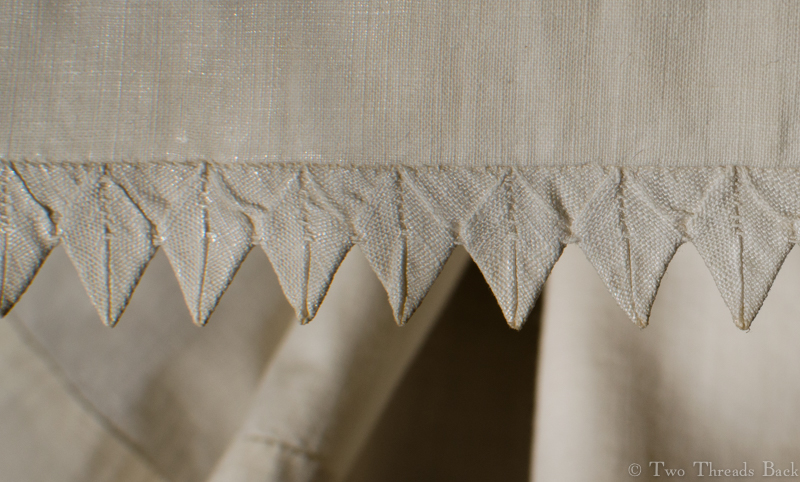
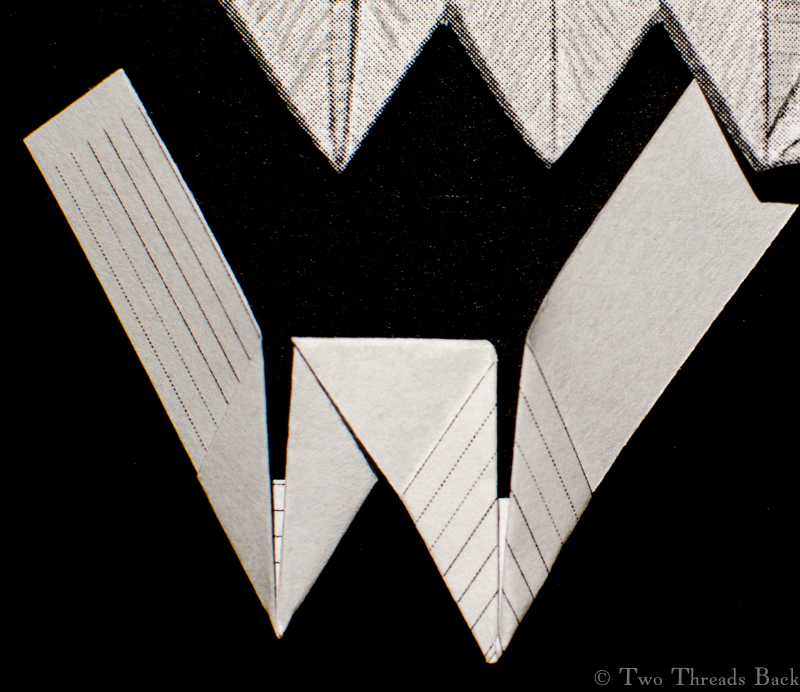
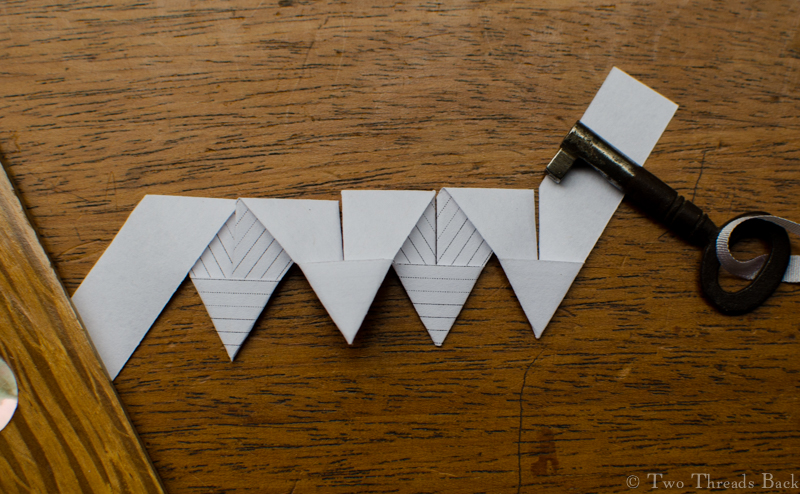
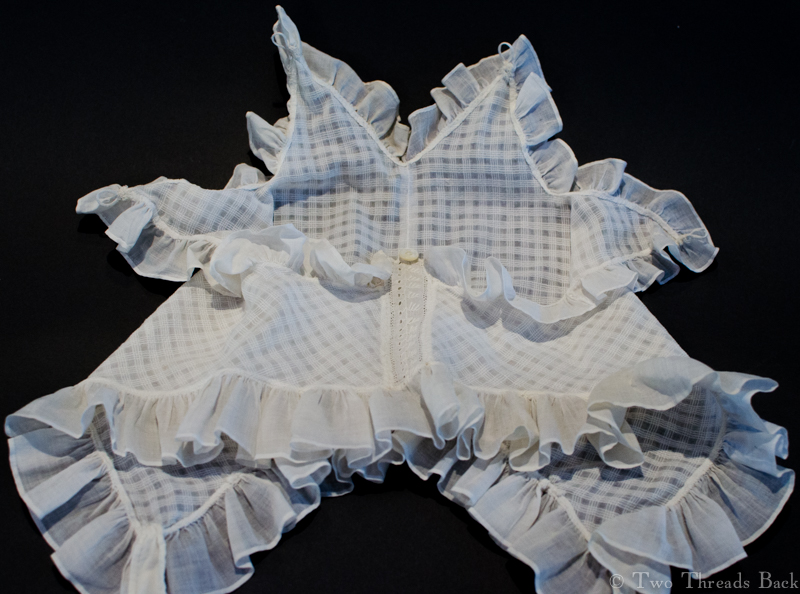
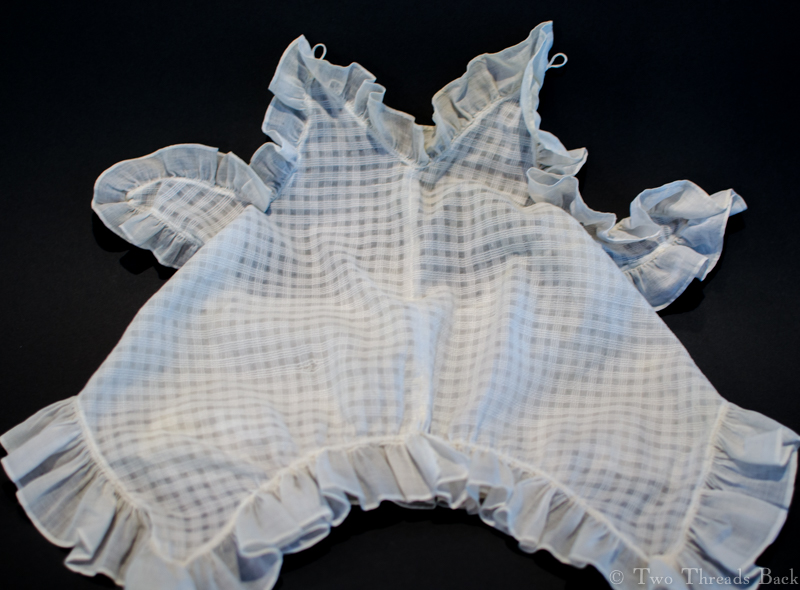
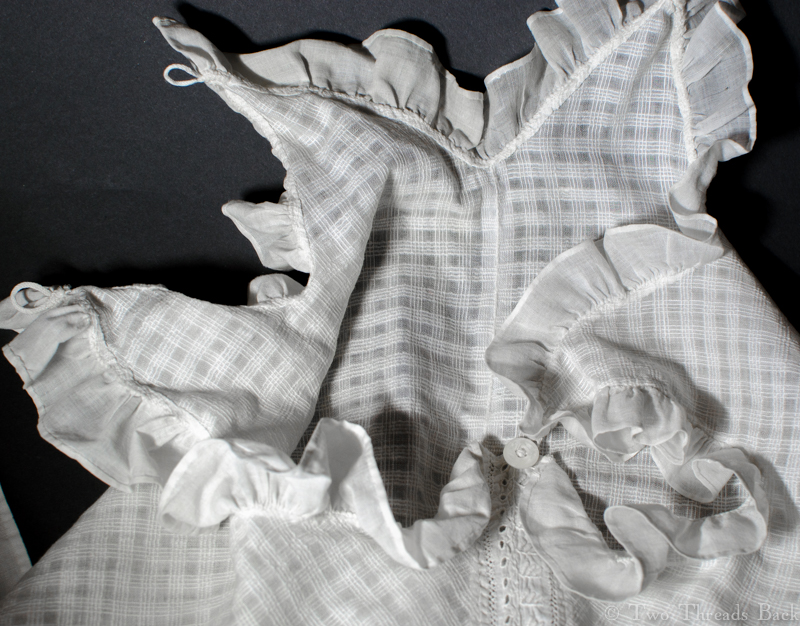
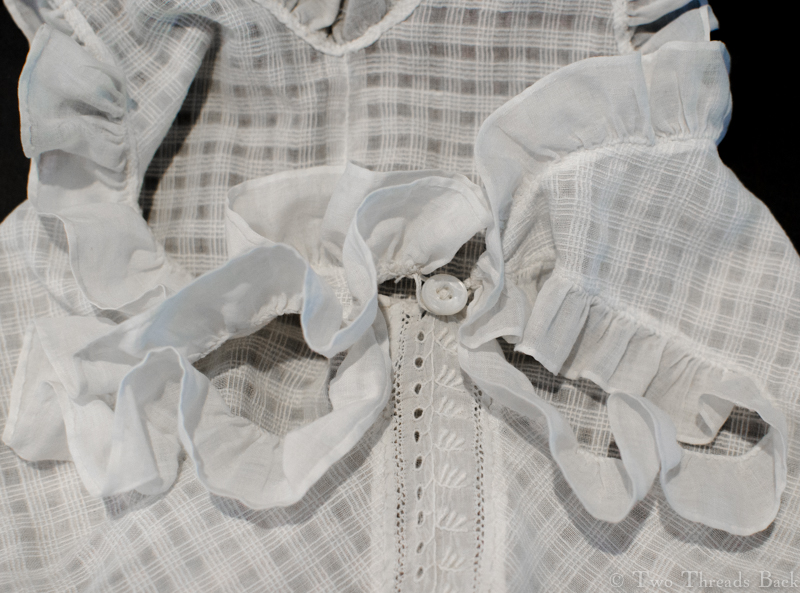
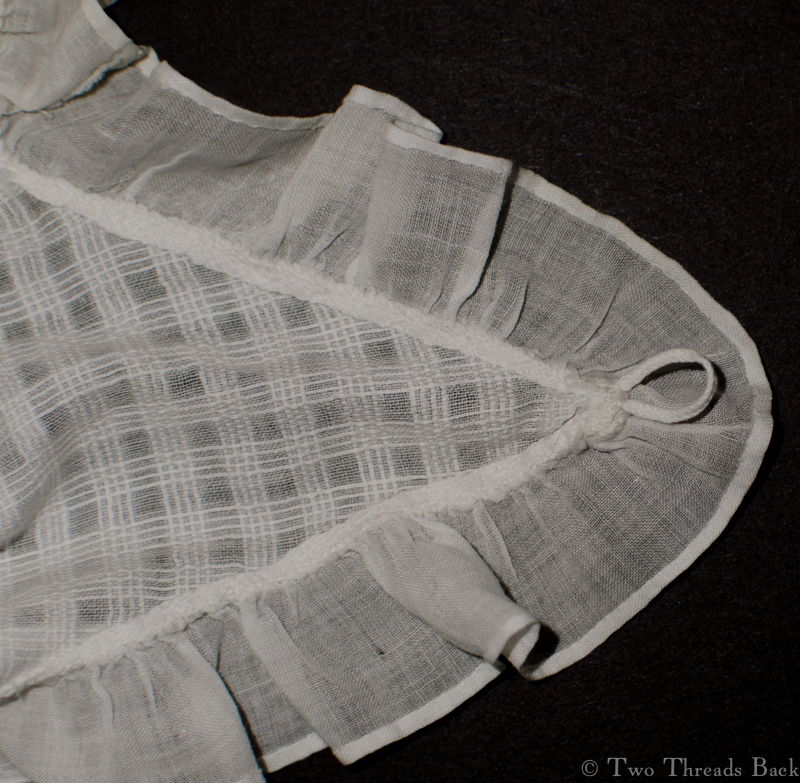
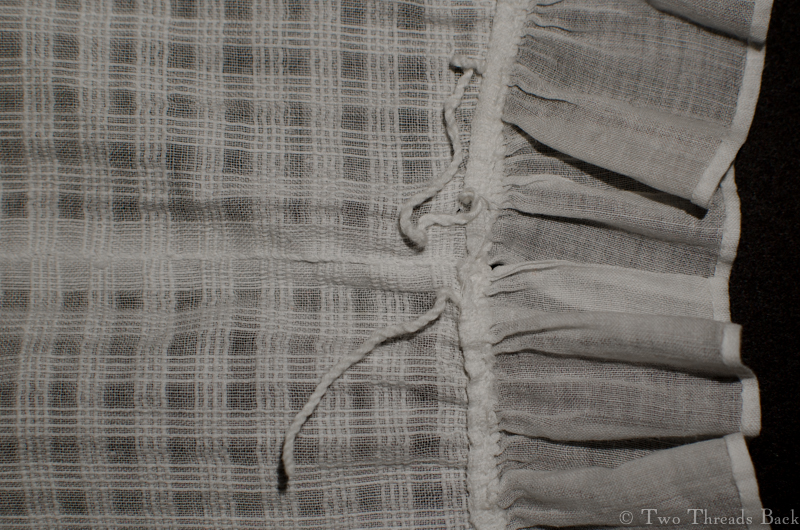
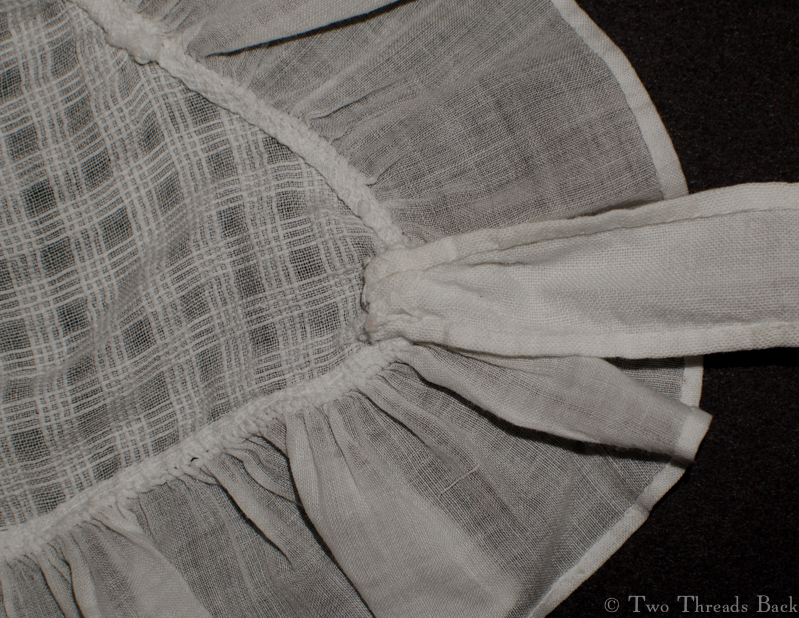
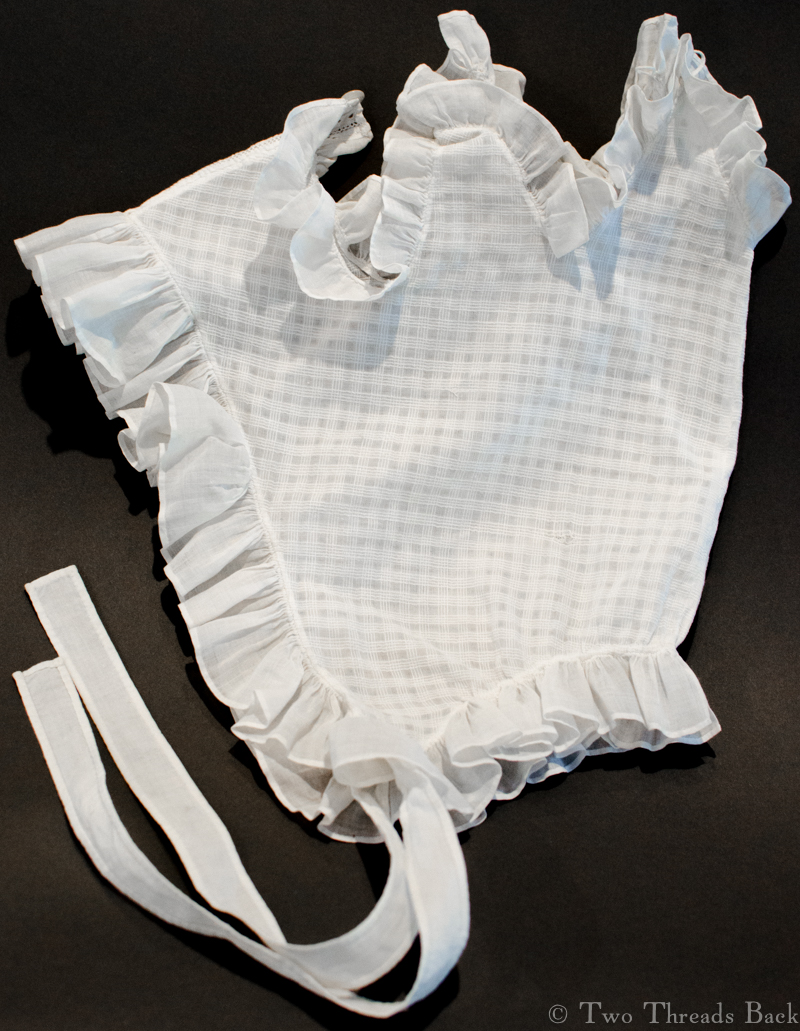
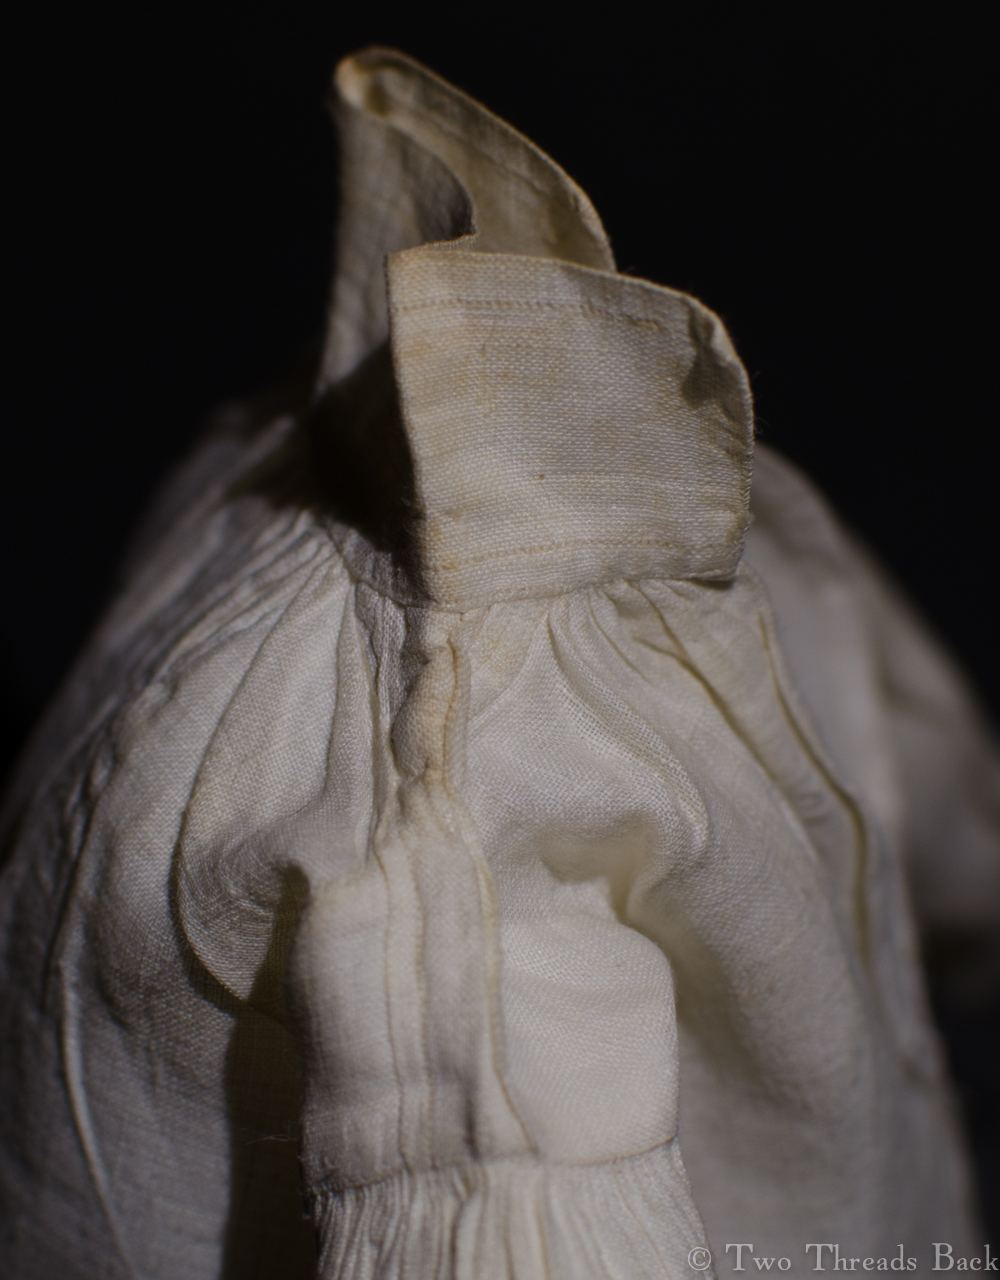
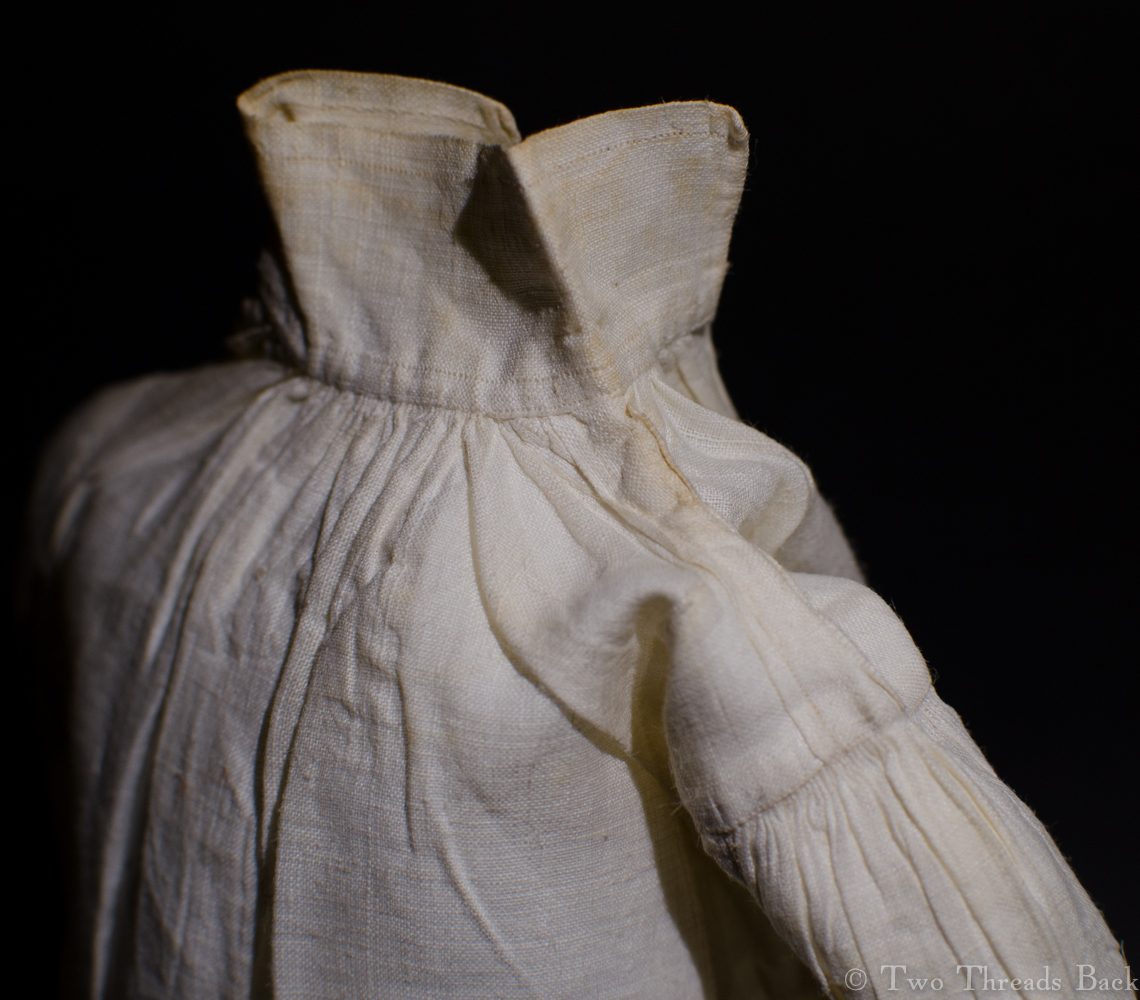
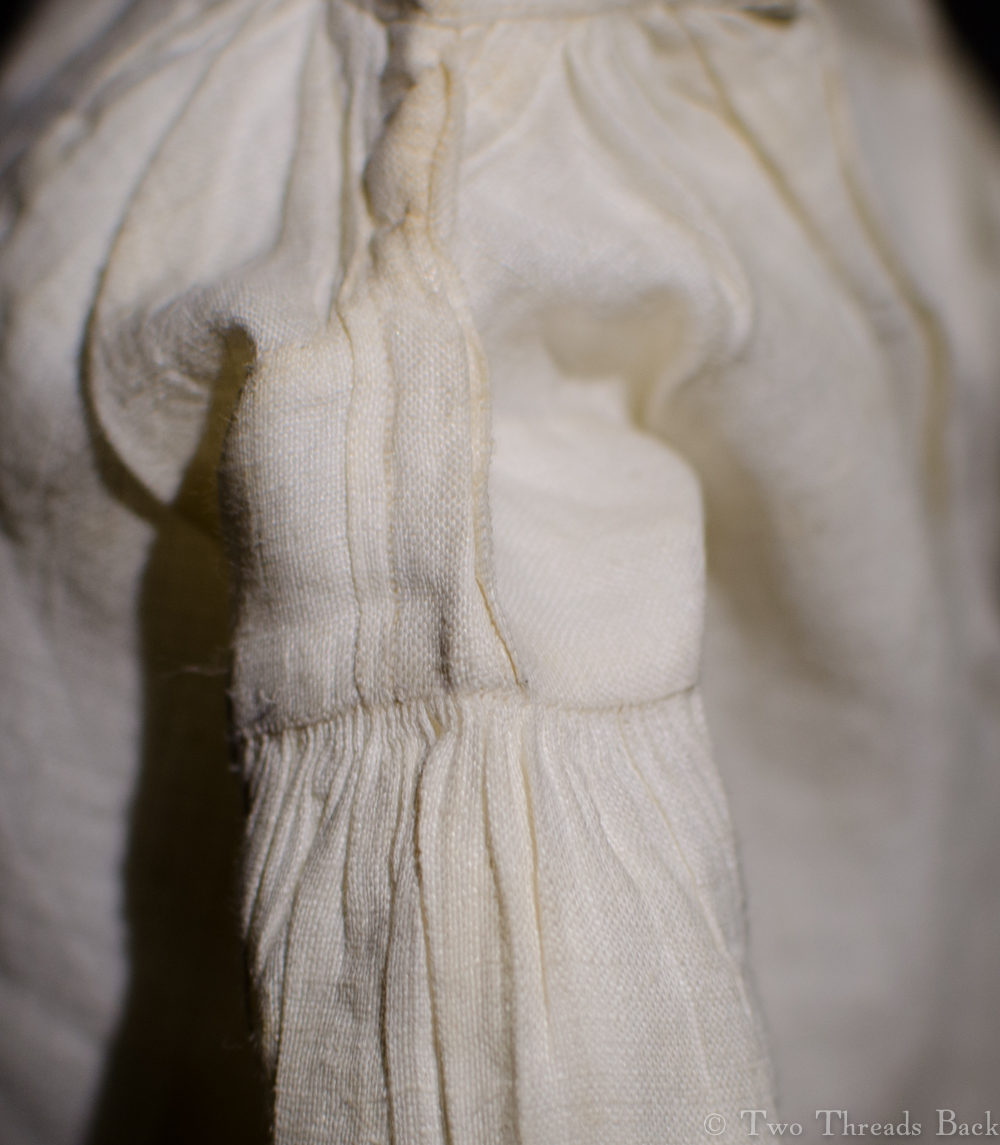
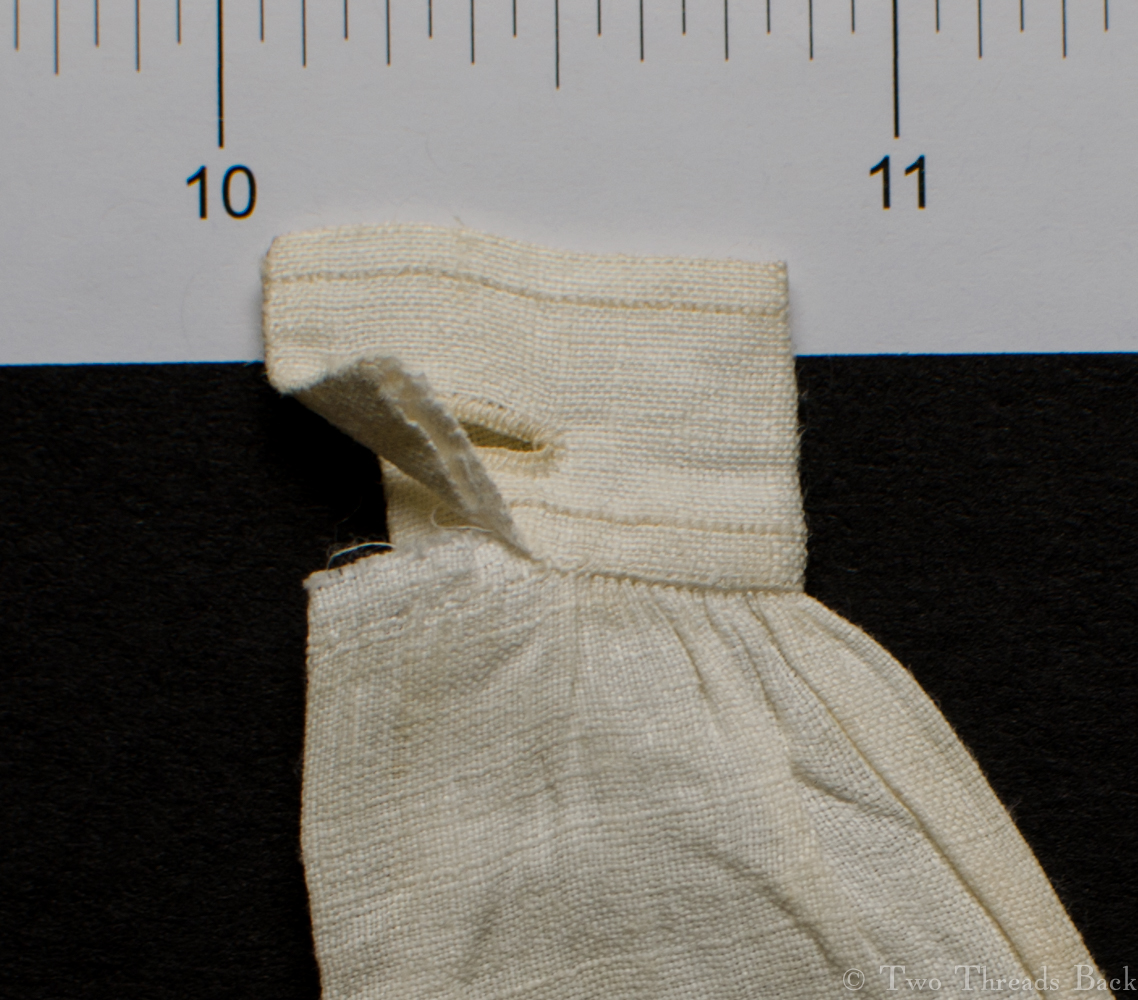
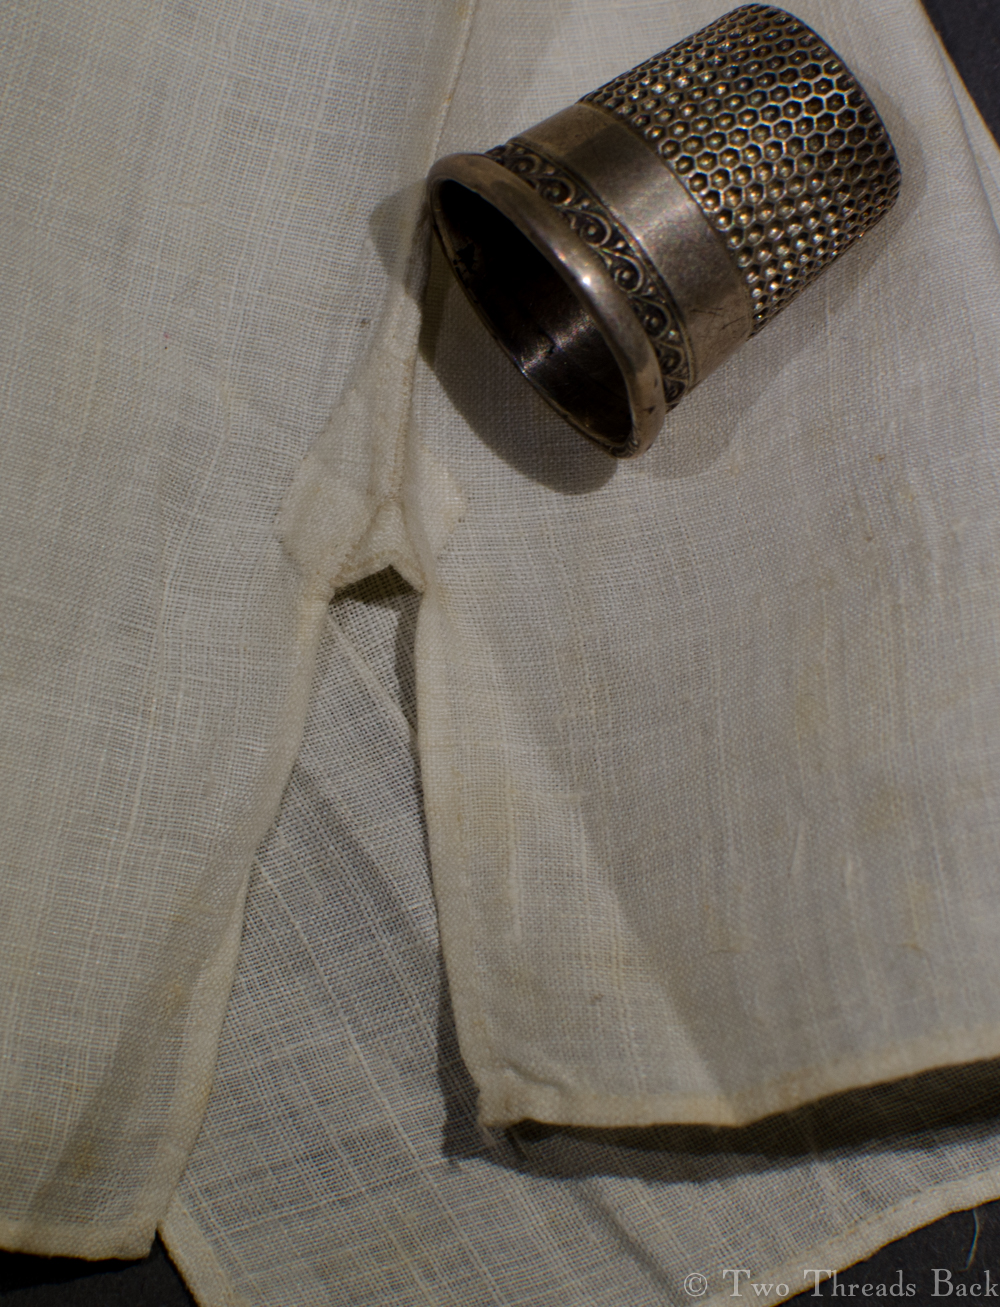
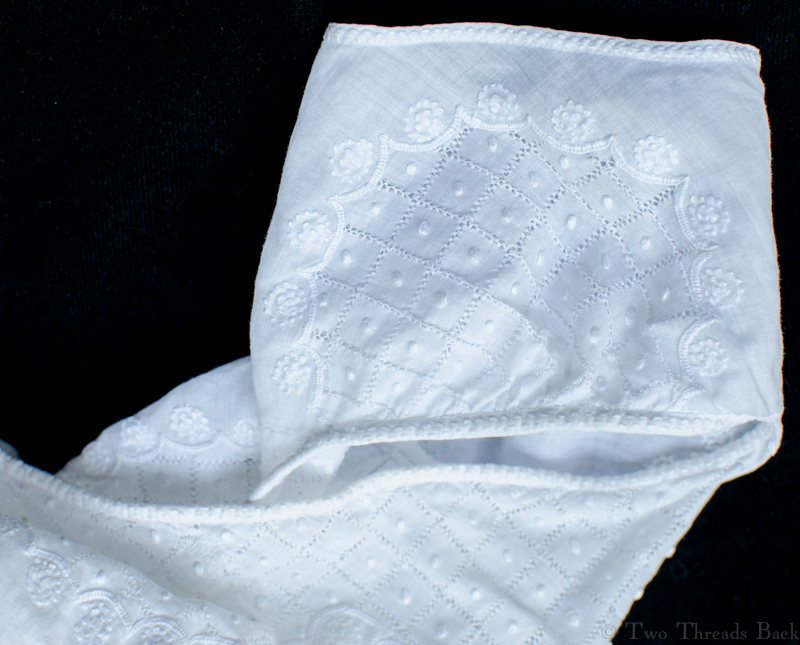
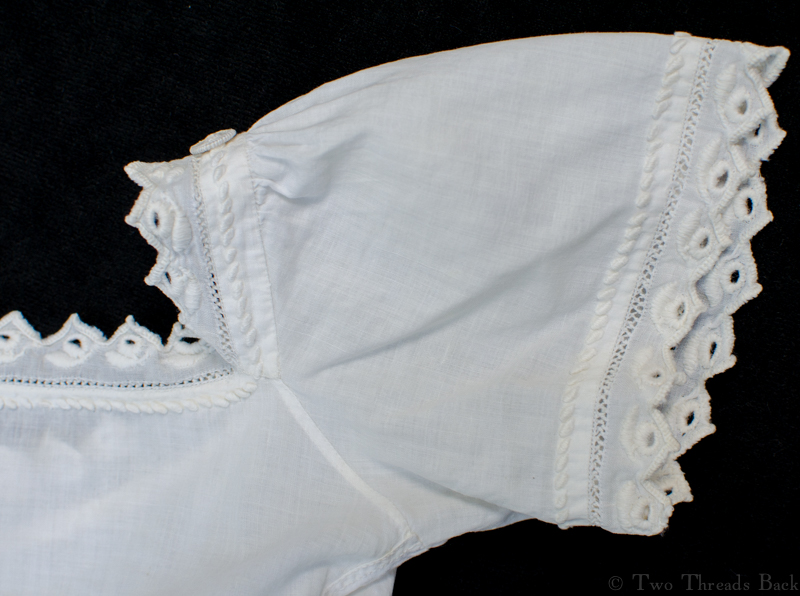
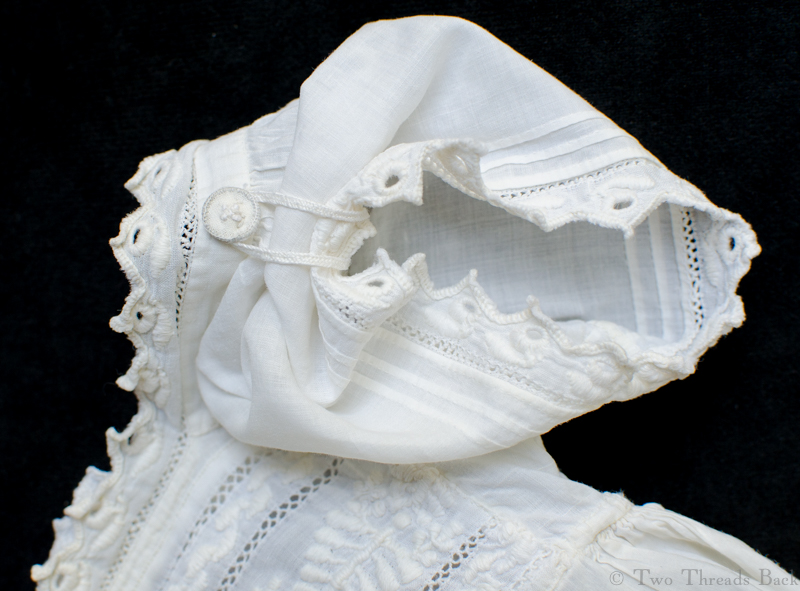
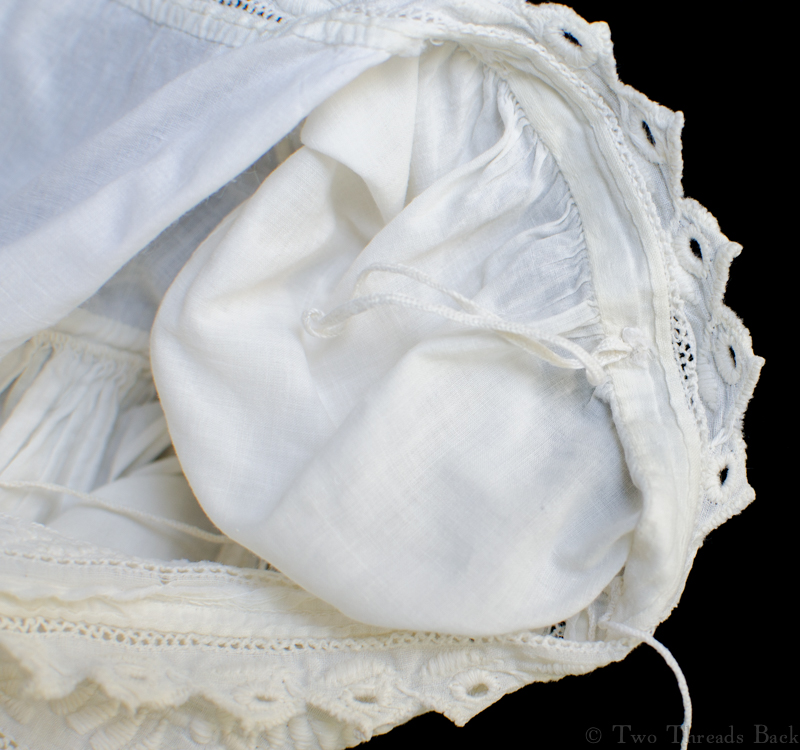
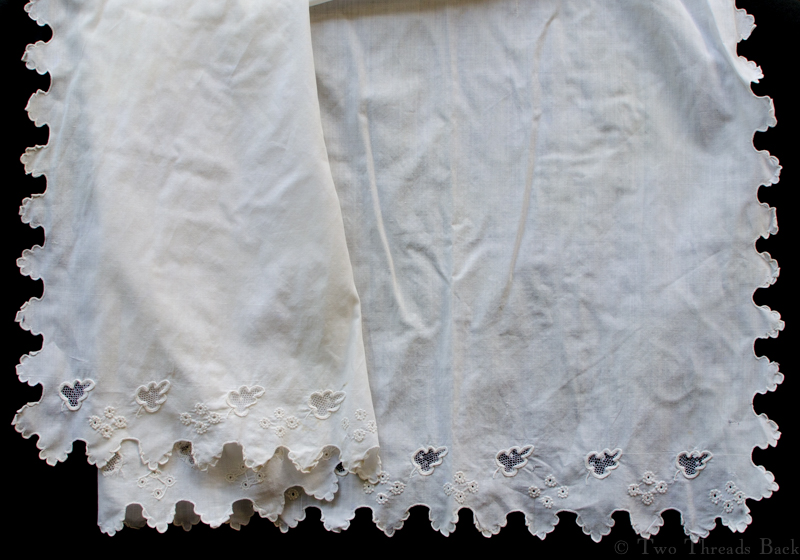
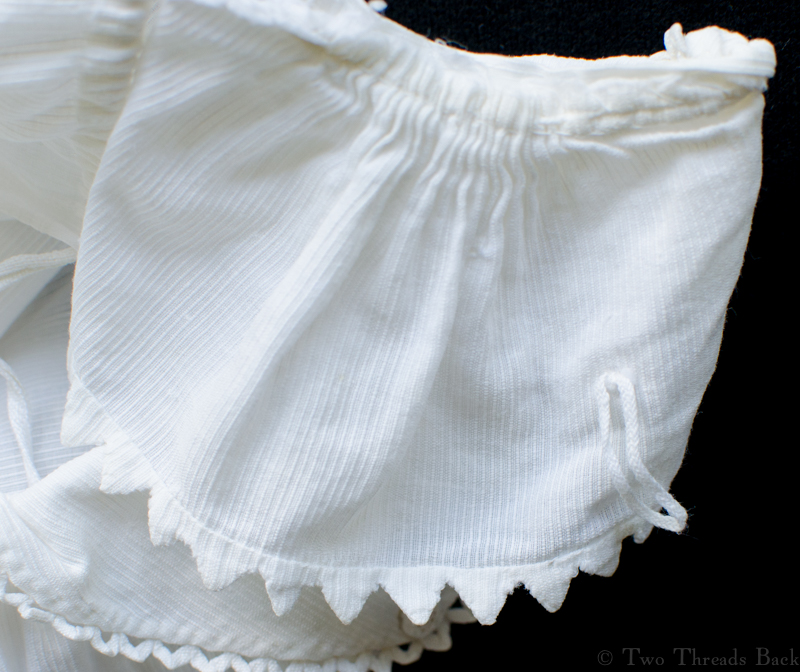
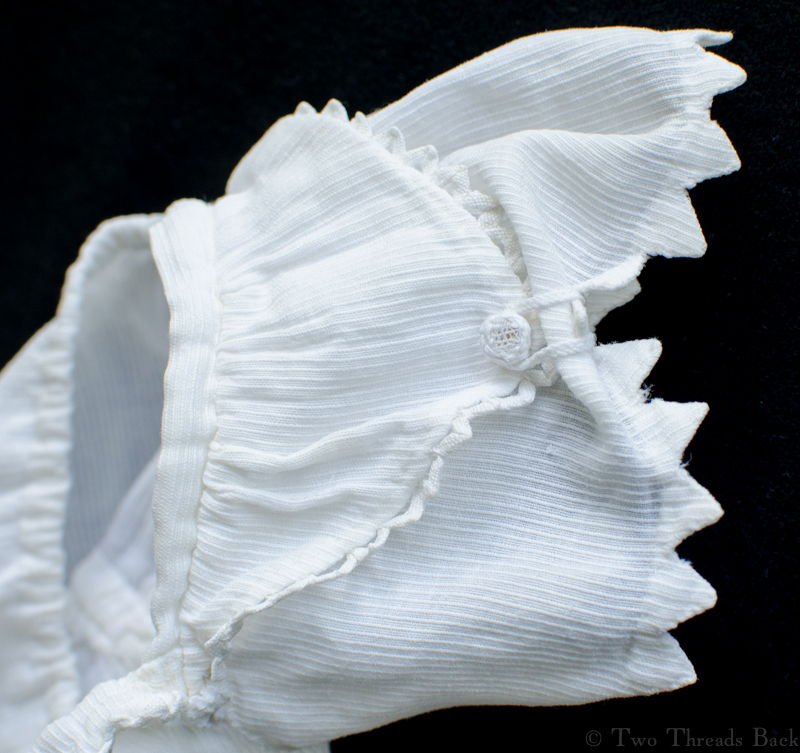
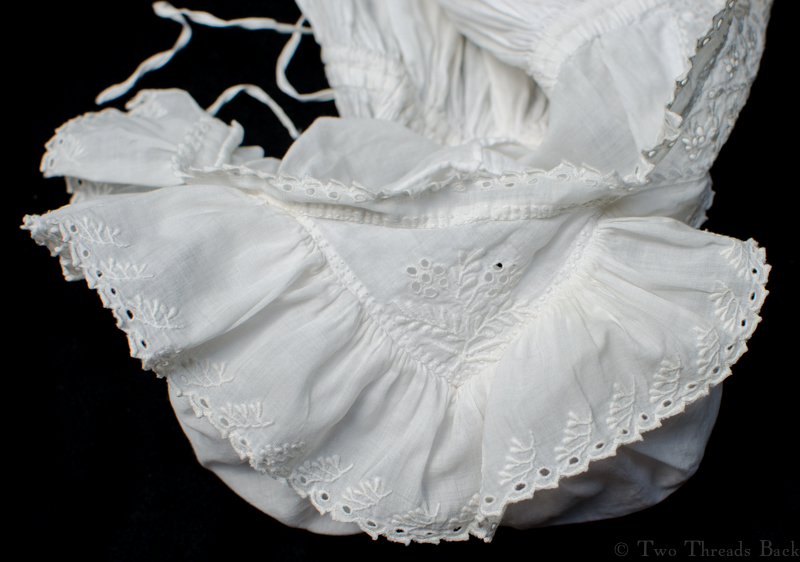
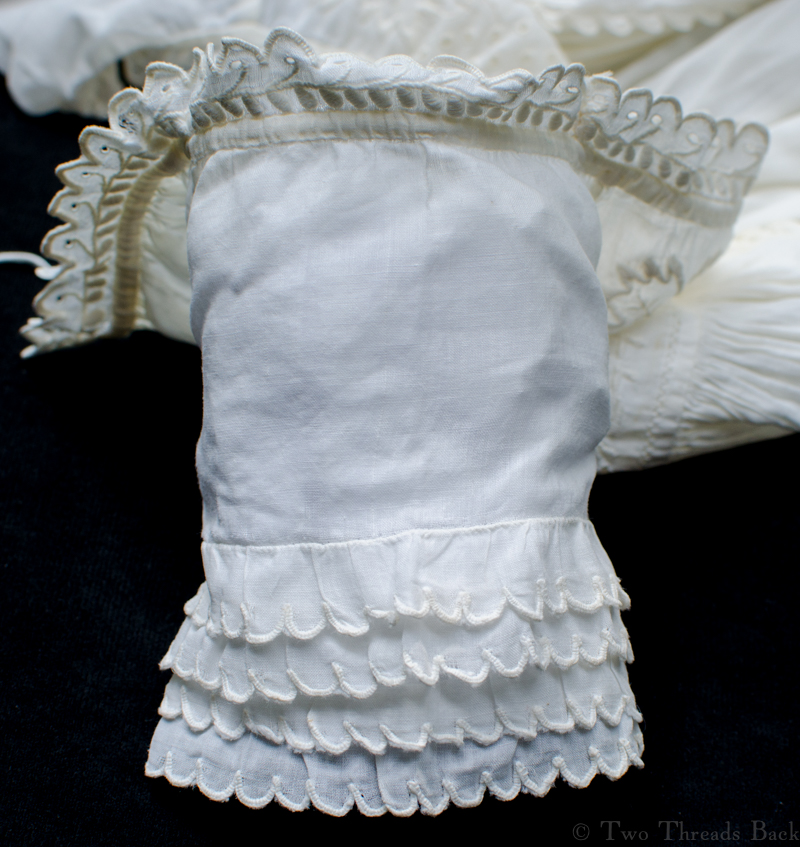
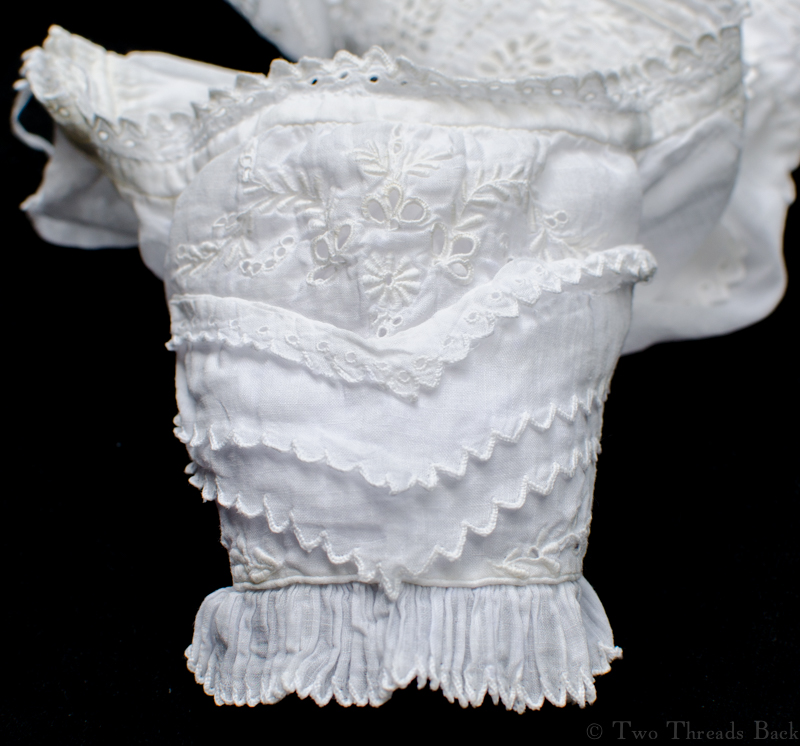
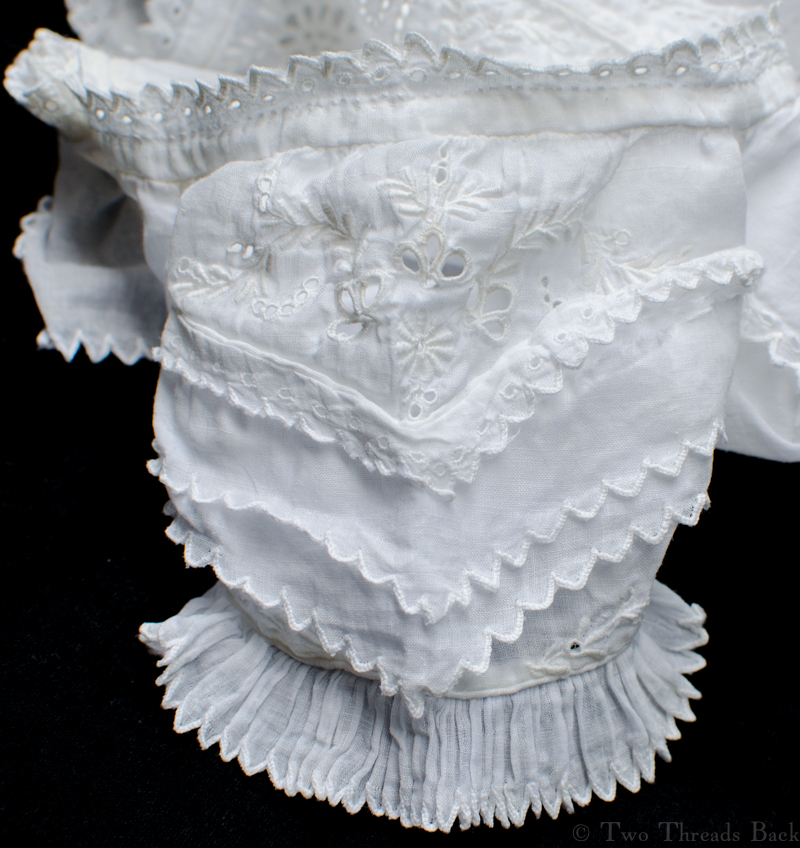
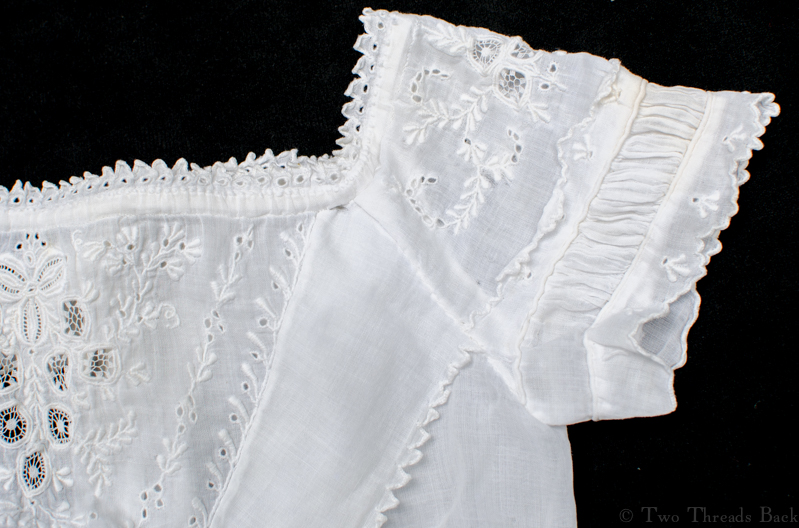
I thought a sampling of sleeve patterns from infants’ gowns would be fun to compare. They tended to reflect current styles in women’s fashions, but perhaps you’ll notice that, even with a palette of white fabric, white lace, and white thread embroidery, the artists must have been losing some serious sleep.
N.B. The many shades of white are due to differences between the gowns (and how they were laundered), and in the fickleness of the camera, sunlight, and shade while I was trying to photograph them. I’ve tried to order them chronologically using one of my favorite books, Heather Toomer’s fabulous Baby wore white, and my (imperfect) guesses.
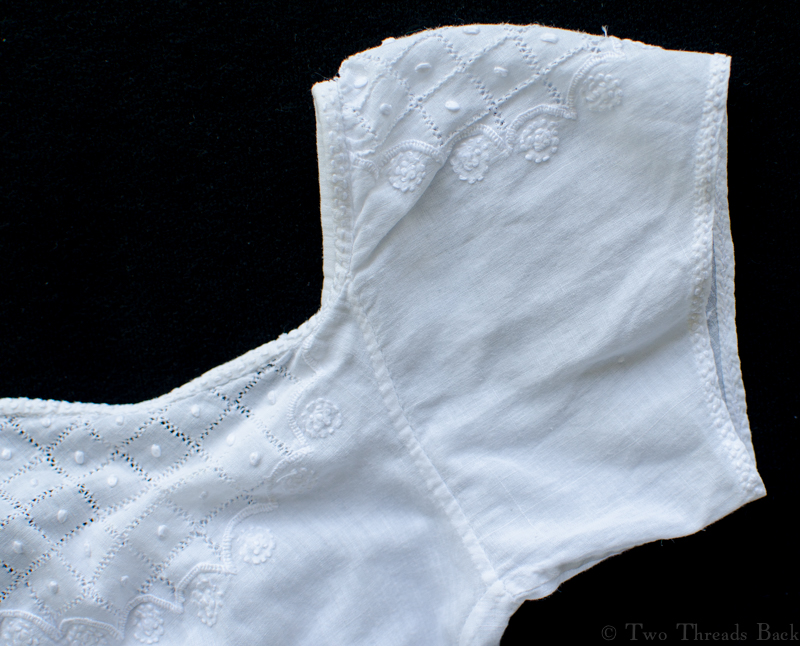


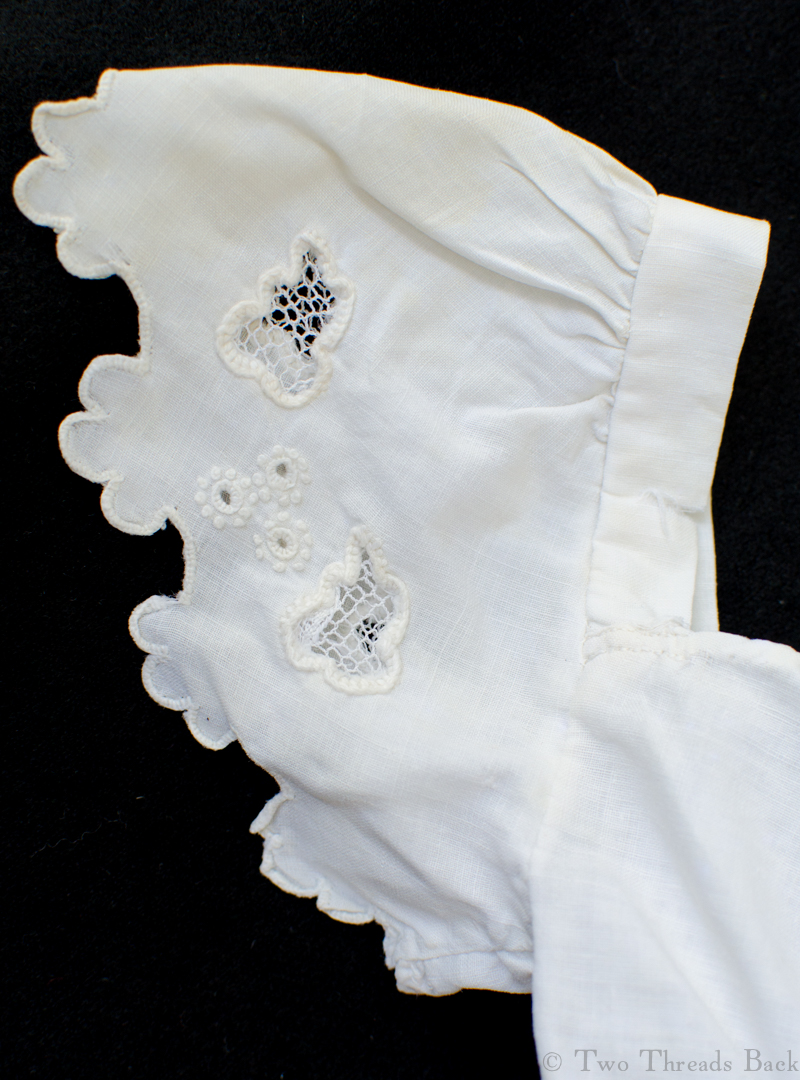


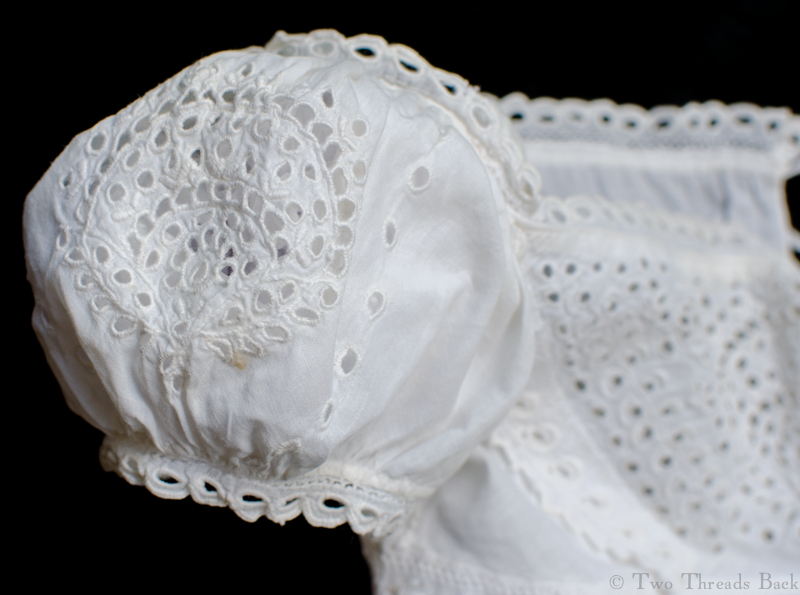
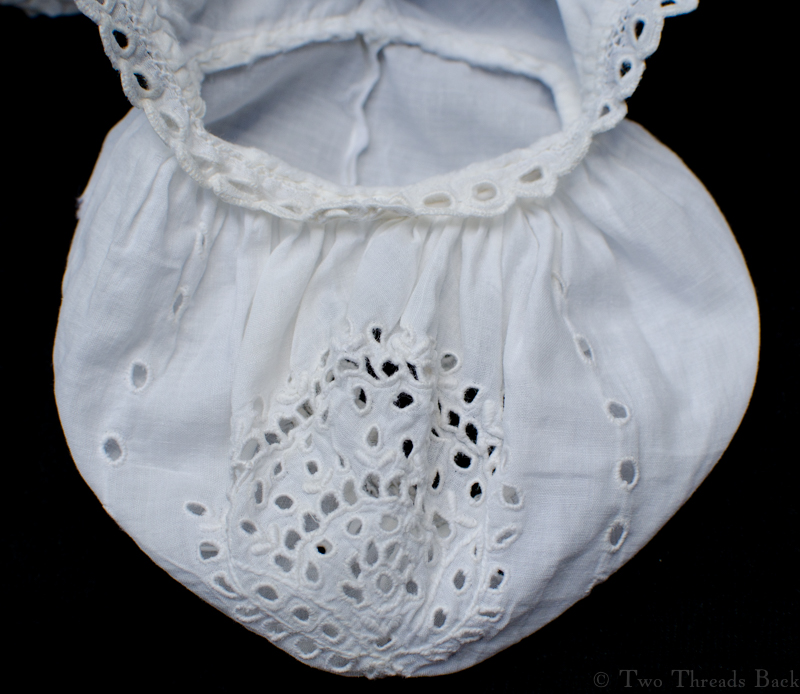
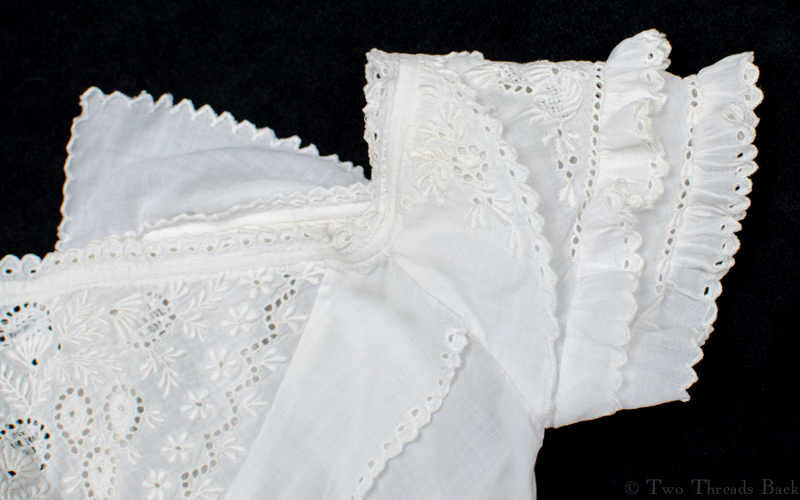
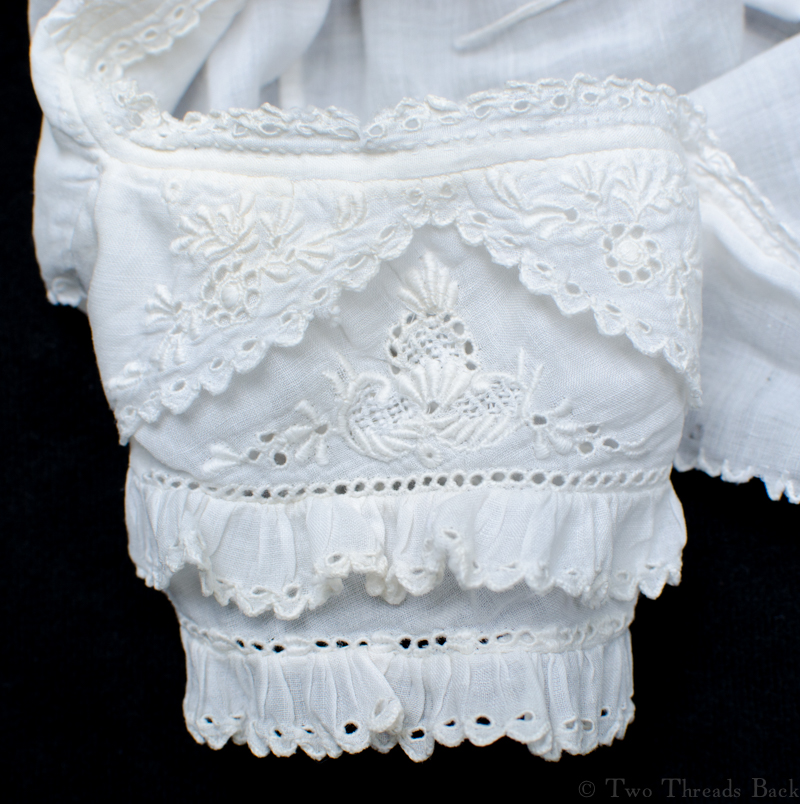

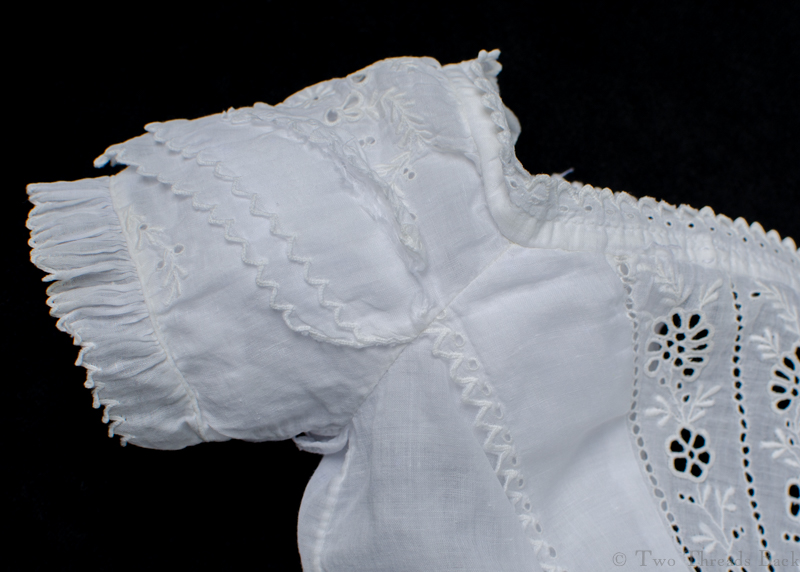
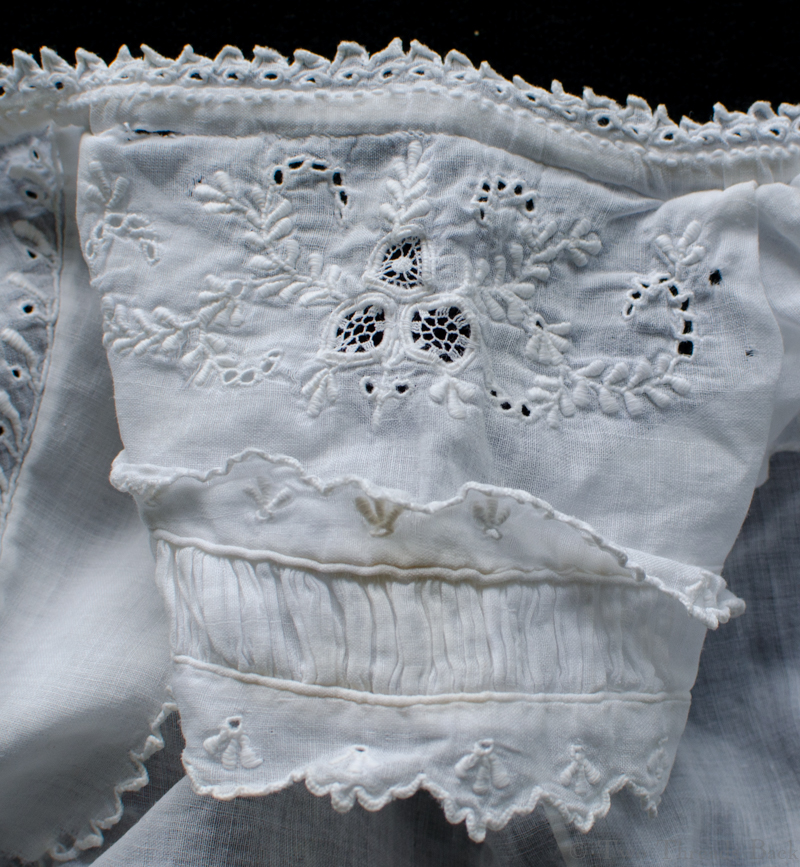

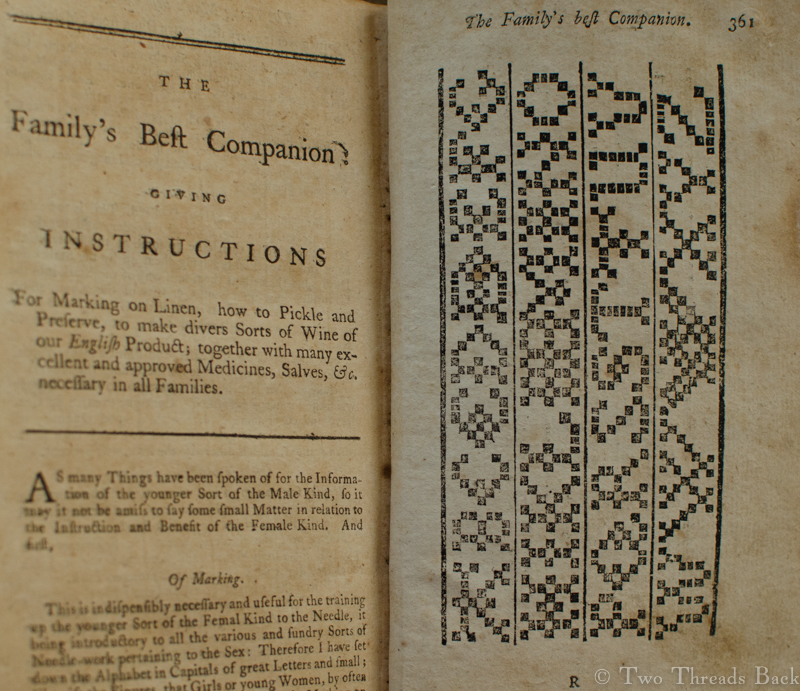
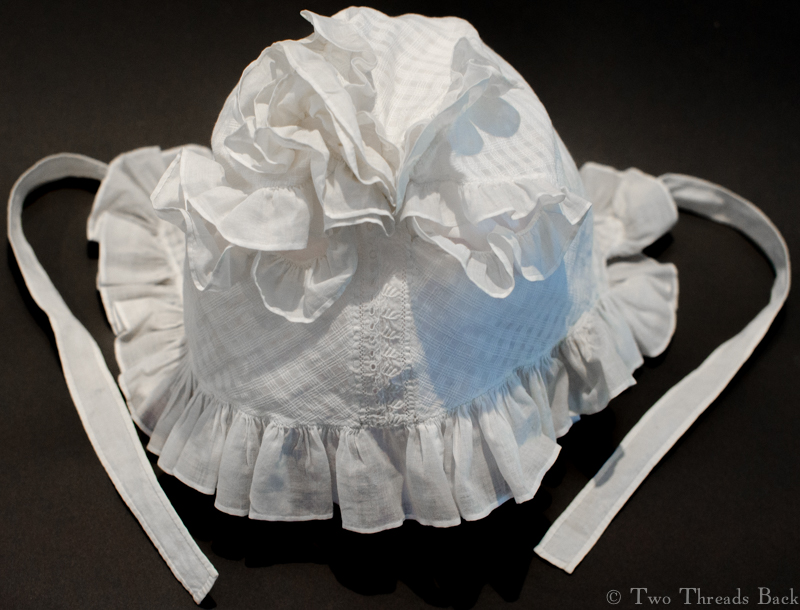
Many embroidery patterns were available early in the 19th century, but they weren’t usually specific to baby gowns. The one above is rather rare for c. 1820. Later, as women’s magazines proliferated, designs appeared frequently for gowns which could be ordered or copied for home sewing.

I’m in awe of the prodigious creativity that these designers and needleworkers display on such on tiny bits of cloth. And to think that the babies were oblivious to their splendor! It was left to their mothers, and other adoring fans, to appreciate the art on their sleeves.
*Bateson, Margaret. “Bread-Winning at Home.” The Girl’s Own Paper, 1900.