It’s fun how a search for one thing can lead to other quirky discoveries. That’s what happened when I looked for information on stockings for Pharaby. Who knew that clocked stockings were the subject of a racy little song in 1902? (Will F. Denny, on archive.org)
I’m sure ornamented stockings were worth a peep in the 18th century as well! And did you know that wearing silk stockings could be hazardous to your health? At least during a thunderstorm.
 www.metmuseum.org")
According to the Scots Magazine in 1773, a lady in Switzerland nearly suffered a shocking fate:
Her disease, like all others which the doctors can make nothing of, was decided to be a nervous one; but it was afterwards discovered to be owing to her wearing silk stockings, and wires in her cap. How little do our ladies imagine, when they surround their heads with wire, the most powerful of all conductors, and at the same time wear stockings, shoes, and gowns, of silk, one of the most powerful repellents, that they prepare their bodies in the same manner, and according to the same principles, as electricians prepare their Conductors for attracting the fire of lightning.
Ladies may laugh at all this, but it is too serious a matter to be made a joke of. A very amiable lady, a Mrs Douglas of Kelso, had nearly lost her life by one of those caps mounted on wire. She was standing at an open window during a thunder-storm: the lightning was attracted by the wire, and the cap was burnt to ashes. Happily her hair was in its natural state, without powder, pomatum, or pins, and prevented the fire from being conducted to her head.
A good strong head of hair, if it is kept perfectly clean, and dry, is probably one of the best preservatives against the fire of lightning. But so soon as it is stuffed full of powder and pomatum, and bound together with pins, its repellent force is lost, and it becomes a conductor.
Hmm… personally (and modern-tastefully) I find the “loaded” hairstyle more repellent!
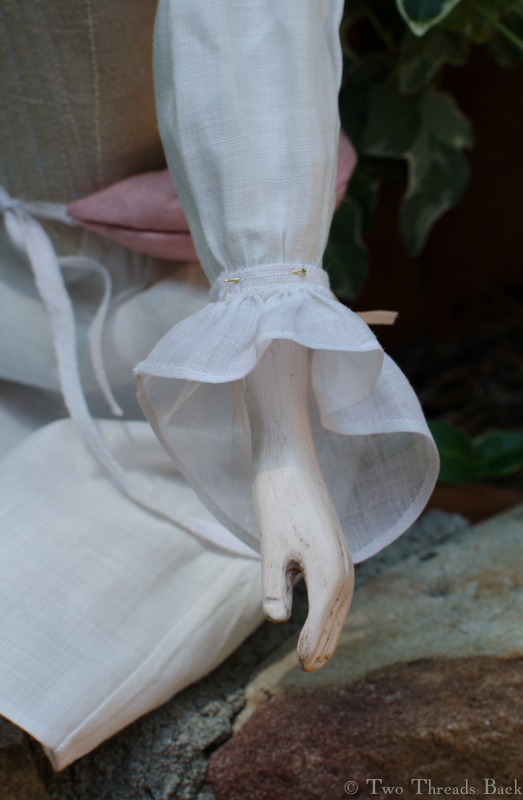
But I digress. Pharaby most certainly wanted stockings, and I wanted to make them. Well, I wanted her to have them. To be honest, I was at a loss for how to make stockings, so first I spent some time searching for ready-made.
What would fit her? Her limbs are not exactly the same size and shape (well neither are mine), and her feet are shaped to stand flat on the ground. Or table. So off-the-rack doll stockings, unless I was willing to accept nylon tubes, were not an option.
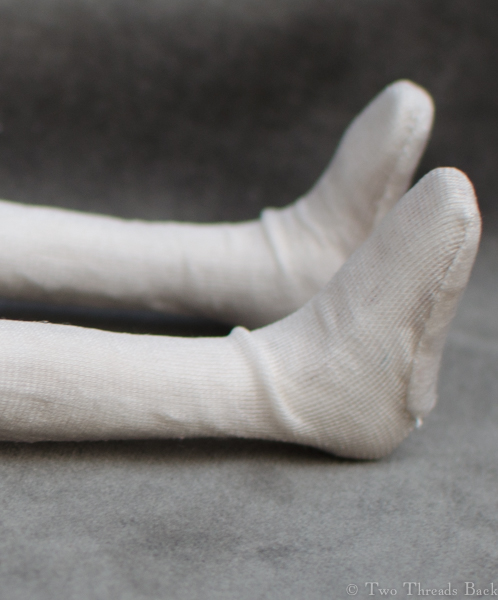
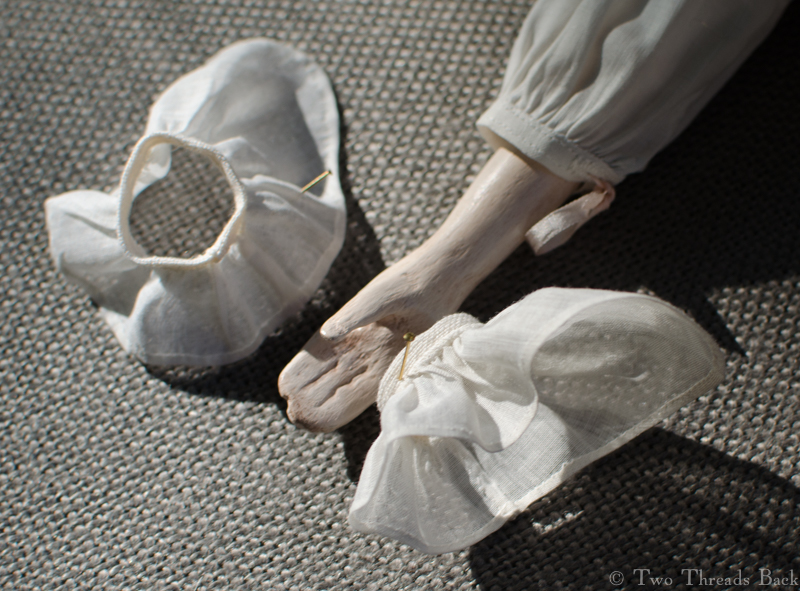
I decided I’d have to make them after all. Knitting was out of the question since I don’t know how. The stockings would have to be cut and sewn. Pondering a source for slightly-aged stretchy silk one day, I experienced a flash of brilliant resourcefulness. Gloves! With silk lining! Ebay! I found a worn vintage pair that were just right and managed to extricate the lining from the leather.
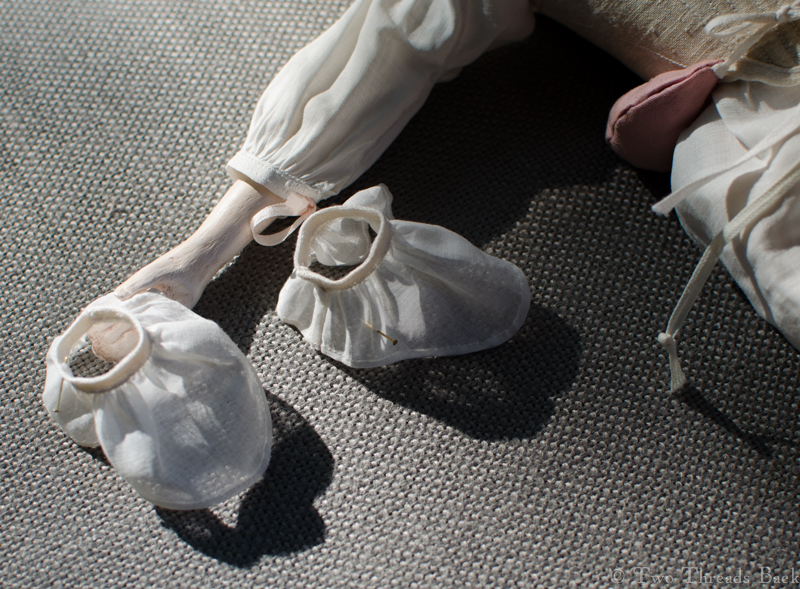
Next I found and adapted a pattern on this lovely site and practiced fitting it, using an old t-shirt so I wouldn’t waste the silk. That took a while, but once I settled on the size, I had another idea. Why not embroider clocks on her stockings? My brilliant ideas are often followed by some real flops, and so this one proved. I made three attempts to embroider a half-inch design on thin stretchy silk. It looked horrible, no matter what thread or stitch I tried. There would be no clocks this time.
Fortunately Pharaby didn’t know I was even trying, so she suffered no disappointment; she was pleased to have any stockings at all. They may be her only pair. We have a lot of thunderstorms.