It’s been a whale, er, a while, since Pharaby had an update in her wardrobe. Stays were next on the list since no 18th century female would be caught dead without them. I dreaded it though, not only because I’m not a staymaker, but because Pharaby is so feisty and I feared she would not be very accommodating.
I was right.
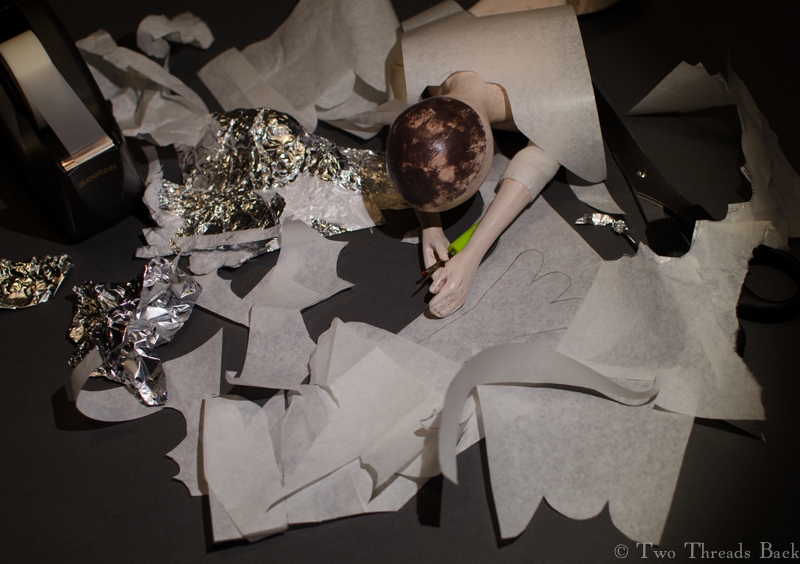
It wasn’t hard finding some period glazed linen, and stitching was tedious but not difficult. The challenge was making a pattern and making it fit. Hooboy. I have no talent for patterns to begin with, and Pharaby was utterly unyielding. Her curves would not give an inch. I must have drawn two dozen versions before we came to terms. I think she herself came close to desperation, because late one night I caught her reaching for the seam ripper when she thought I wasn’t looking.
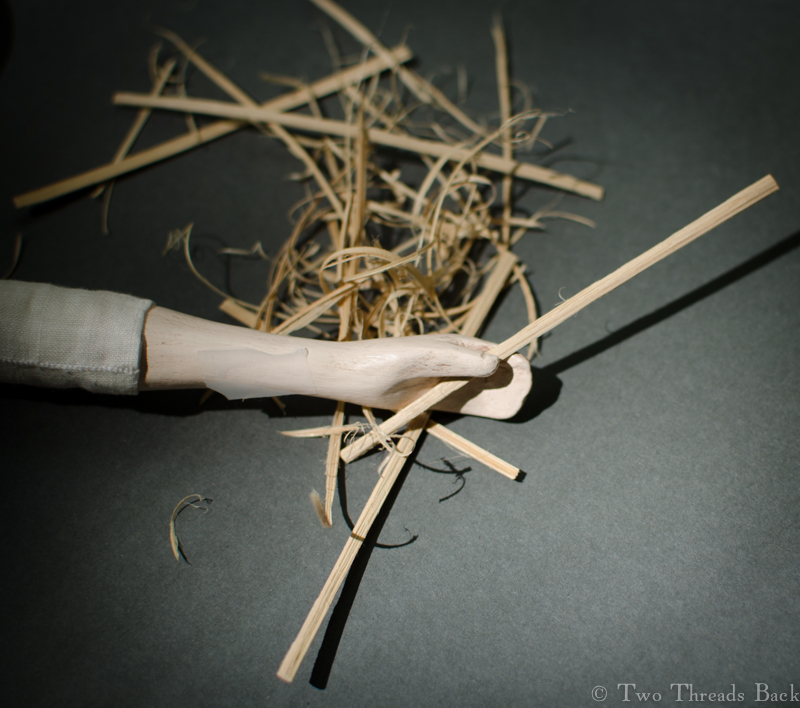
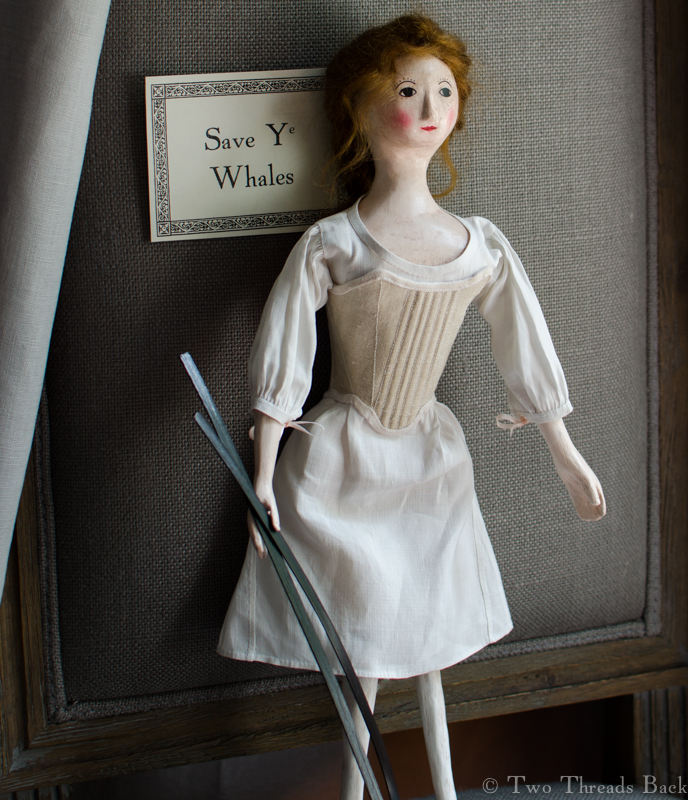
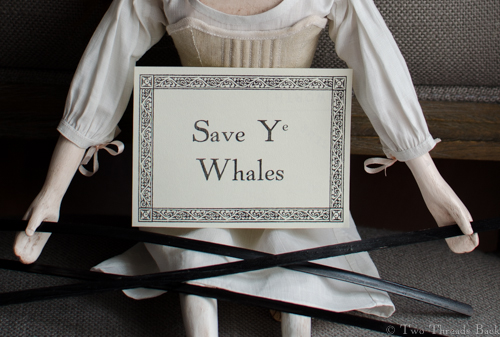
Well, between tracing and taping and heavy use of aluminum foil, we made it. The next part was finding appropriate boning. My first thought was to use old whalebone, but the idea of cutting them to fit was rather daunting. And Pharaby feels strongly about whaling – see above. I experimented with plastic ties (too soft), wooden skewers (too hard), cardboard (too bendy), and even some perfectly shaped plastic applicators I found in a cosmetic box (too thick). I decided on reeds, and Pharaby and I spent considerable time shaving them to size. I think she rather enjoyed that part, but I can tell you I had to get new blades for my Exacto knife before we were finished!
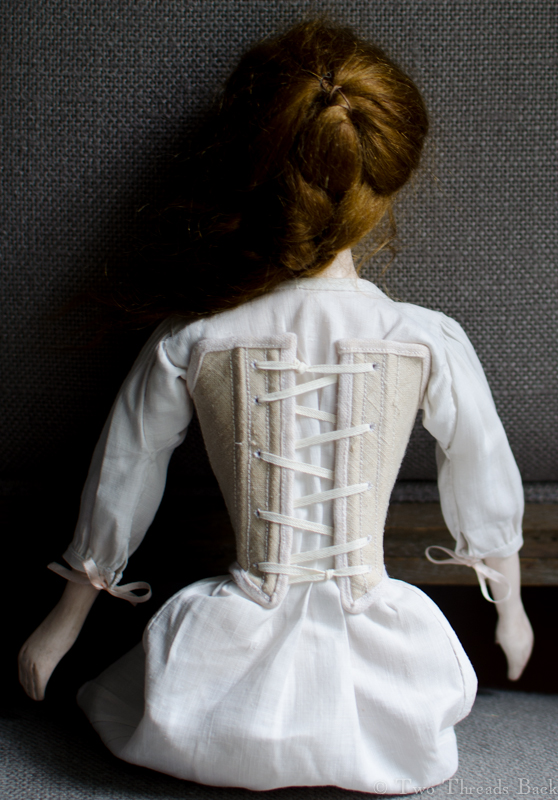
Eleventy weeks later, they were done. All but the lacing holes. It looked so simple to do and there were plenty of nice images available to help. But if I thought pattern making was a chore, figuring out the spacing for spiral lacing required three afternoons. Gee, the back of the stays is only 3 inches, how hard could that be? For me? Ha.
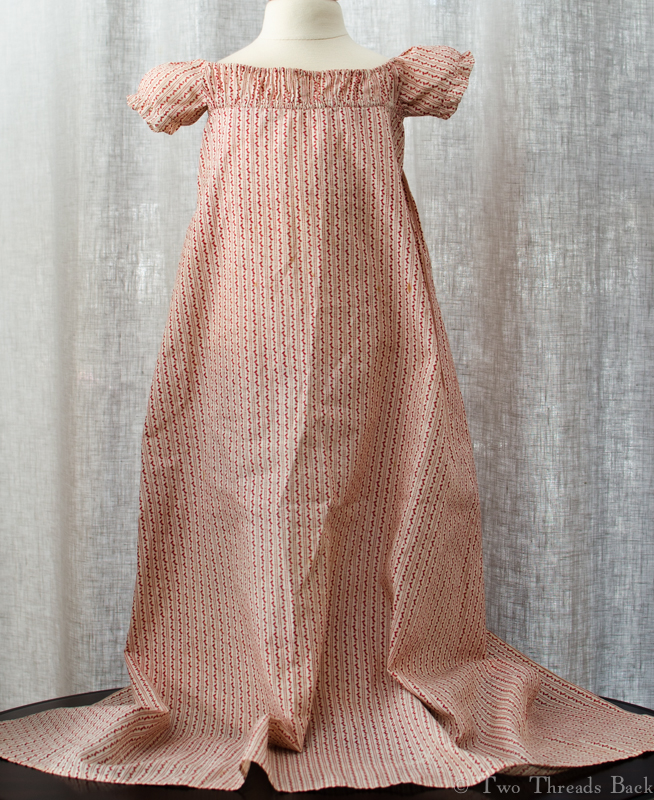
Persistence pays, however, and she is now laced in her stays. I’ve sewn a little pocket inside the lining so I can make her a busk. And I think, despite her protests, it may be made of baleen. She’s now ready for the next garment: I expect it will be a petticoat.
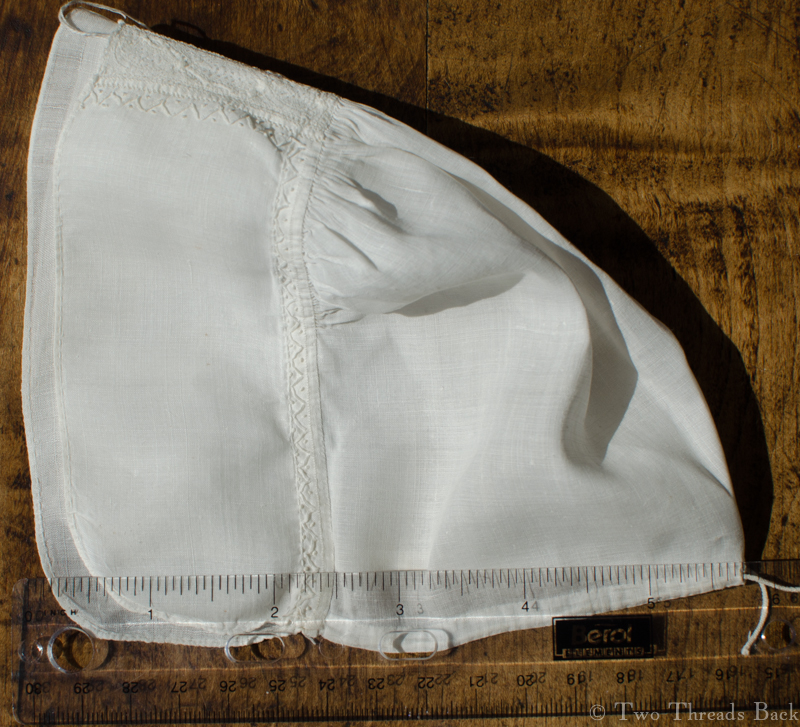
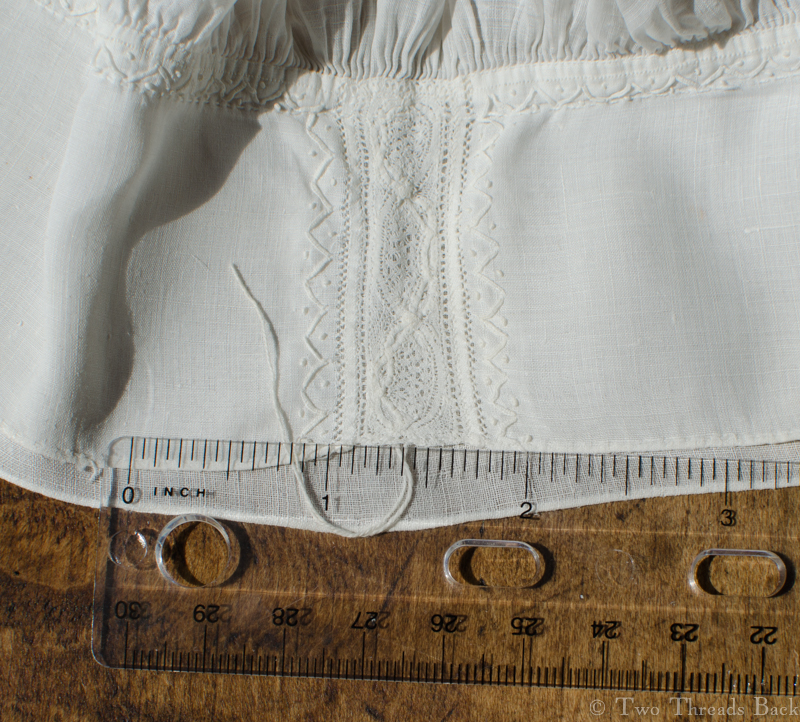
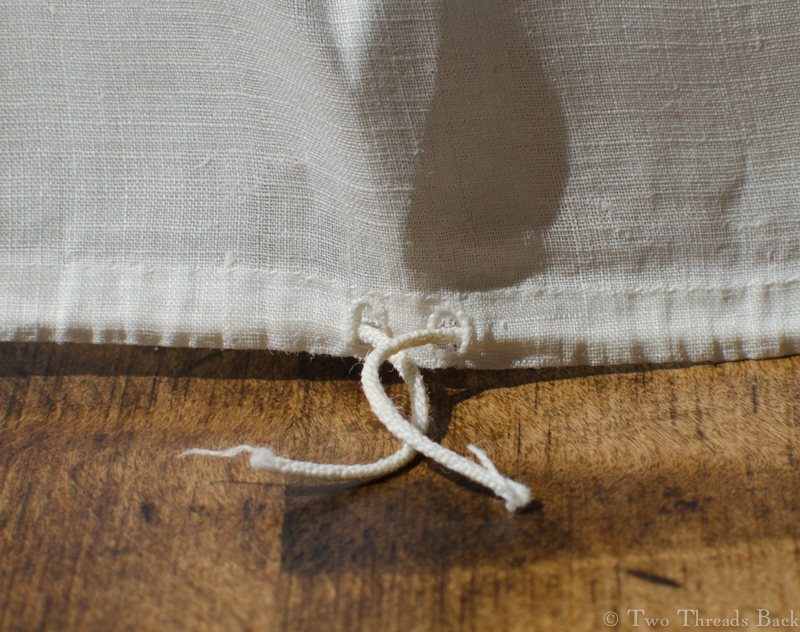
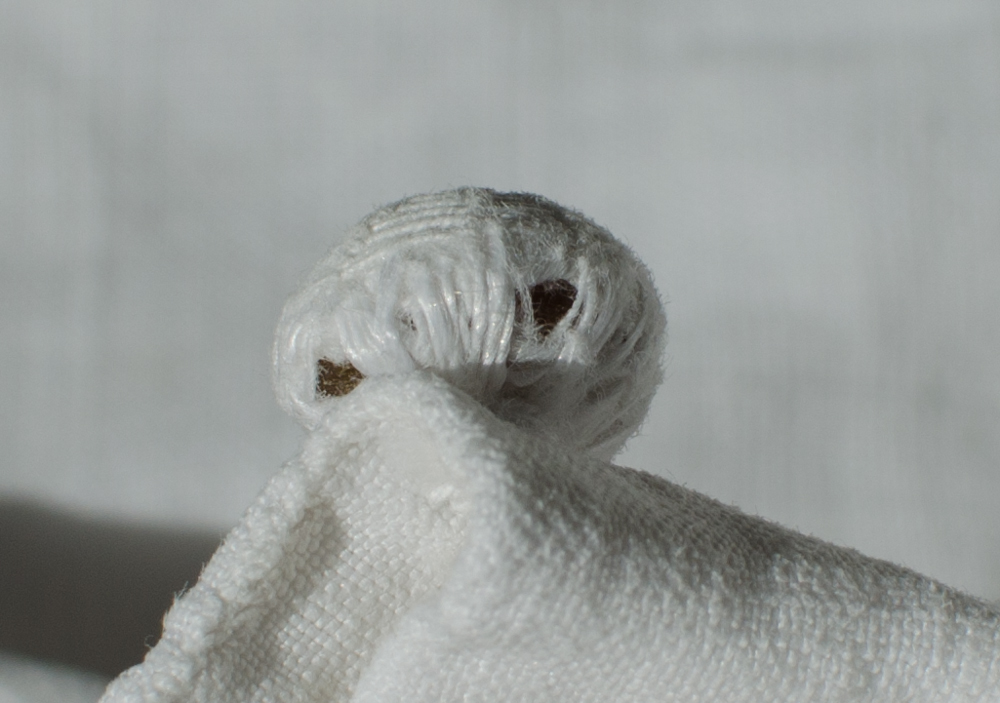
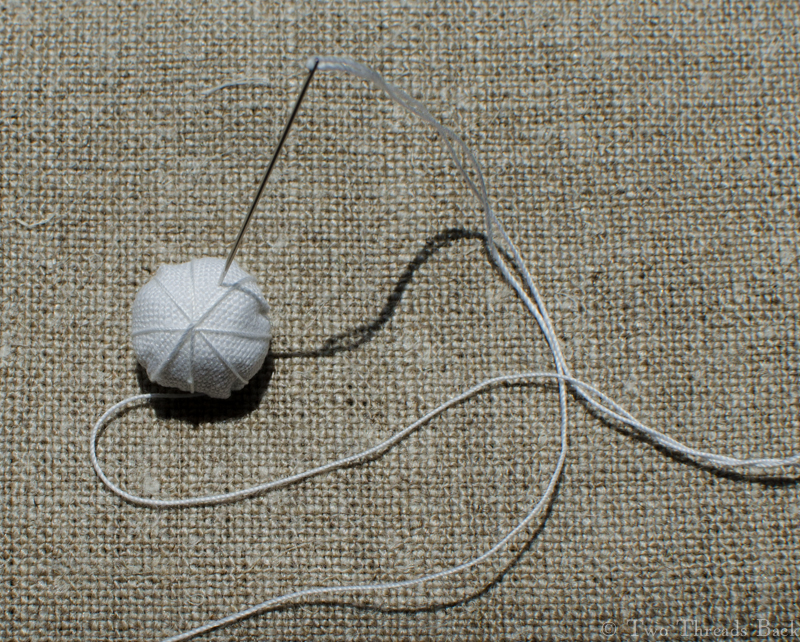
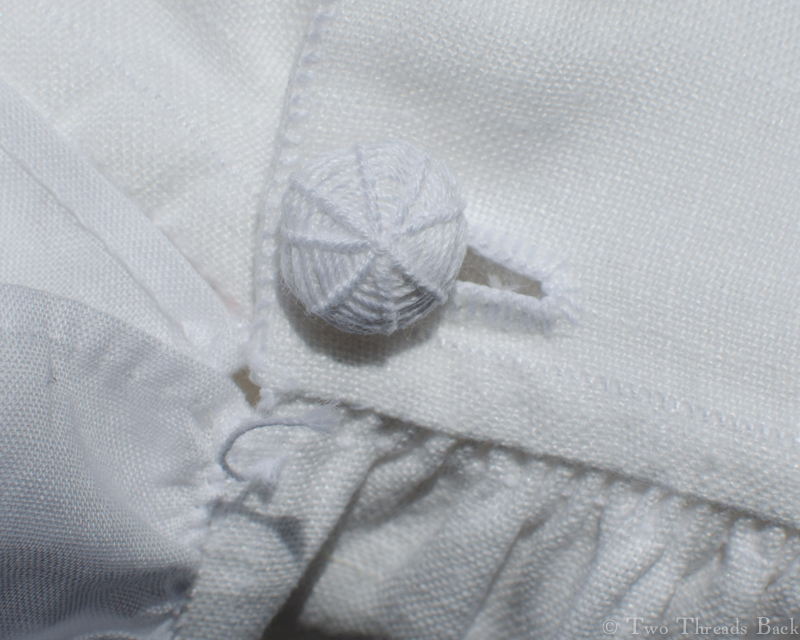
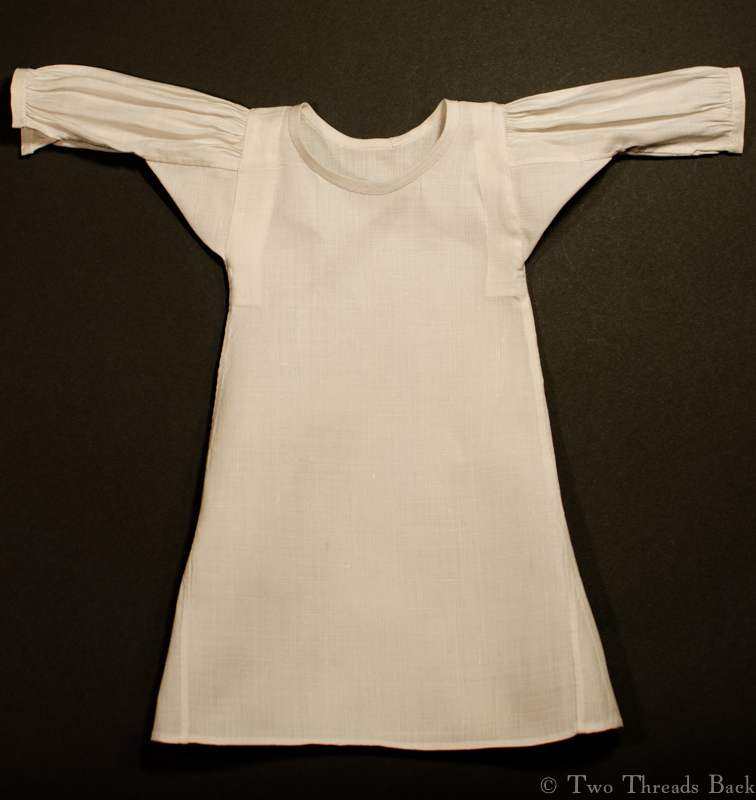
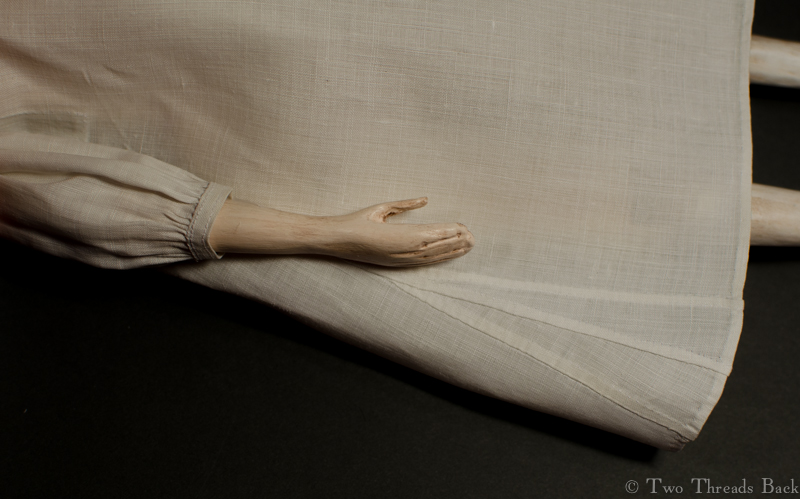
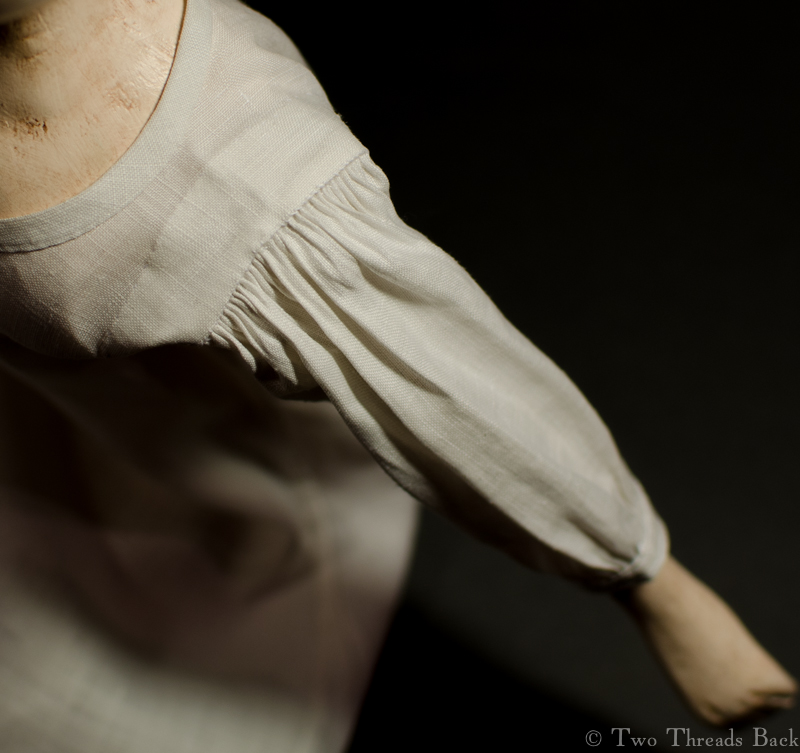
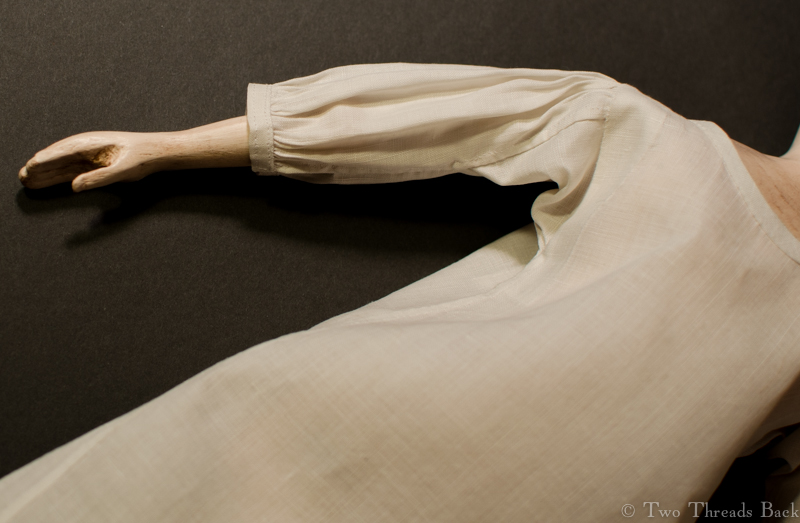
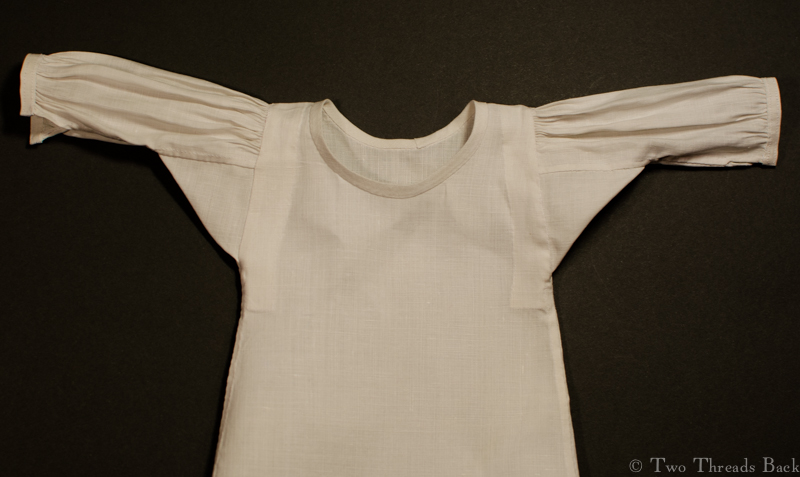
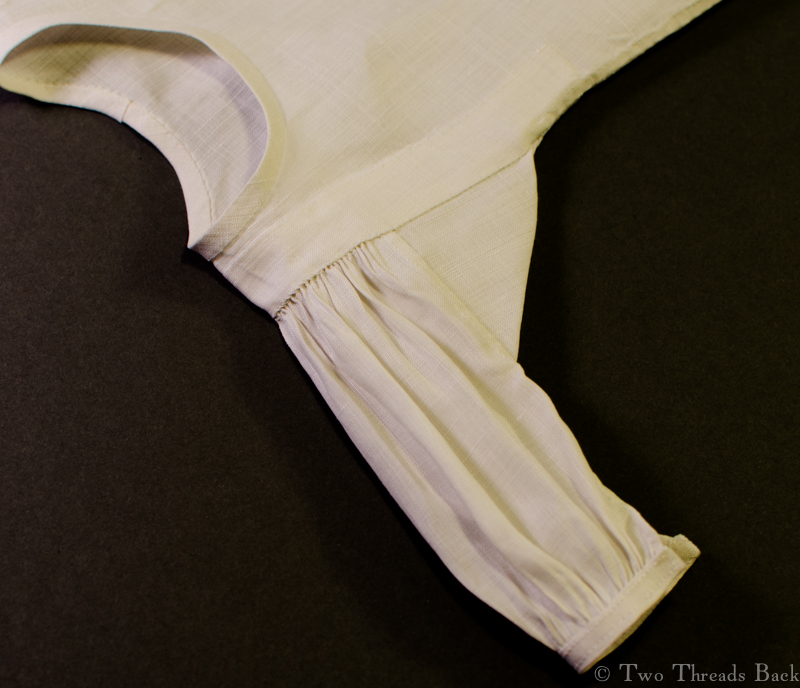
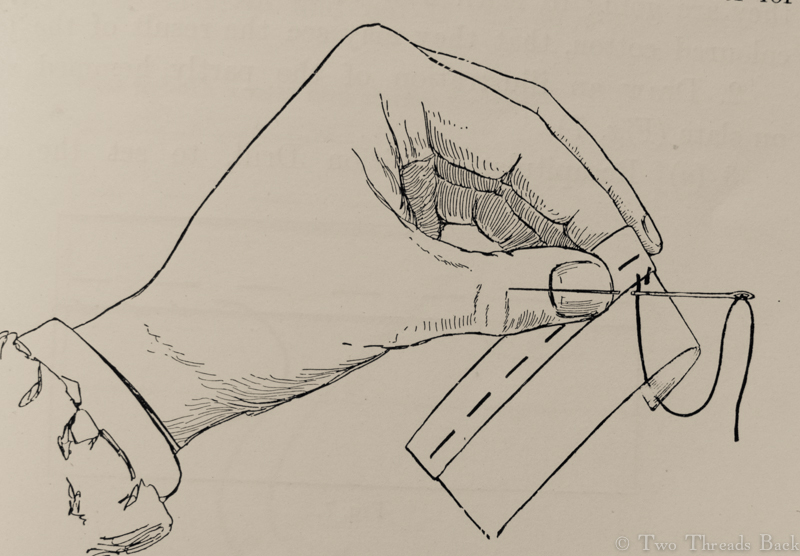
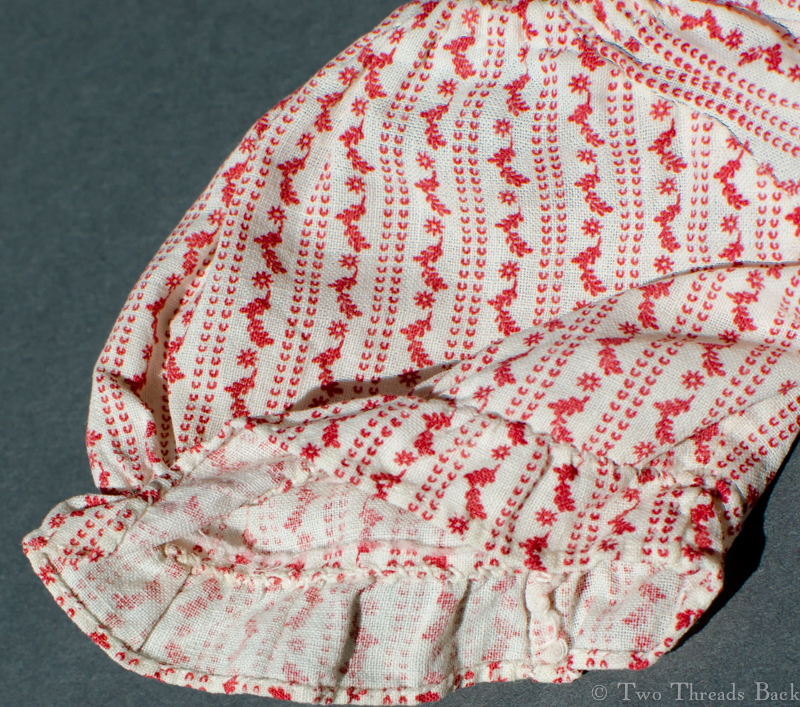
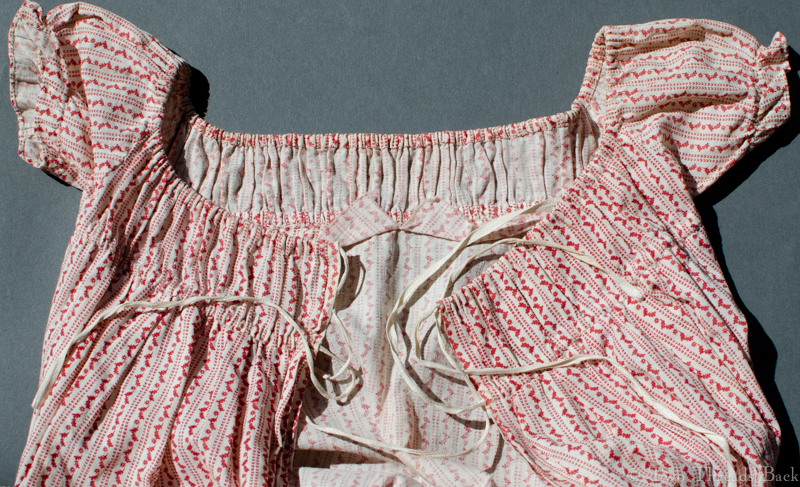
P.S. I did add buttonholes to the shift cuffs, so she could wear pink silk ties. Have you ever tried sewing buttonholes to fit within 1/8 of an inch? I recommend a nice Pinot Blanc.
P.P.S. If you haven’t read ye etymology of “Ye Olde,” you might enjoy it.