My dear sister Fannie,
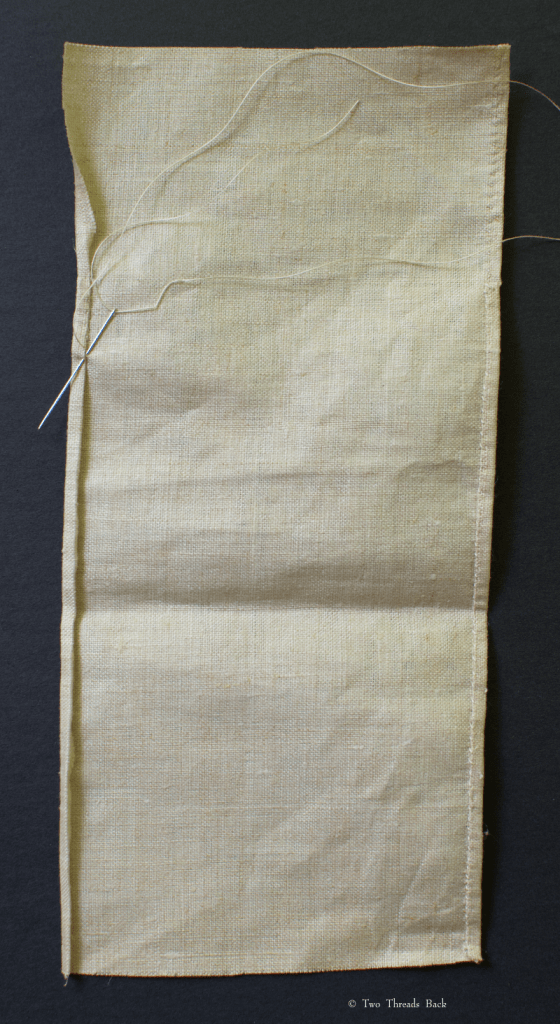
As I have just dropped my scissors in the well, have no more sewing cut out, and can conscientiously spare the time, I will write you a few lines. Indeed I would have written you before this, but I have no time at all to do anything for myself. I’m teaching the boys from eight till time for doing my cooking. All of us are quite well, so are all Pa’s folks.Pa has not settled down steadily to work since Ma’s death. Keeps us uneasy all the time. I have set no hens yet, but intend to raise a lot this year. What luck are you having with your chickens and geese this year?
Can your baby walk yet? Mine is beginning to talk, has eight teeth and four more in sight. He is not much trouble now, only he climbs and can go up the stairs a good deal faster than I can. With much love to yourself, Ben and the children, I am as ever,
1882 Letter to to Fannie Dudley in Florida from her sister in Georgia1
Yours affectionately,
Mollie
You can’t sew without scissors, right? Seems like a pretty good excuse to me! I haven’t been sewing much lately either, but I’ve managed to entertain a few leisure hours with good books. Here are some I’ve found so interesting that I thought I’d share.
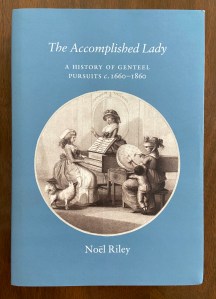
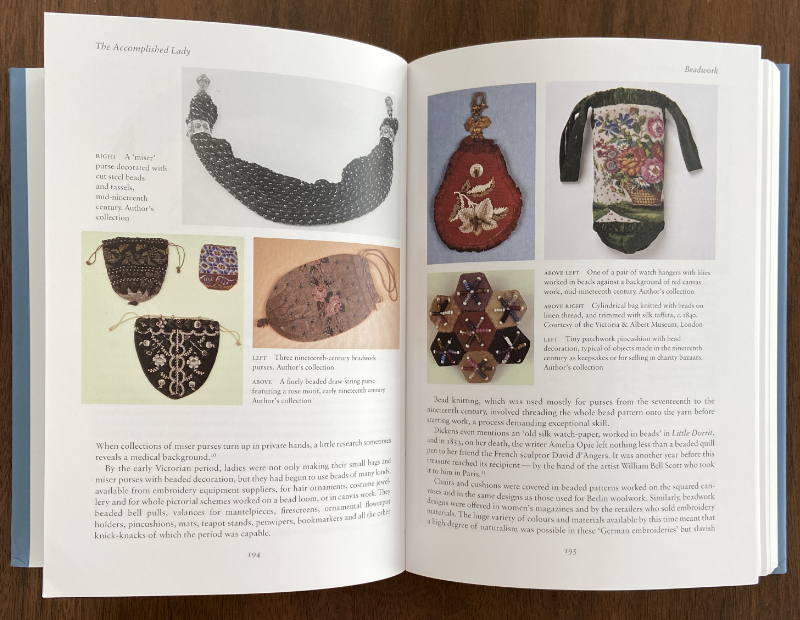
The Accomplished Lady, A History of Genteel Pursuits, c. 1660-1860 by Noël Riley is a guilty pleasure for this plain sewing enthusiast, since it’s far from plain. It’s a fabulous look at the 17th-19th century crafts, hobbies, and amusements that women who could afford leisure pastimes enjoyed. It covers the things you’d expect such as music, dancing, and cards, but I found the chapters on needlework, beadwork, shellwork and other nature crafts especially fascinating. Seaweed pictures, straw work, paper filigree… so many ways to exercise talent and display creativity! There’s even a bit on theorem or “poonah” painting. It’s beautifully illustrated – got to love the eye candy! – but the scholarly research which sets it all in context (without the tedious academese saturating so many similar works today – thank you, Ms. Riley!) makes it a valuable resource. The Accomplished Lady is definitely worth a book search or trip to the library!

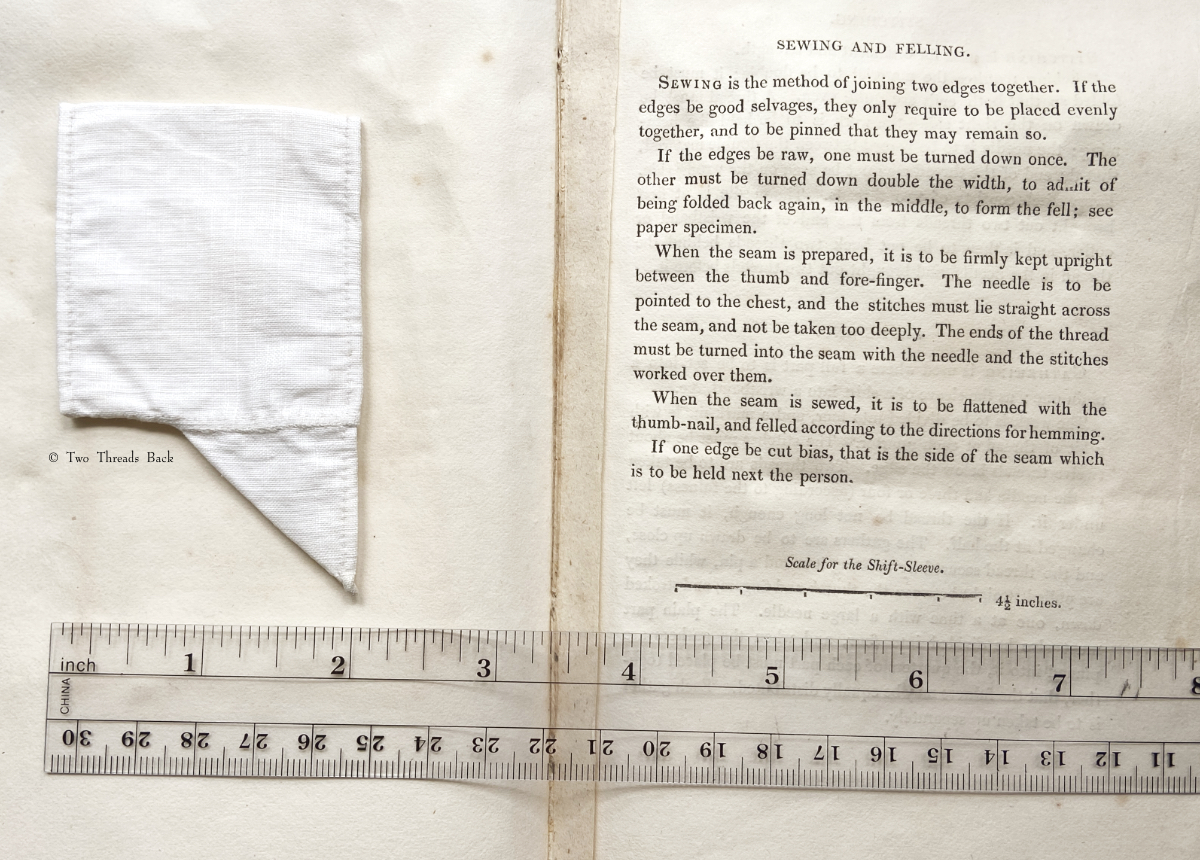
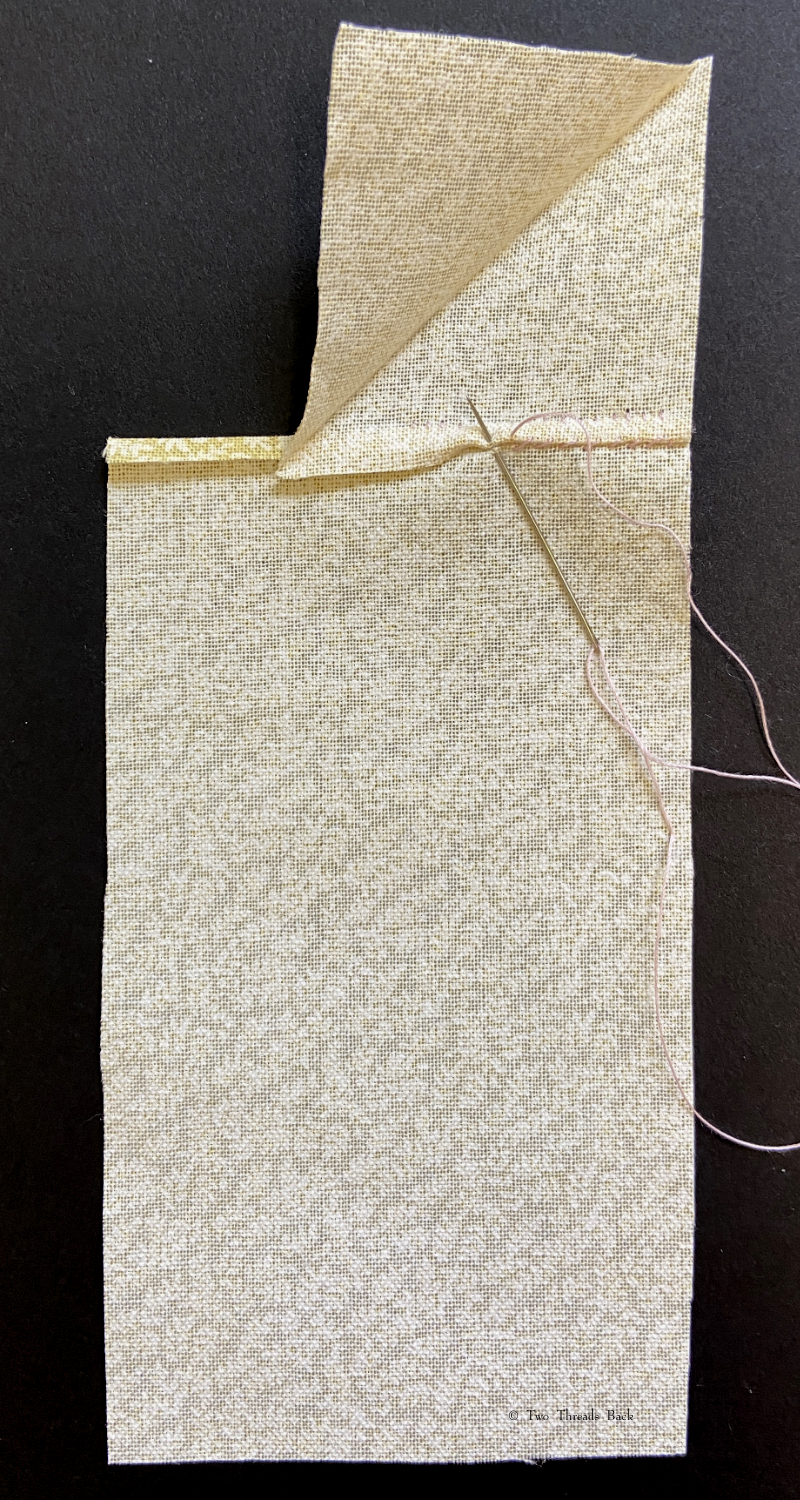
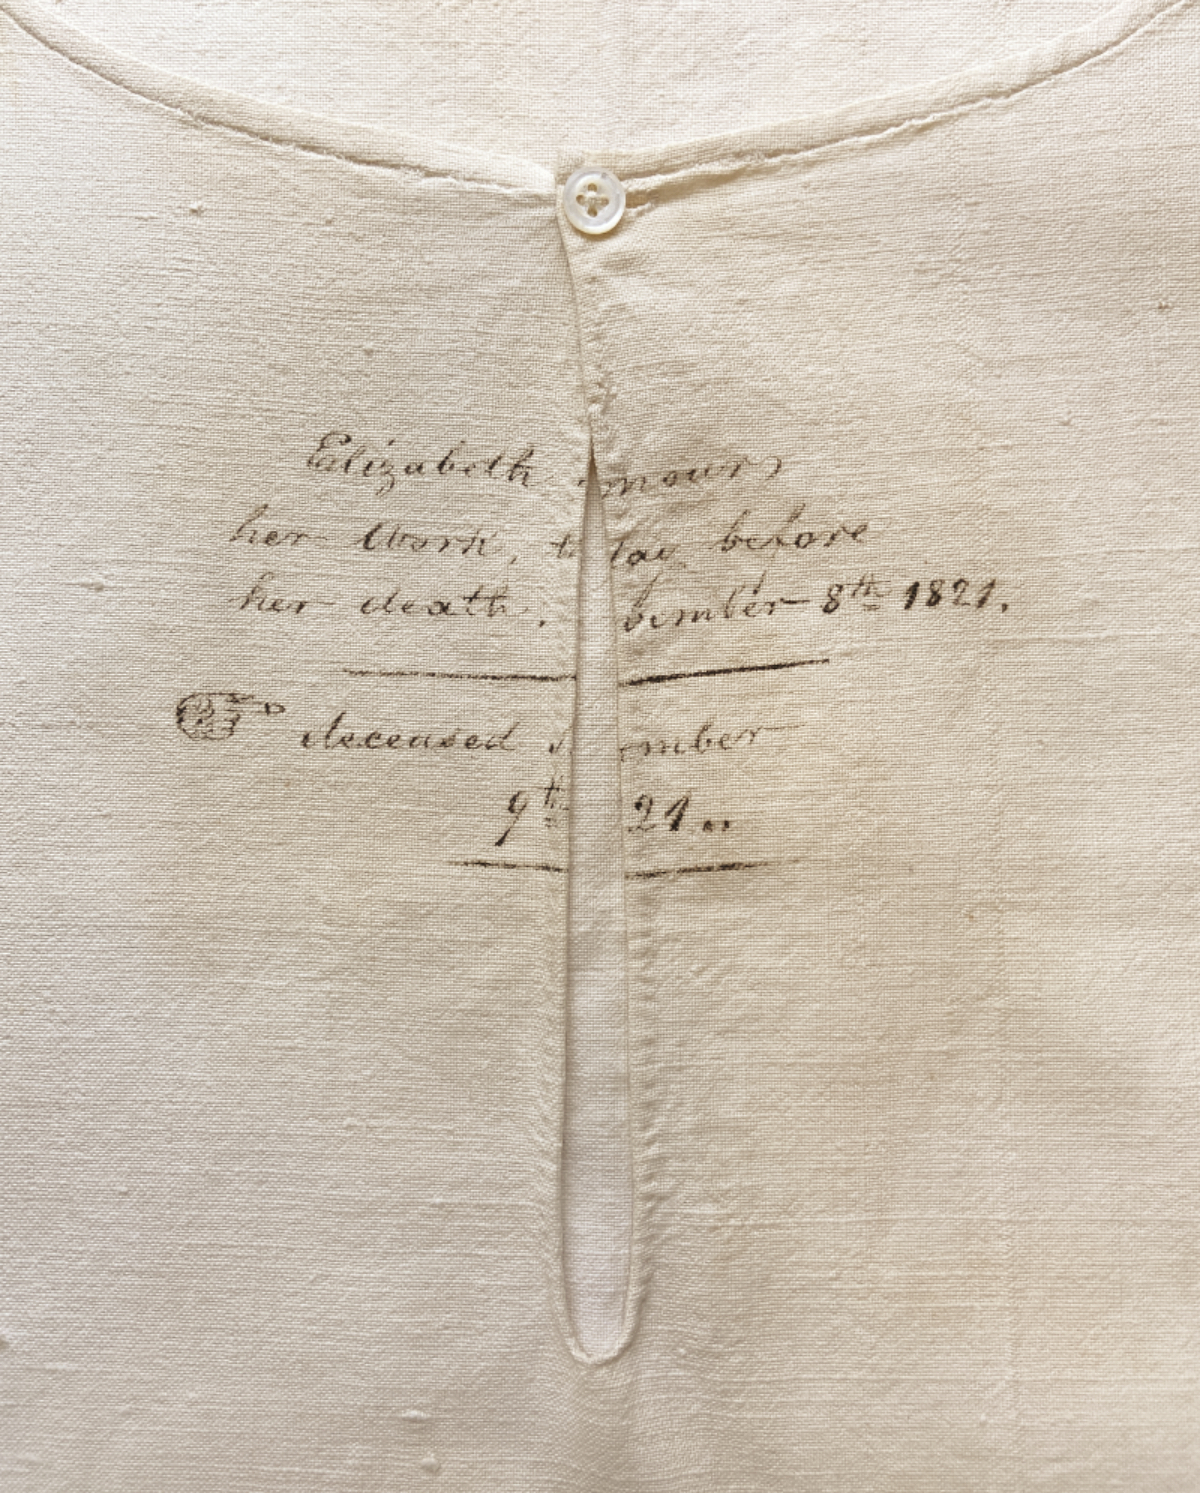
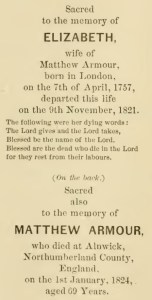
Another happy find is closer to my plain sewing focus. Sweet & Clean?, by Susan North. While the title is the topic, personal cleanliness in early modern England, there is a lot of information on the making, wearing, and washing of underlinen (shirts, shifts, etc.). That, of course, means plain sewing figures prominently!
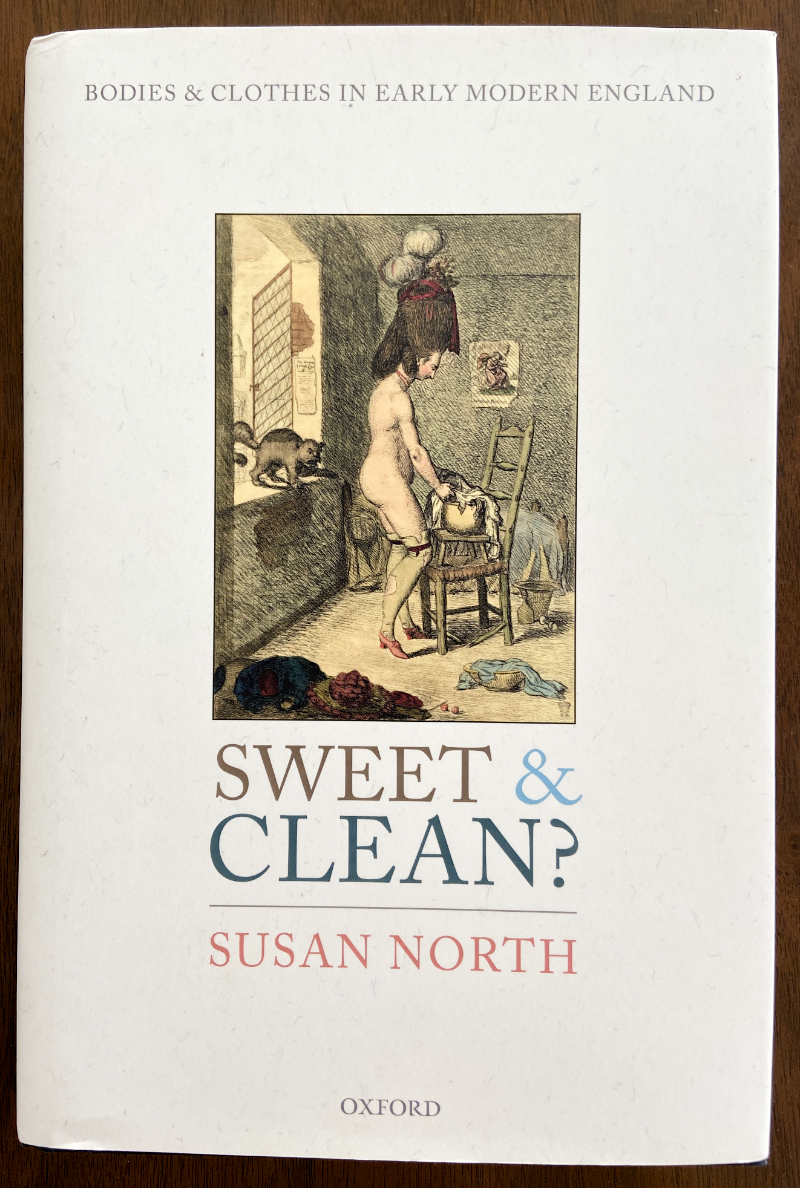
The exhaustive research on the most private areas of daily life kept me engrossed through every chapter. If you have an interest in clothing, health, and domestic life during those years, you’ll find answers to questions you didn’t even know to ask. Sweet & Clean? might be overwhelming if you like to rush through historic site tours to get to the cafe. But if you’re someone who lingers and wants to explore behind all the closed doors, this one’s for you!

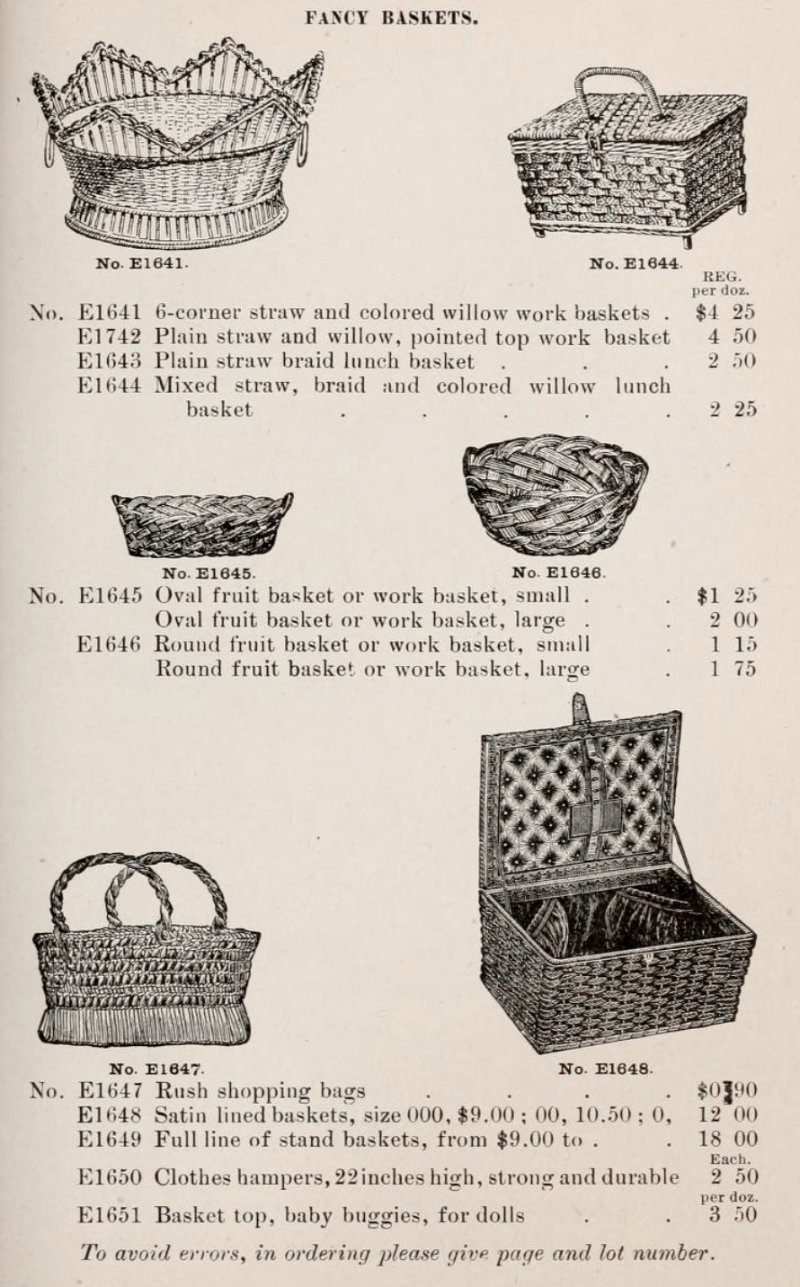
Not all my reading is print – books that are available online can be just as entertaining. Old catalogs are lots of fun to browse, and I’ve found that sewing time can dwindle because of them. Mollie’s lost scissors may have been much like these. Which, no surprise, actually look a lot like those in my sewing basket now. The image below is from Carson, Pirie, Scott & Co. Wholesale Drygoods Catalog, 1893. Have a look, it’s like shopping the past.

If that catalog doesn’t have what you need to stock your dry goods store, here’s another. See what Rice, Stix, and Co. had to offer in their wholesale catalog, 1890.
Maybe when you can “conscientiously spare the time,” you will have as much fun reading as sewing. And if you have any good books to share, please do! It may be a while before I retrieve my scissors from the well.
1 Friends of Dudley Farm Newsletter, June 2000. You can read about Fannie and see her picture here.