“The art of marking was brought to perfection many years ago, and if our great grandmothers could but see the meagre attempts made by us now-a-days, I fancy they would have some contempt for the system by which our needlework abilities are tested.”
– A. K. Smith, 1892
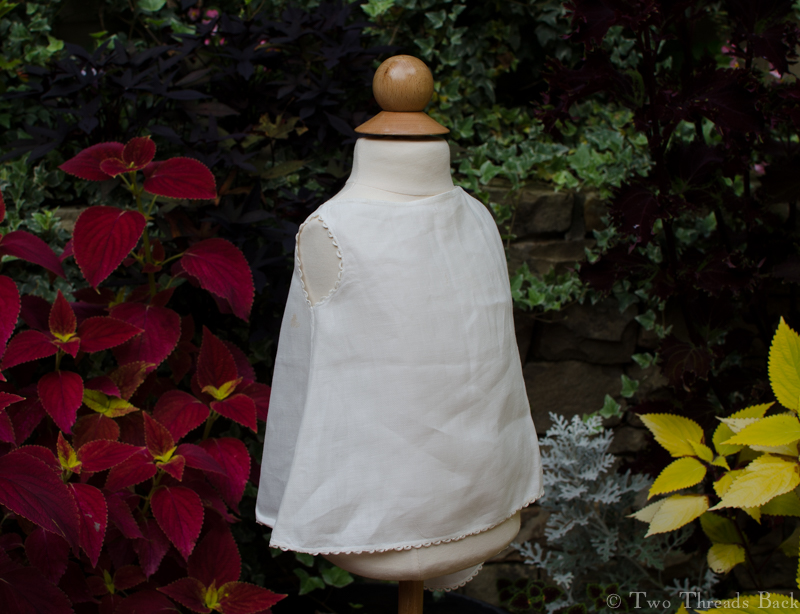
They would certainly have some contempt for how long it took me to mark Pharaby’s shift, regardless of the quality of my work! I should have tended to this little essential when I first made it, but better late than never. We can’t have her single shift getting lost in the laundry, can we?
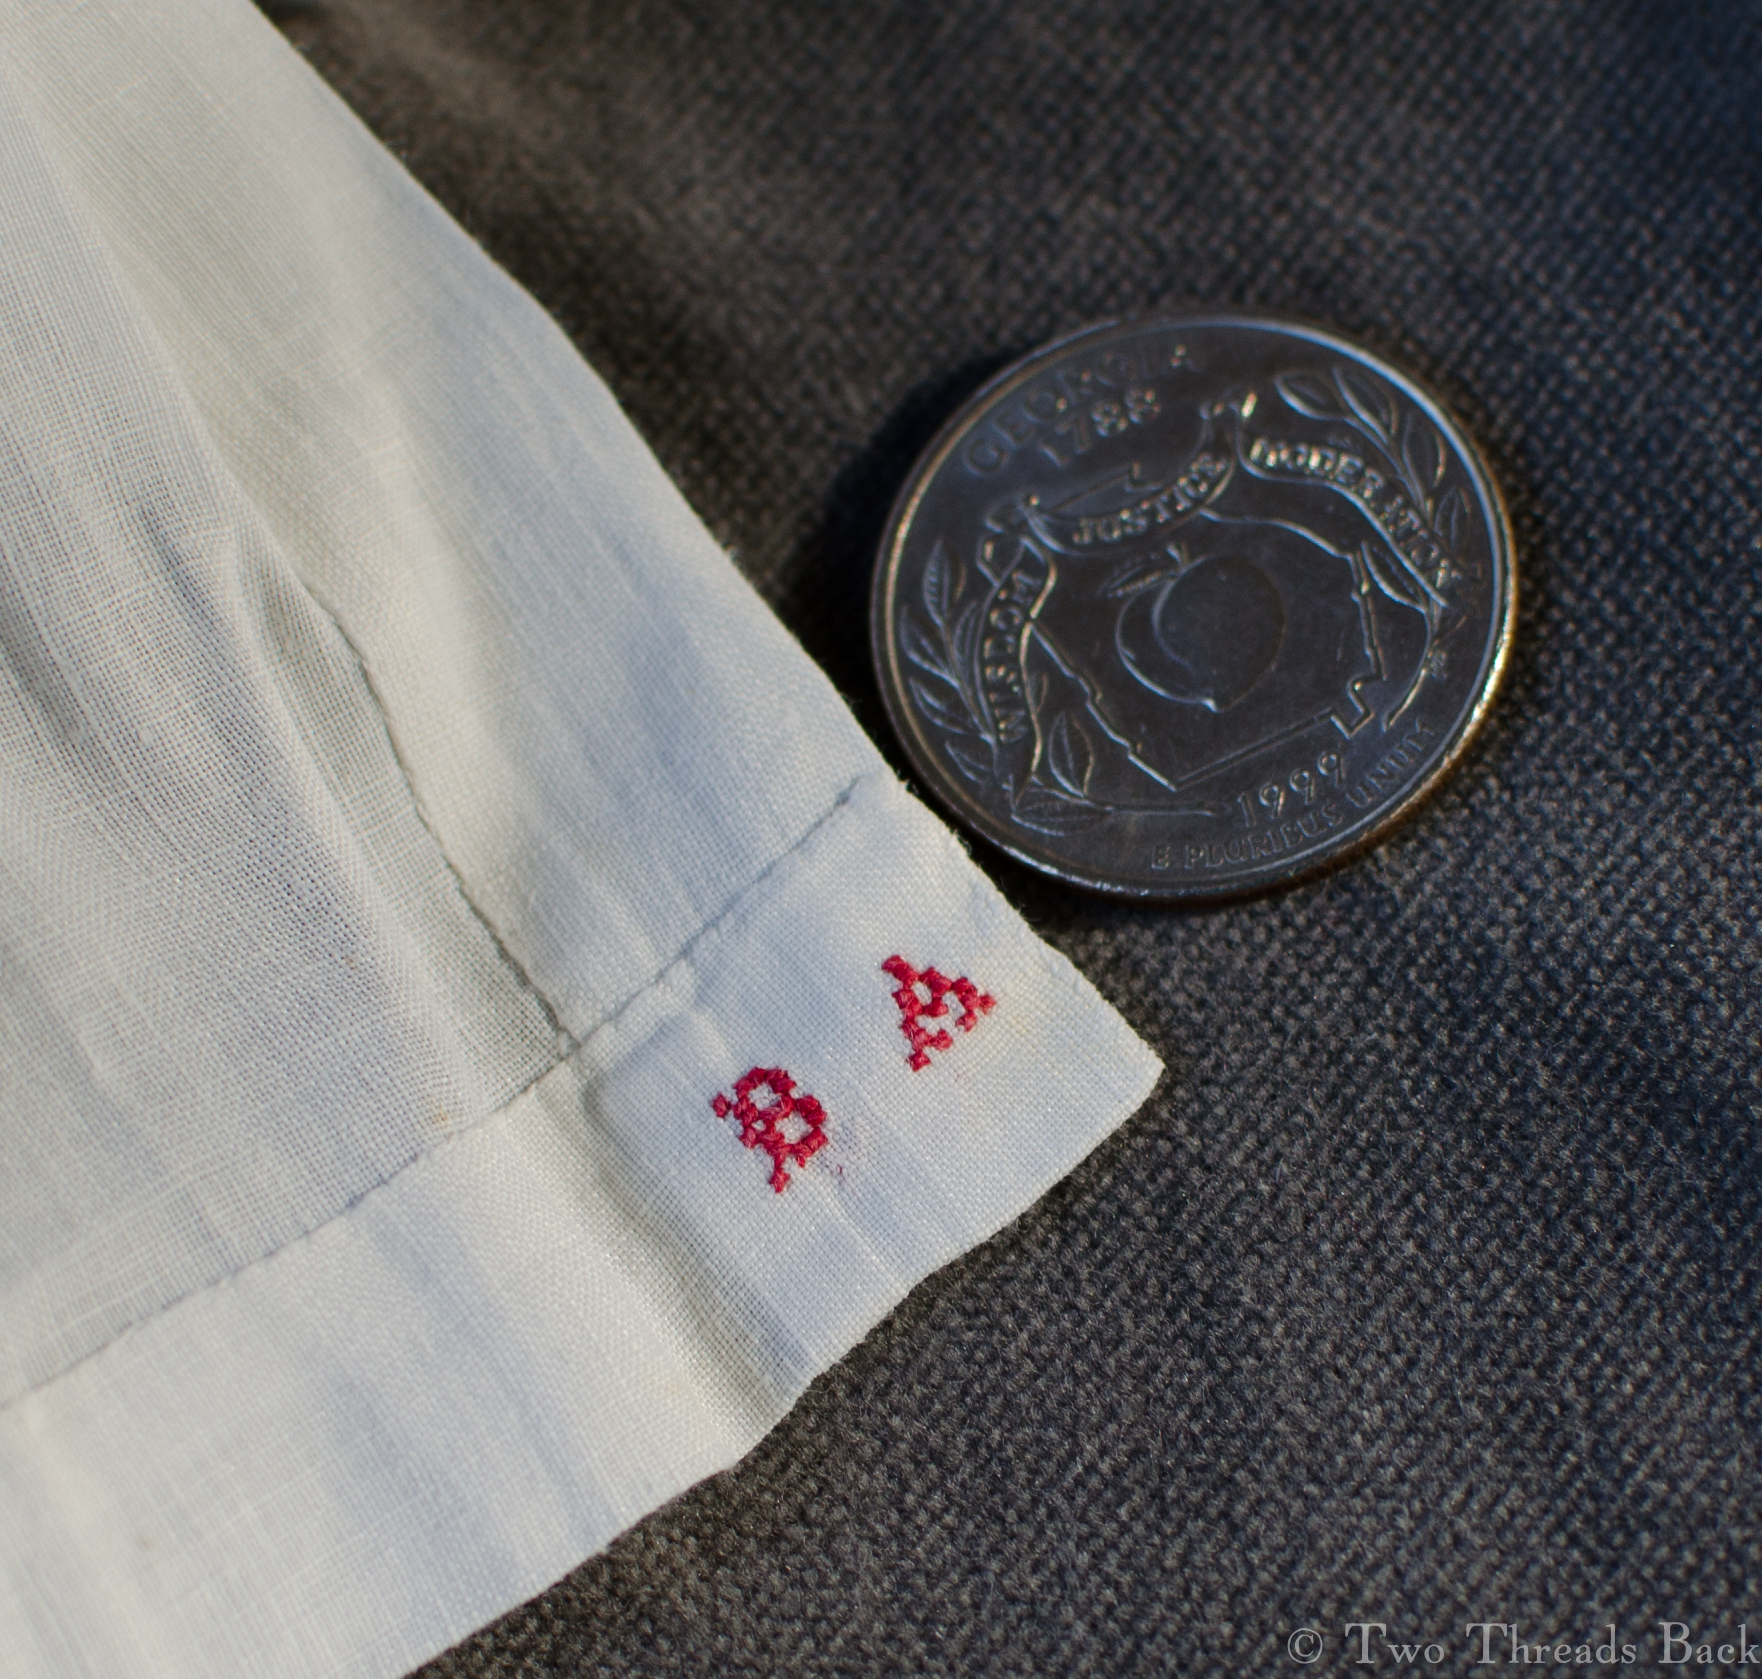
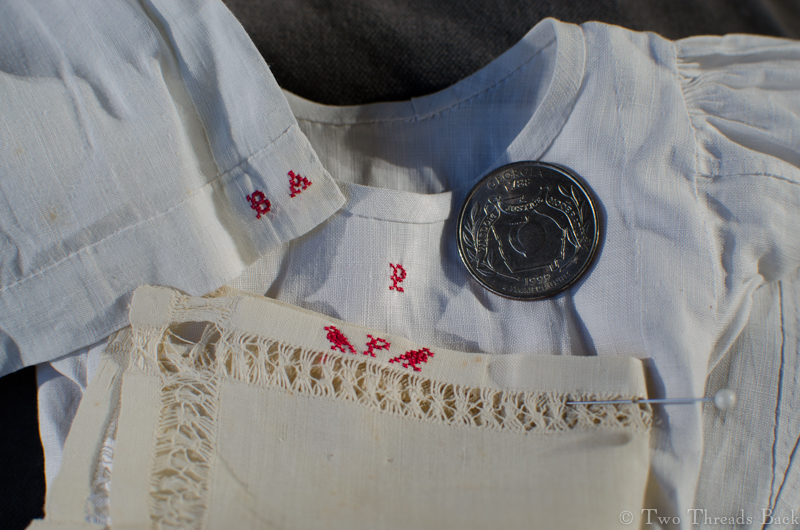
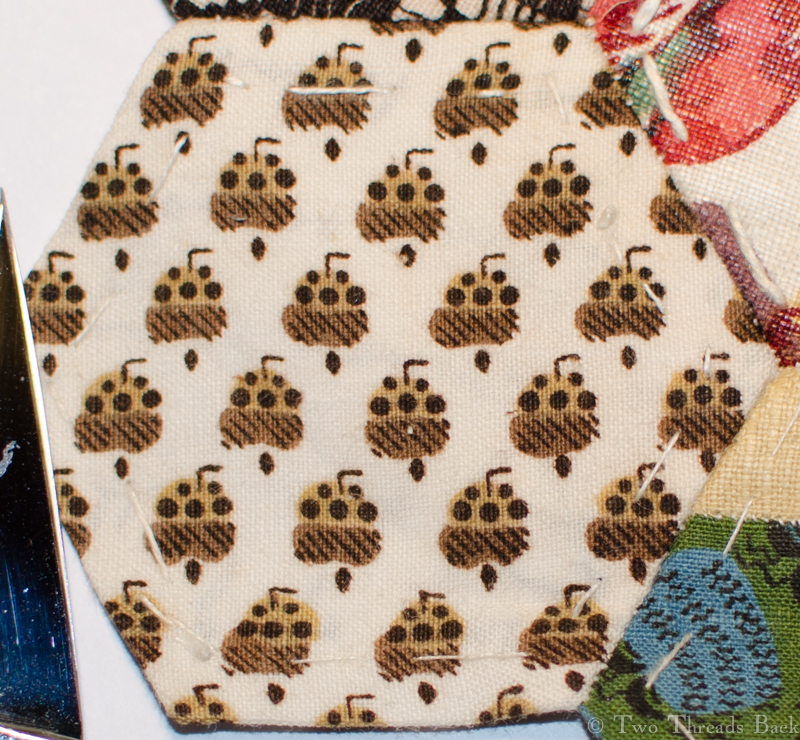
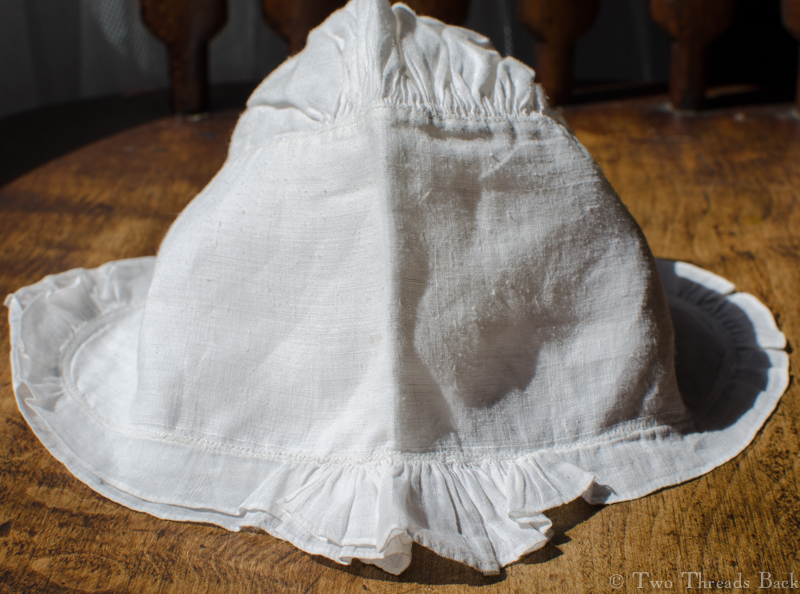
First I had to do some practice stitching. Sampler collectors and makers would laugh at how astonished – and intimidated – I am by the miniscule cross-stitches made during the past 200 years. You can see from this little baby shirt (last quarter 19th C) how blithely they marked countless linens. I’m guessing at the “blithely” part, but since I have many shirts from this baby, somebody was doing a lot of marking!
Making it to Pharaby’s scale would be impossible, since barely matching ordinary period work would be the best I could hope for.
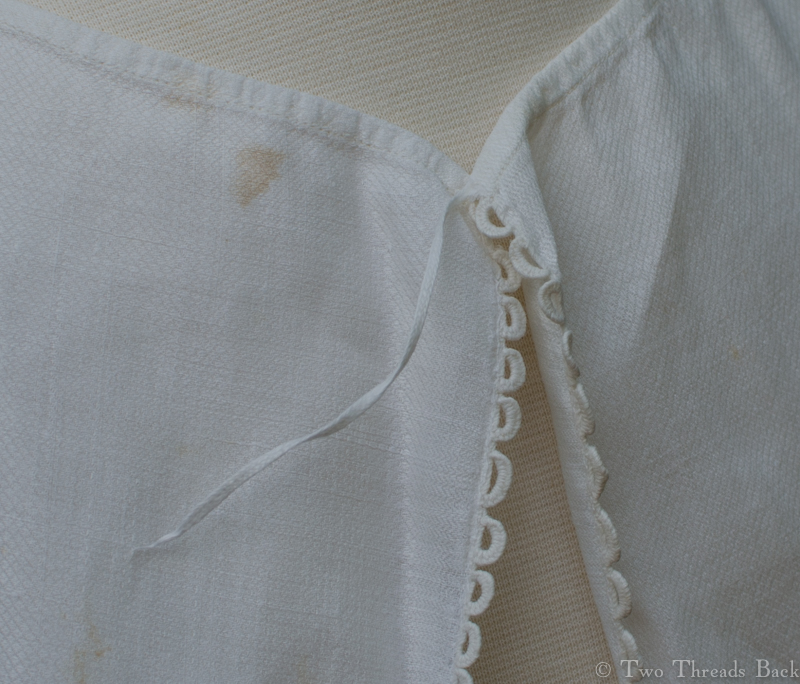
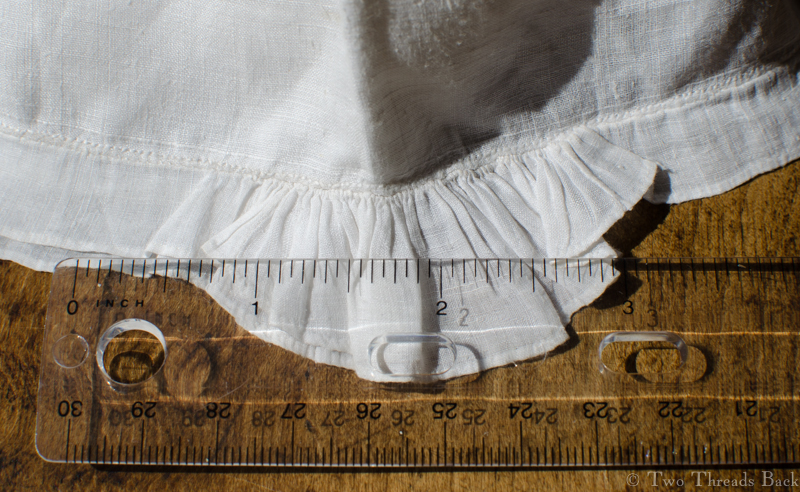
I used a pretty little c1900 linen collar to experiment on (damaged – I wouldn’t inflict my needle on it otherwise), as you can see in the picture.
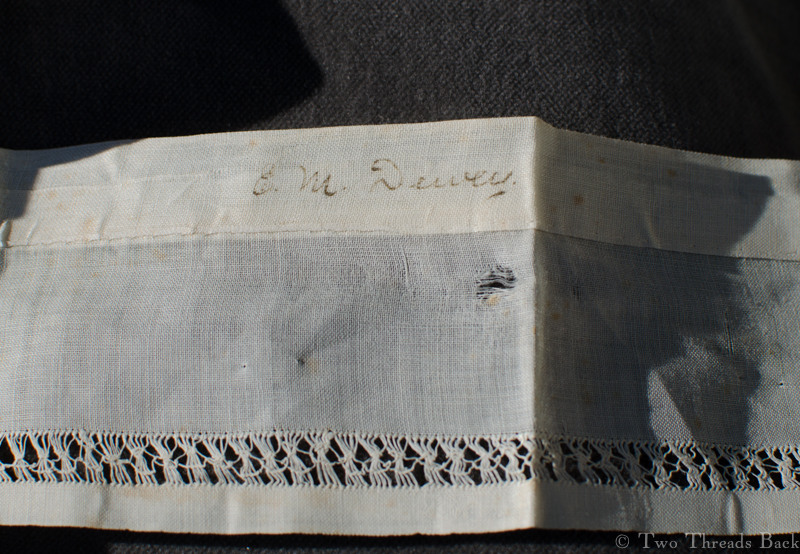
Since the threads in linen are not all exactly the same size, my stitches over two threads looked a bit messy. I tried sewing over four (too big) or over however many made a perfect square (too awkward). By this time I was just about ready to use ink, like the collar owner! But hey, I’m all about plain sewing, right?
A lot of trial and error showed that to be small enough, I’d have to work over two threads, no matter how lumpy my letters looked. I found that just like many projects, things that look pretty awful as I’m working, look a little better when I’m done. Or maybe I’m just cross-eyed by then!