If it’s fair to judge from the advice books of days gone by, enlightened physicians had an uphill battle trying to convince mothers to dress their children sensibly. The following quote is from William Cadogan in his Essay Upon Nursing and the Management of Children, 1750.
I would recommend the following Dress : A little Flannel Waistcoat without Sleeves, made to fit the Body, and tie loosely behind; to which there should be a Petticoat sew’d, and over this a kind of Gown of the same Material, or any other, that is light, thin and flimsy. The Petticoat should not be quite so long as the Child, the Gown a few Inches longer; with one Cap only on the Head, which may be made double, if it be thought not warm enough. What I mean is, that the whole Coiffure should be so contrived, that it might be put on at once, and neither bind nor press the Head at all: The Linnen as usual. This I think would be abundantly sufficient for the Day; laying aside all those Swathes, Bandages, Stays and Contrivances, that are most ridiculously used to close and keep the Head in its Place, and support the Body. As if Nature, exact Nature, had produced her chief Work, a human Creature, so carelessly unfinish’d, as to want those idle Aids to make it perfect.
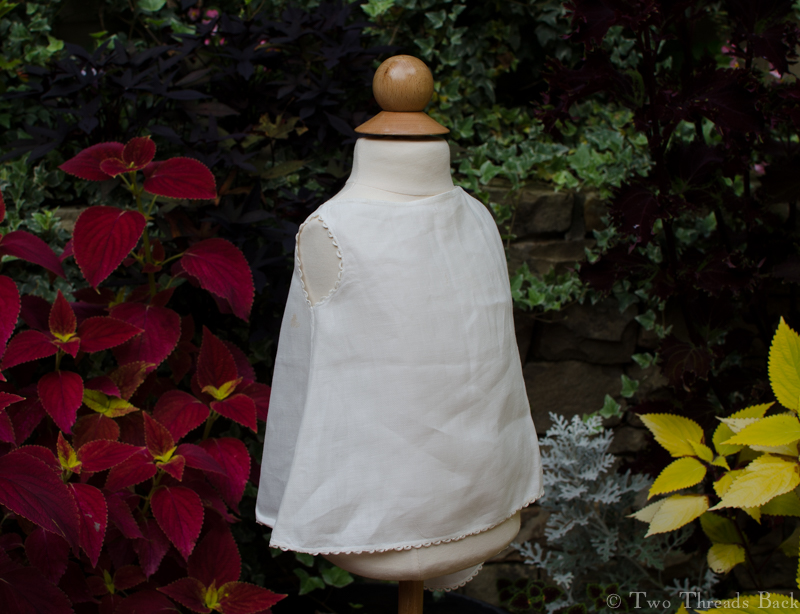
Out of all the clothing that has survived over the past couple of centuries, it seems like the finer baby garments are some of the most numerous. I guess that makes sense: they possess great sentimental value, exquisite handwork, and hey – they don’t take up much space!
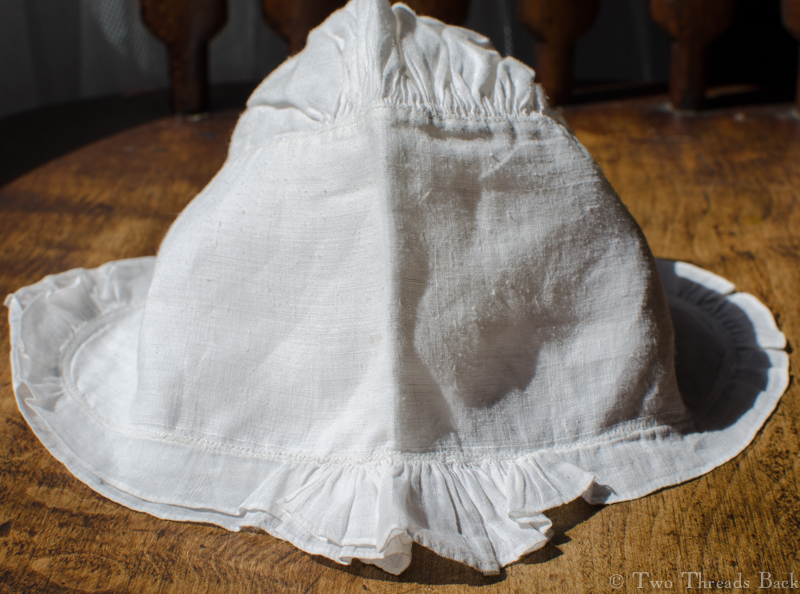
This little cap is a classic of 18th century style. It’s made of extremely fine linen (I know it looks coarse in the photos but it’s really not) with a double brim and a narrow linen tape to draw it up to fit at the neckline. There are no ties to fasten it under the chin, nor signs that there ever were.

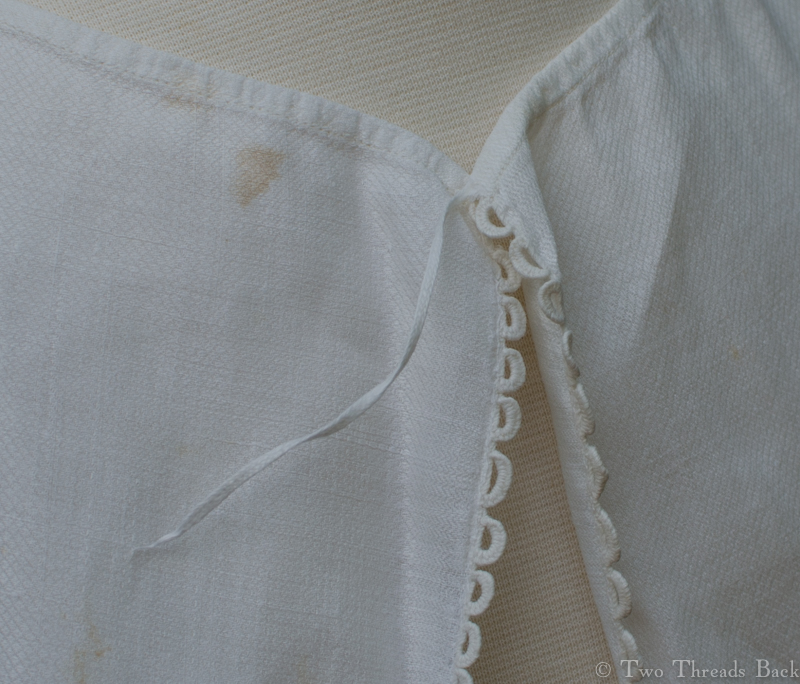
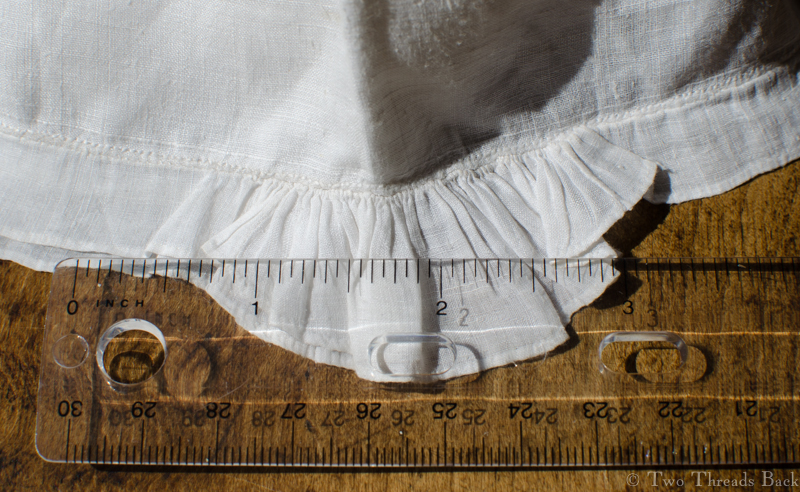
Even though I’ve laid a ruler across the needlework, the photo doesn’t really show just how minute the embroidery is. And the plain sewing is a staggering 48 backstitches per inch!
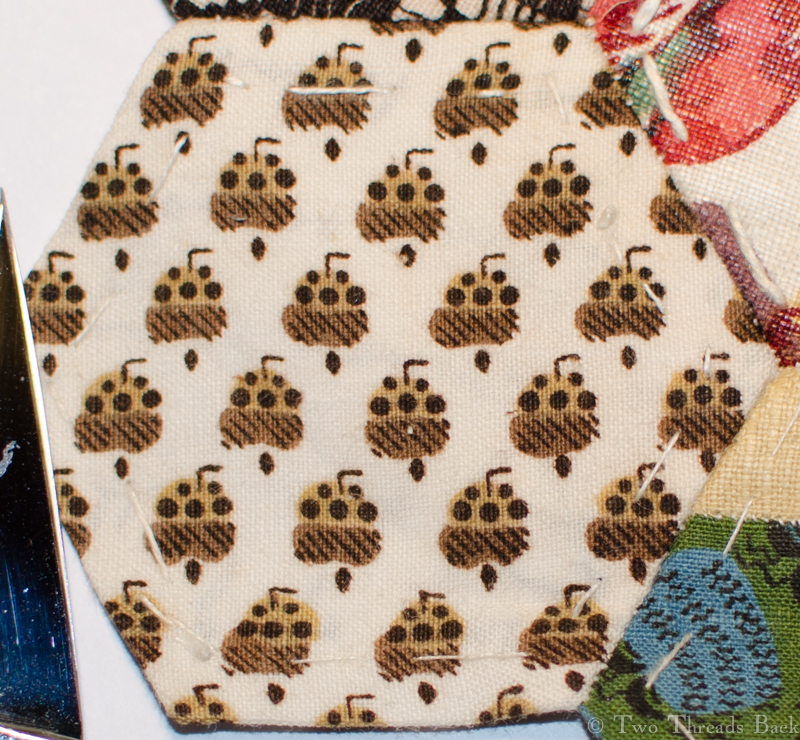
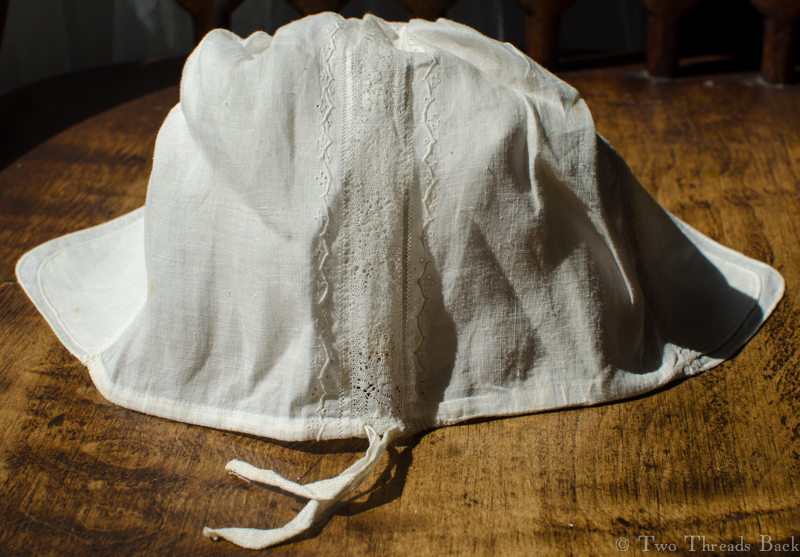
The pattern of buttonholed scallops and dots is very common on baby caps and shirts of this era. It also appears on the first “Little Biggin” I wrote about, although this one has tiny eyelets as well as dots. The lace is handmade, but not being a lace person, I can’t identify it. Help??
The brim is about 2 1/2 inches deep, front to back, and 11 inches from side to side. The two layers have been tacked together and the crown gathered and sandwiched between them.

I think this little “Coiffure” is so contrived that it may, indeed, meet with even Dr. Cadogan’s approval!