I’ve heard the old adage “a stitch in time saves nine” since I was a child, but I think I was an adult before the light clicked on. It made no sense to me: saves nine what? My ten year-old self thought it was silly. My grown-up self got the point, but still thought it was silly.
A few decades later, I can almost appreciate it ‘as written’. According to Thomas Fuller in 1732,
Because Verses are easier got by heart, and stick faster in the Memory than Prose; and because the ordinary People use to be much taken, with the clinking of Syllables; many of our Proverbs are so form’d, and very often put into false Rhymes; as, A Stitch in time, may save nine…. This little Artifice, I imagine, was contriv’d purposely to make the Sense abide the longer in the Memory, by reason of its Oddness and Archness.
Of course it means that attending to a problem now will save you many times the work later. When clothing or linens need mending, it’s better to do it before the damage gets worse. In the 19th century, mending and darning could take as much time as making and were an important part of plain sewing since the pile of work never diminished. Period fiction rang true, as in this excerpt from The Christian World Magazine, 1869:
I have so much to do – there are so many little ones, and mamma is so very often poorly. And the fact is, we are not rich. I have to make and to mend, and to turn, and to return, and so we never come to an end of the sewing. I sometimes speculate on the foot of a stocking, and wonder whether there is half an inch of the original fabric left in it! One darns it first quite neatly, and then one darns the darns, not quite so neatly, of course; and lastly, one cobbles as well as one can the darned darns, till it becomes quite a work of art, I assure you.”
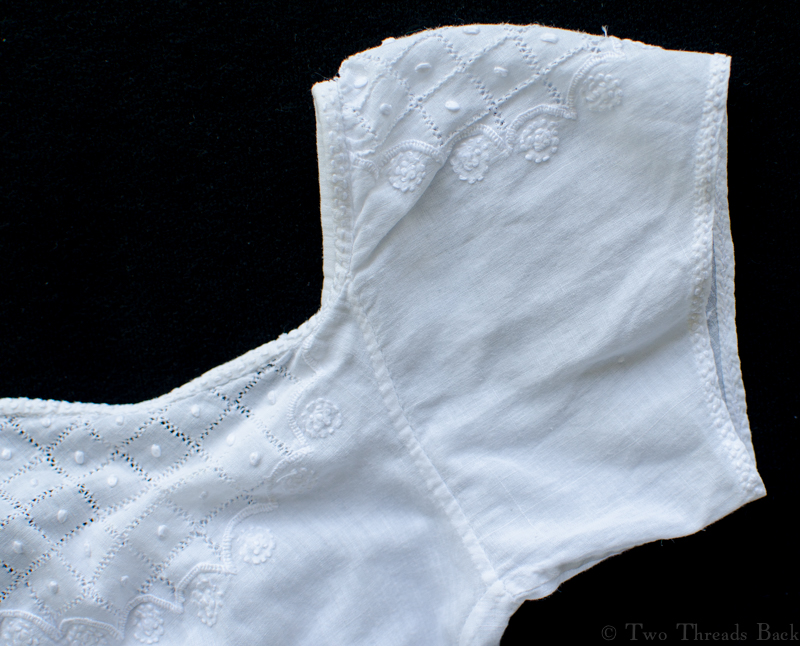
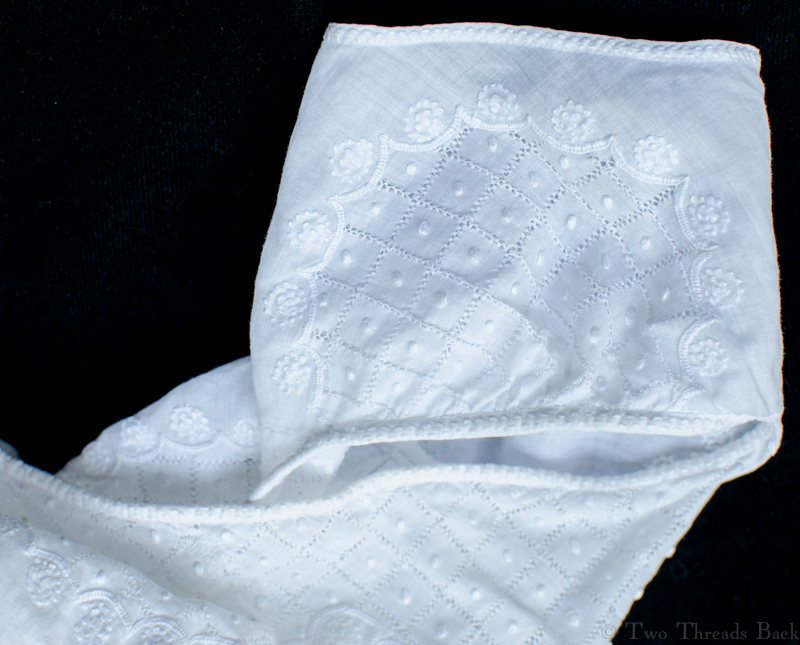
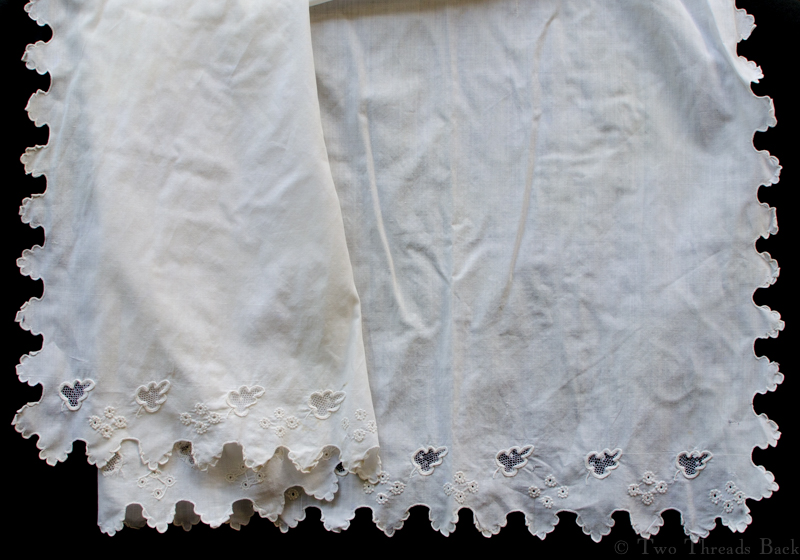
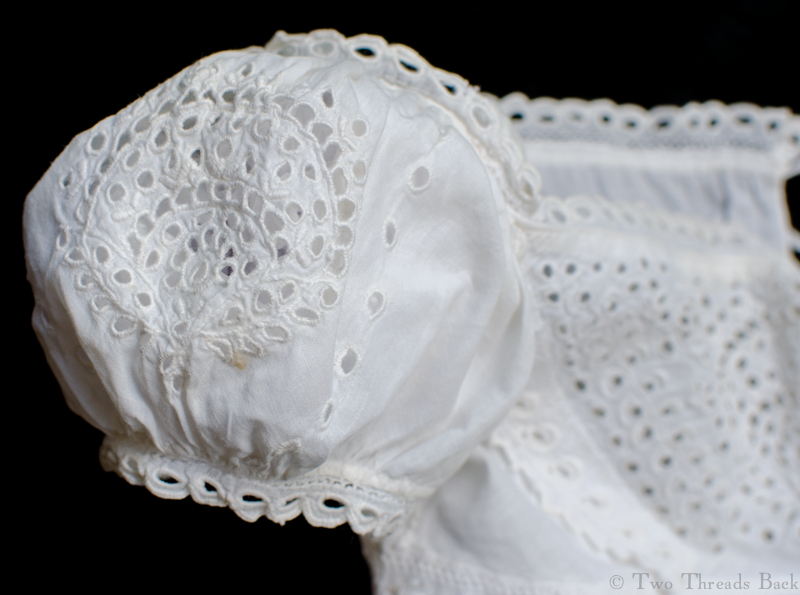
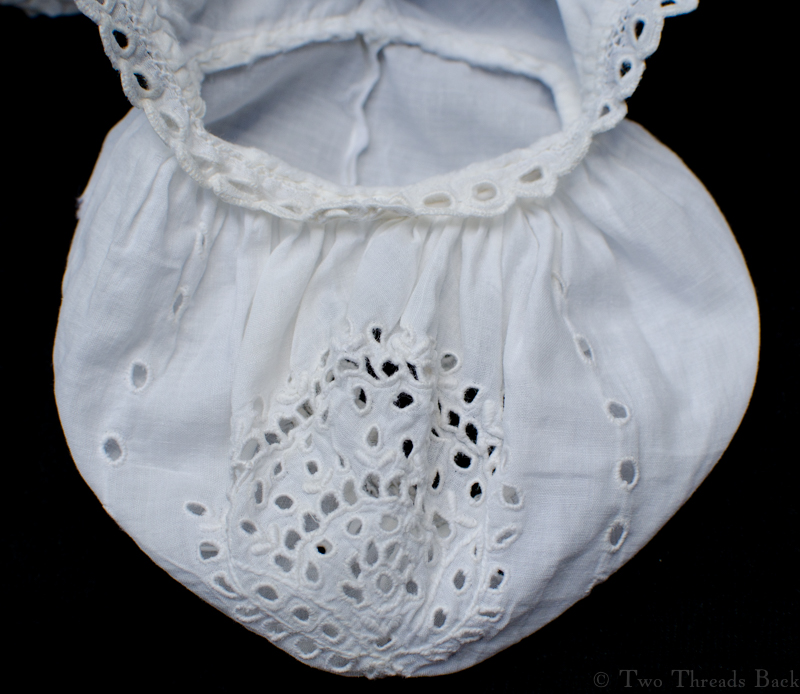
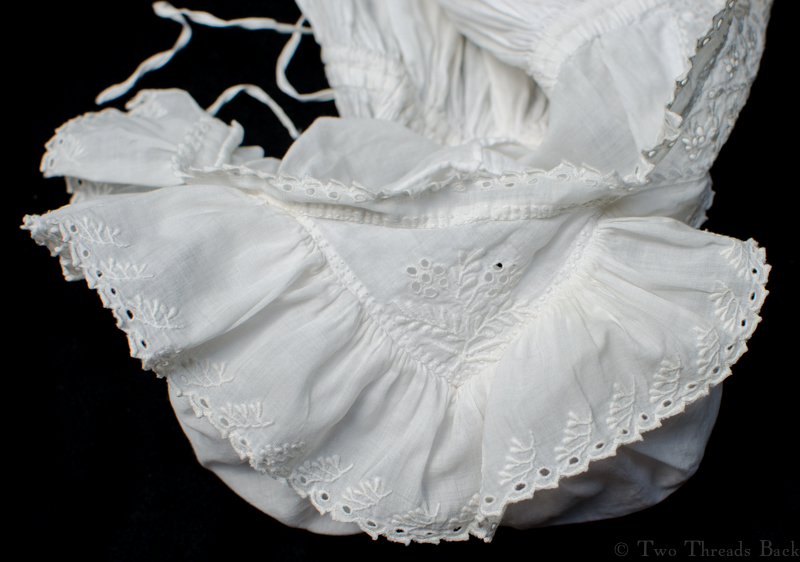
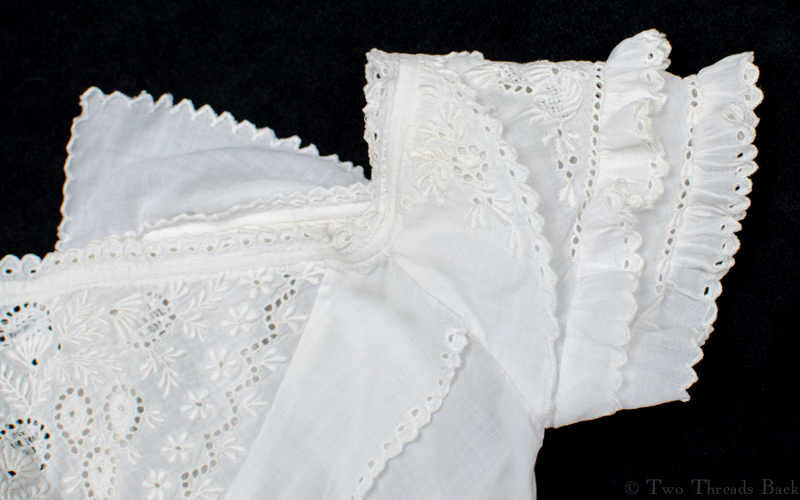
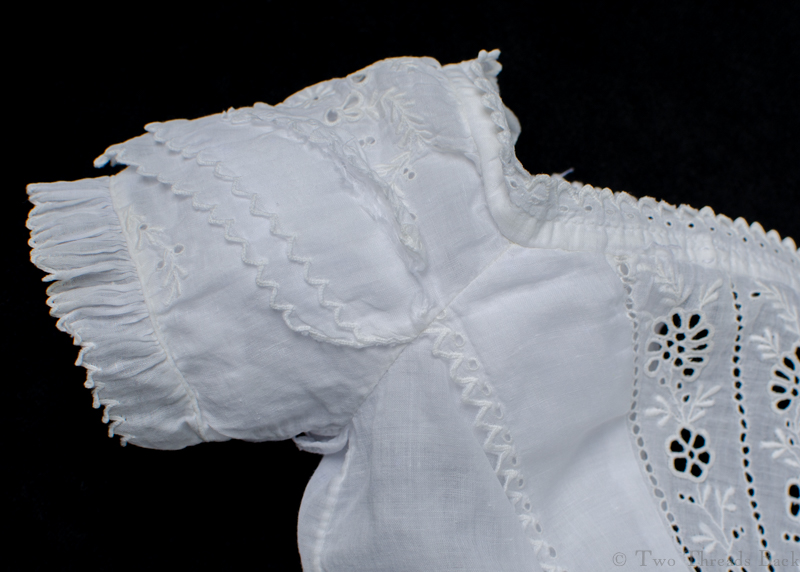
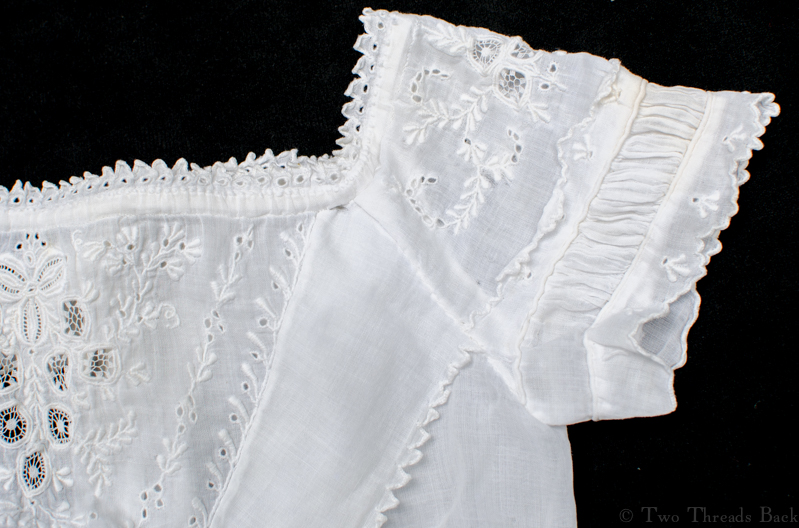
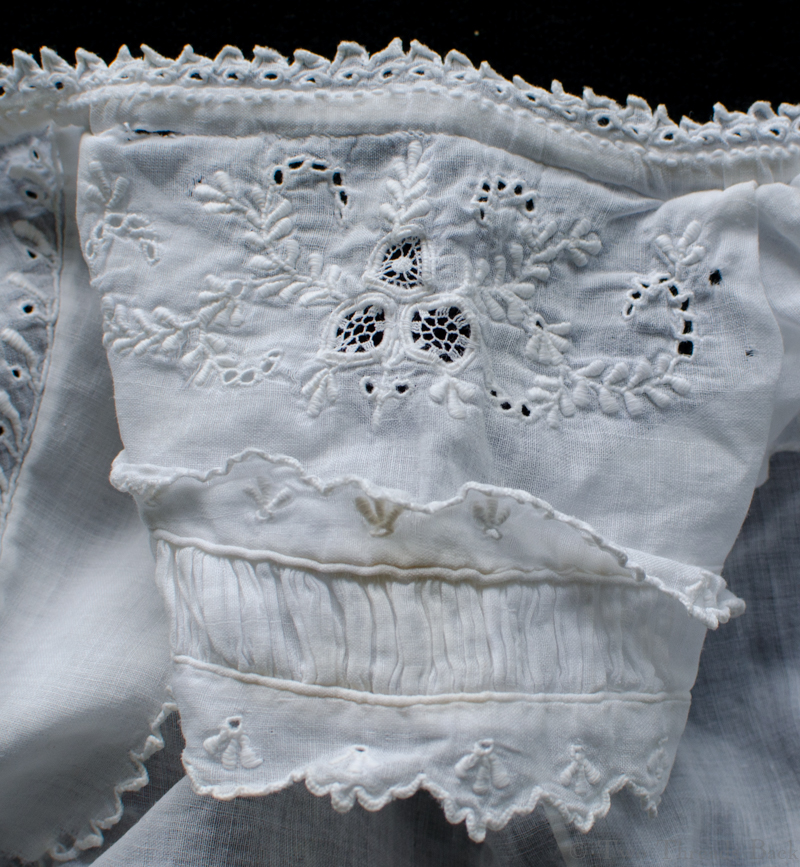
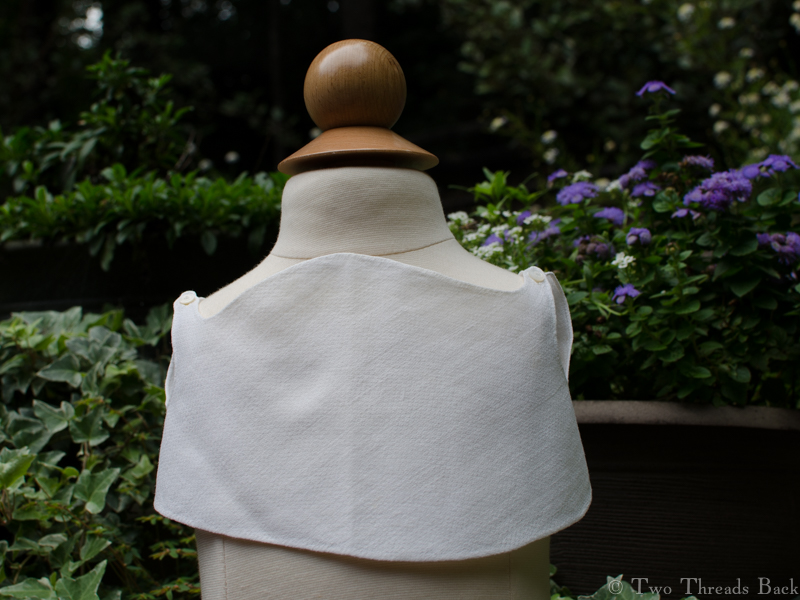
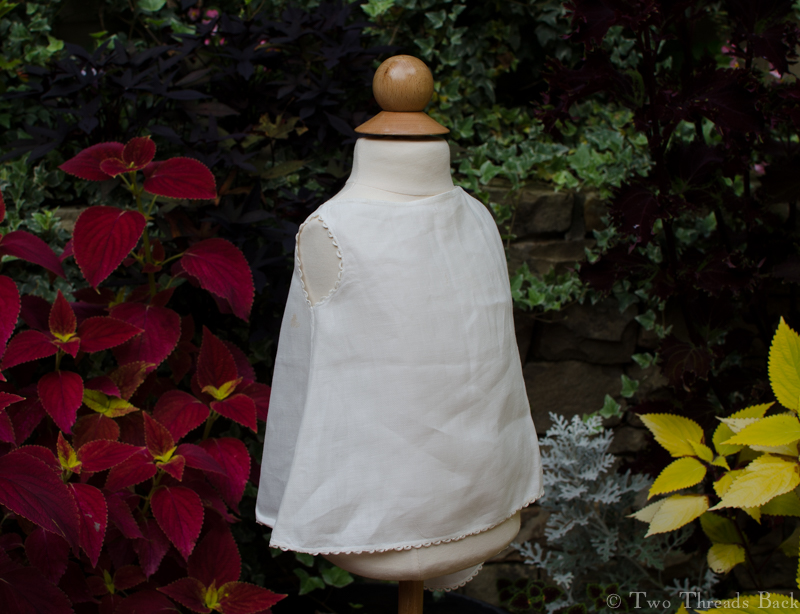
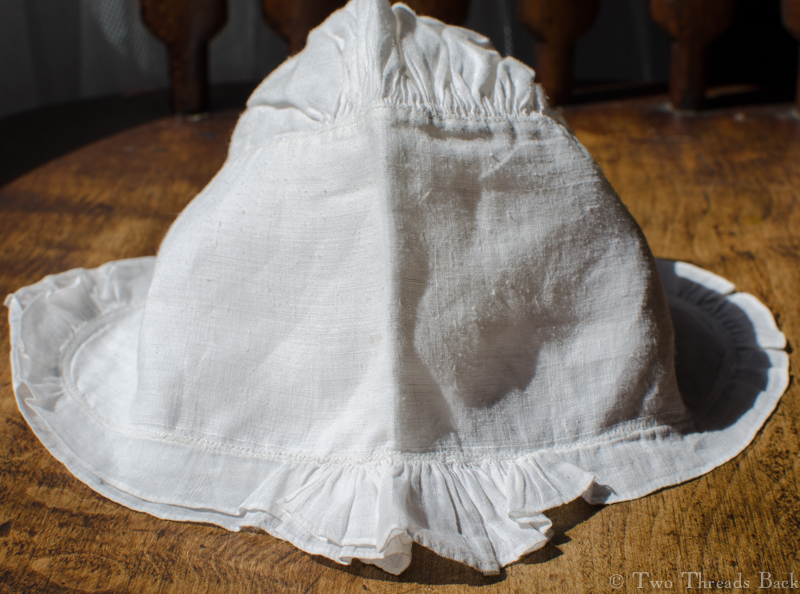
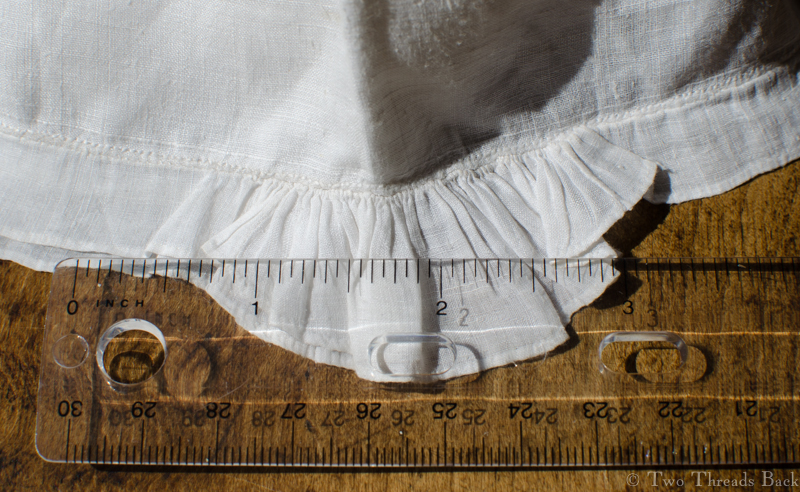
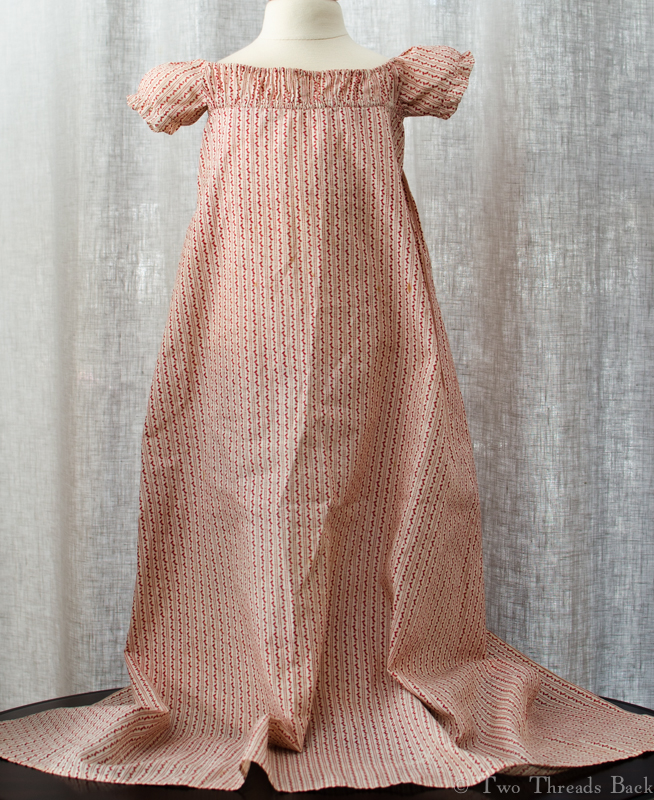
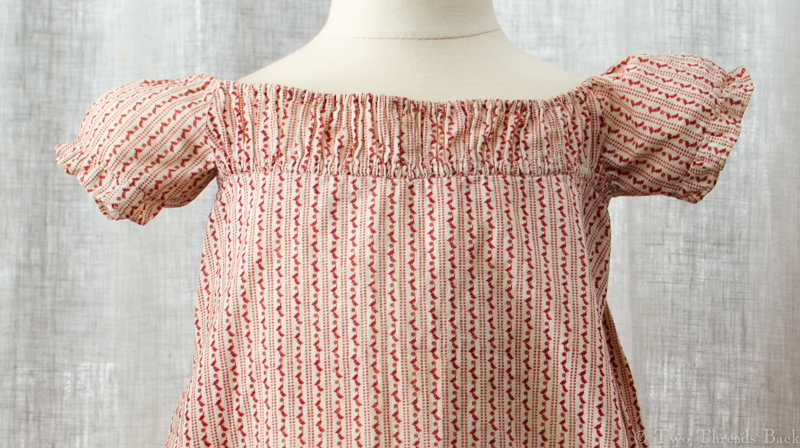
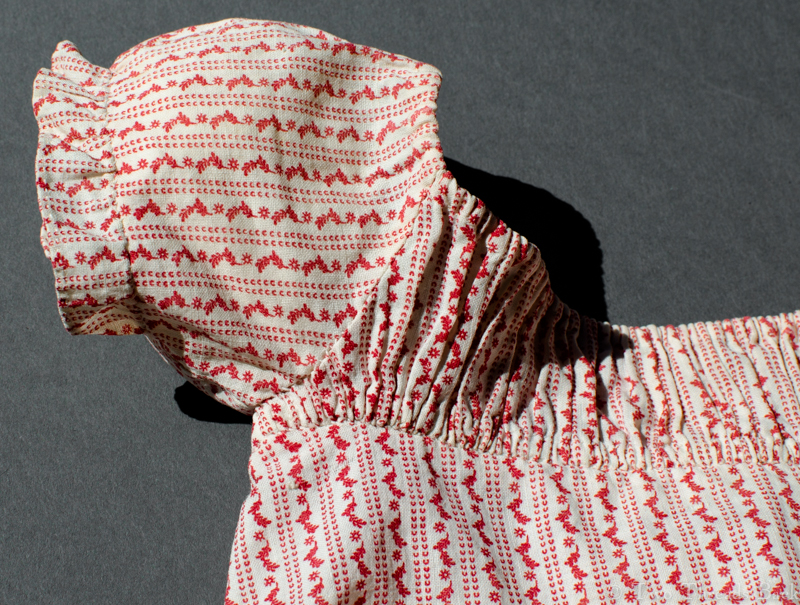
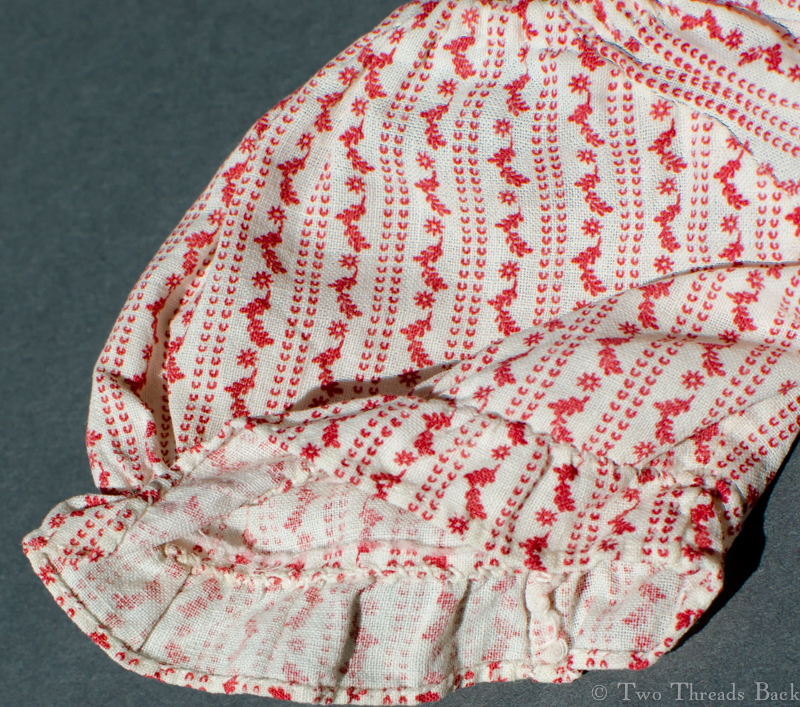
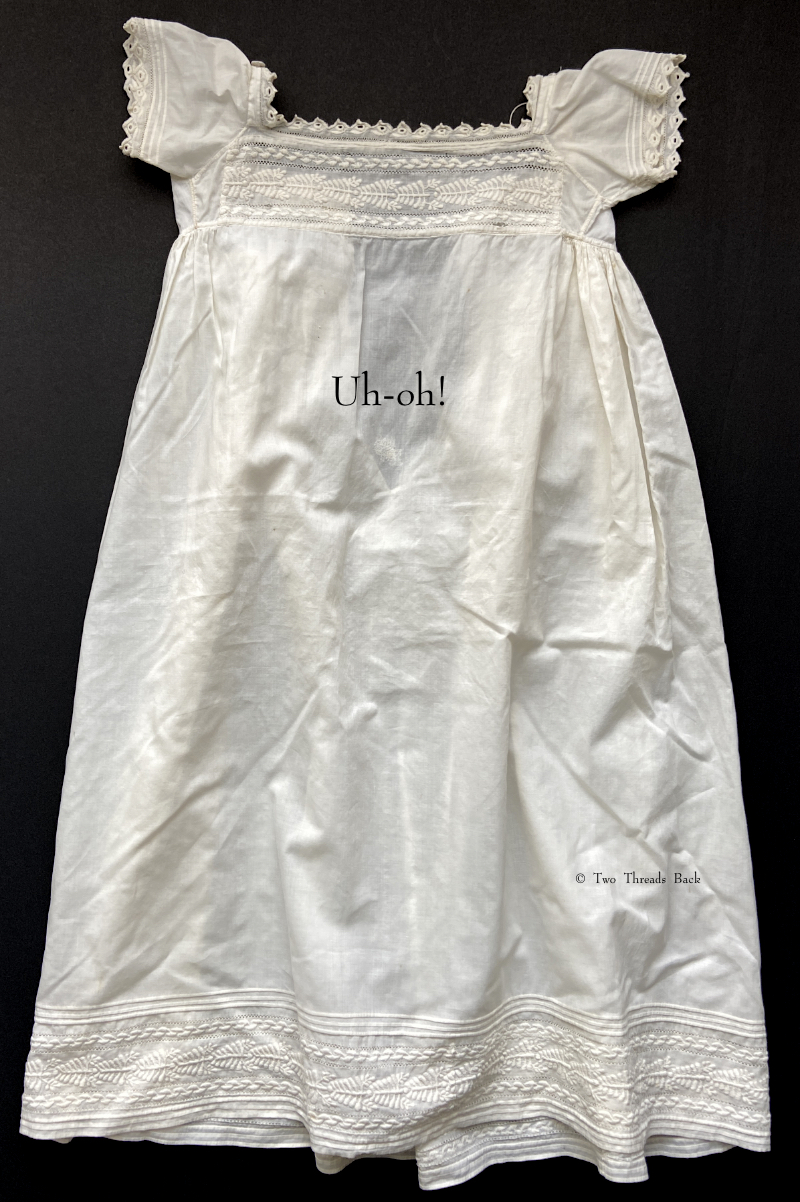
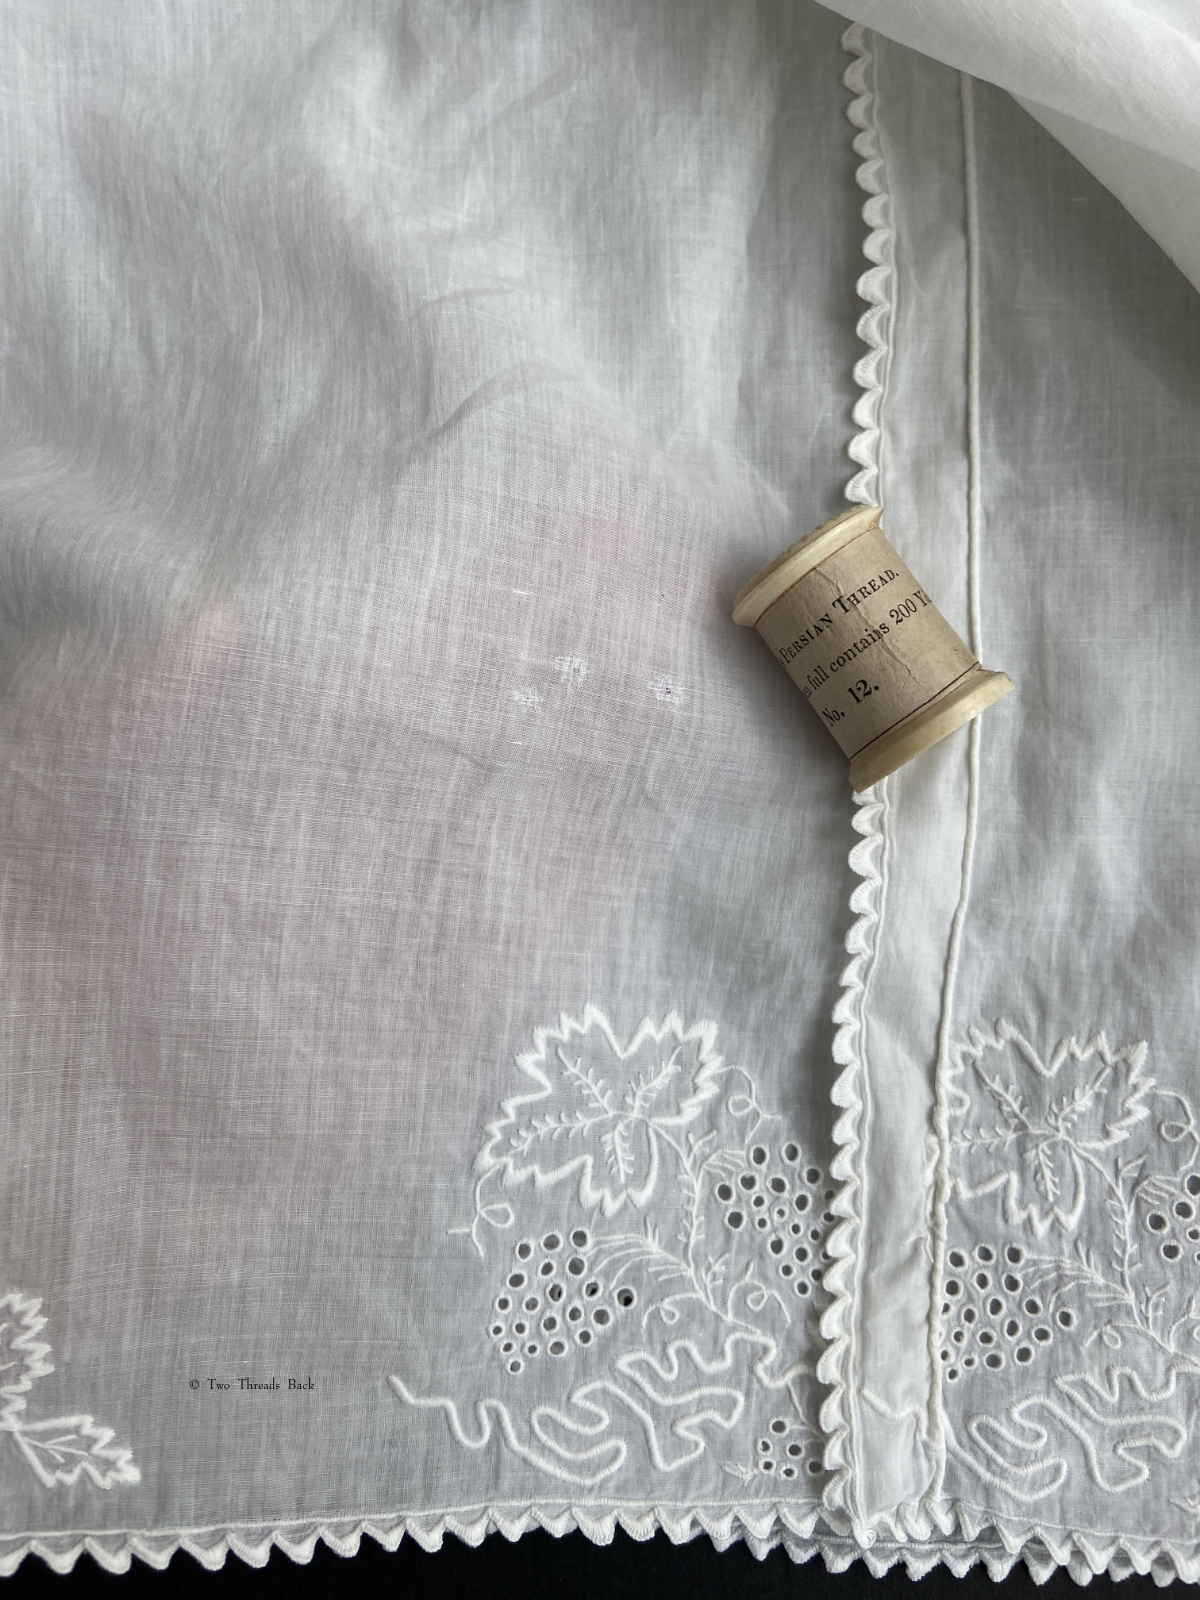
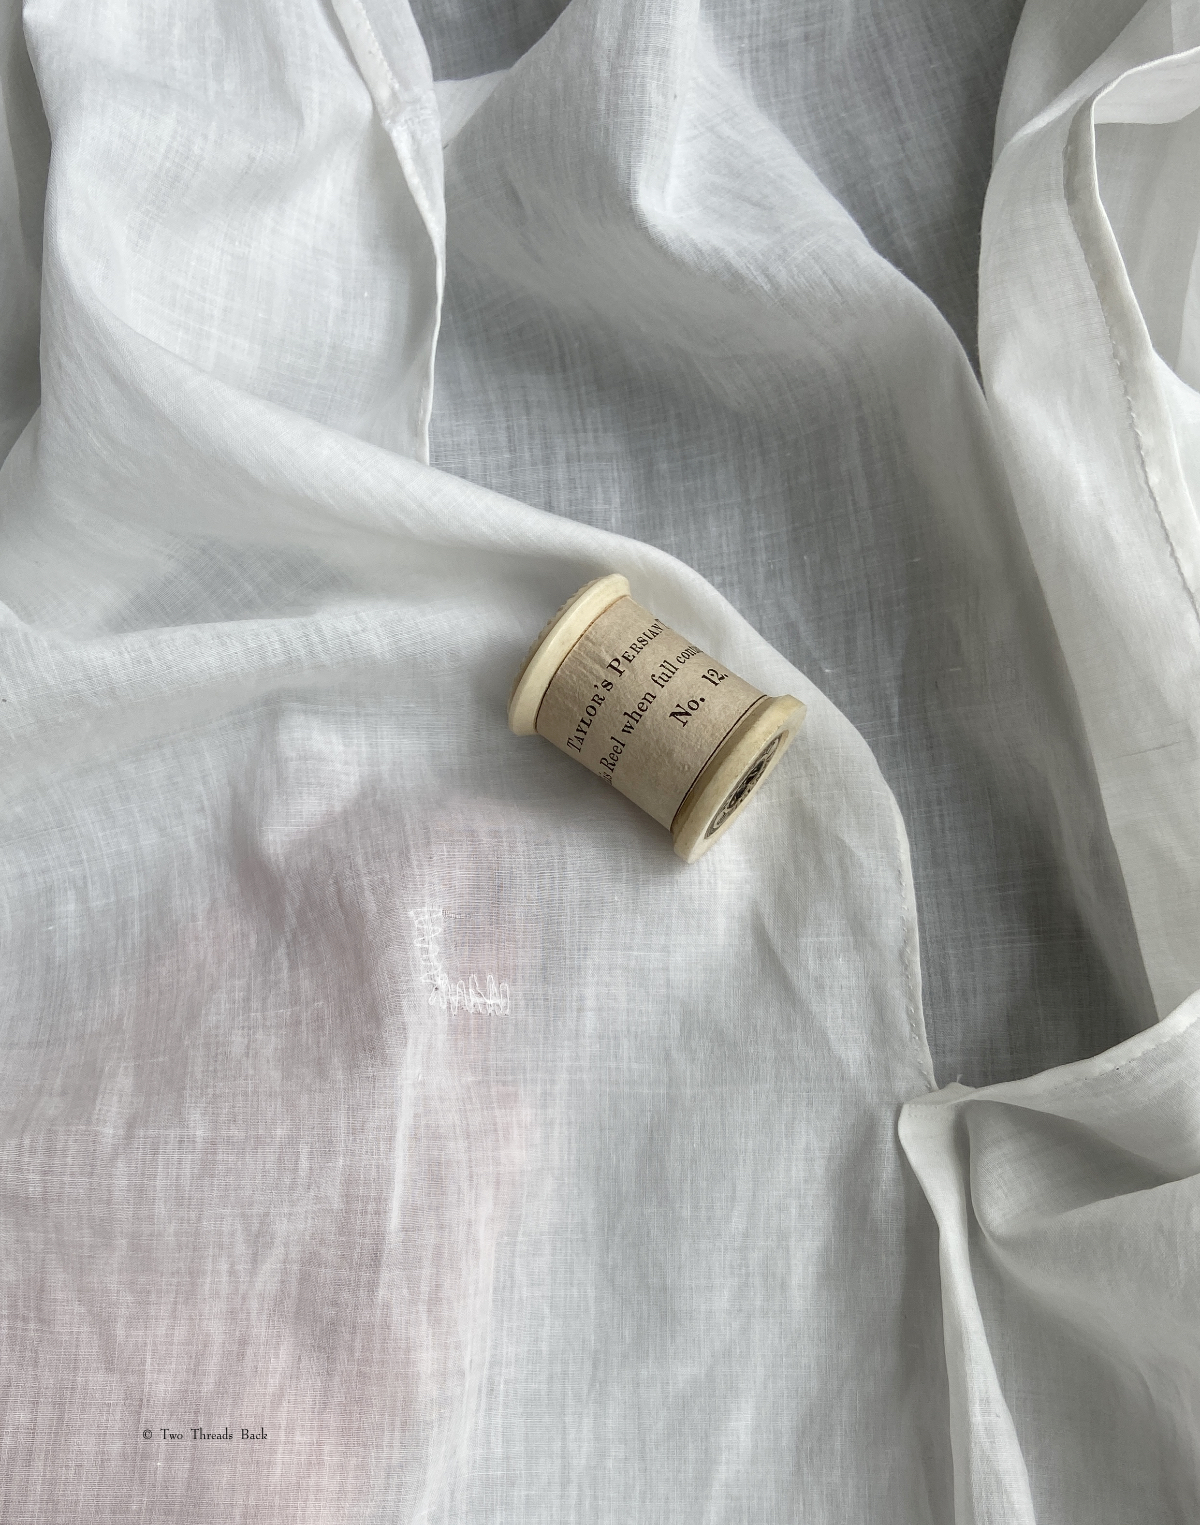
Lots of quick and clumsy patching abounded (by necessity I’m sure!), but I’m amazed at the delicate repairs you can find in finer clothing (examples here, here, and here). One day last summer, I temporarily lost my mind and decided to try it myself on a baby gown in need of repair. Before starting, I looked at a similar gown with a neat mend to see how they’d accomplished it. It had a 3/4″ darn right in the center front.
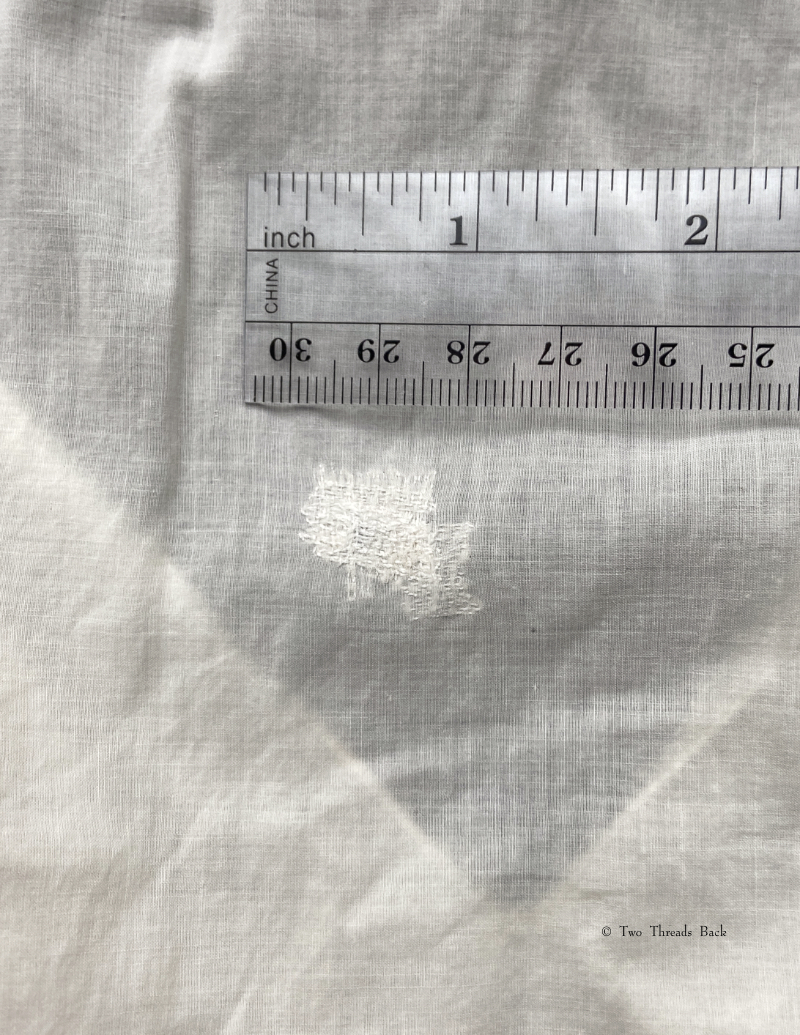
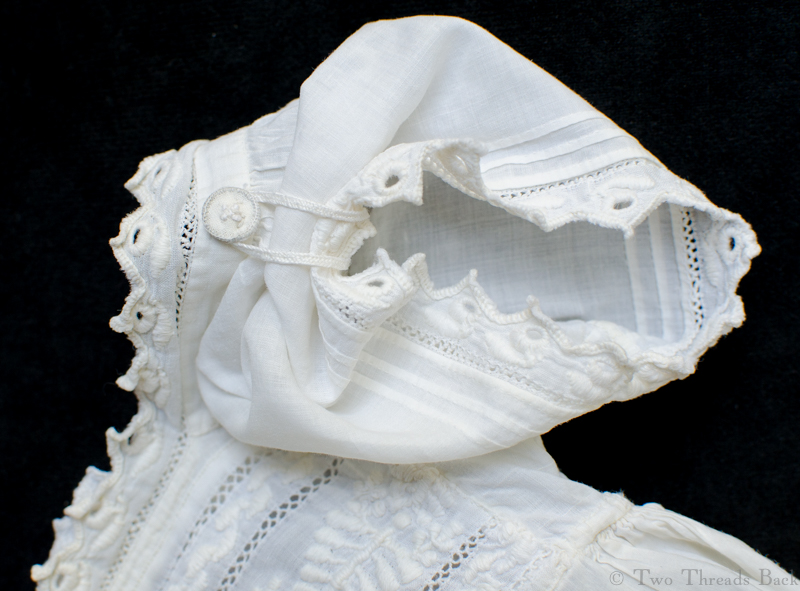
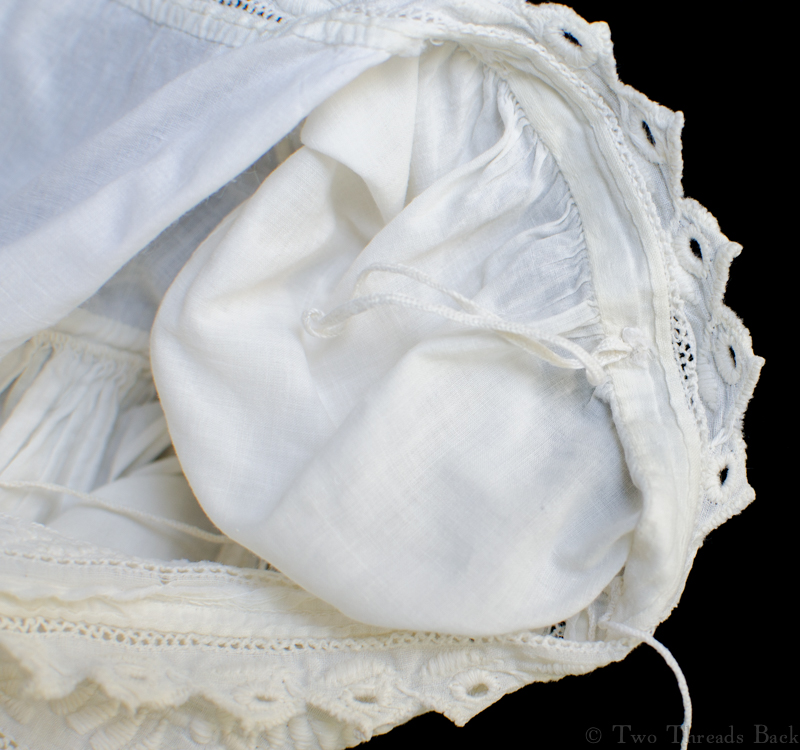
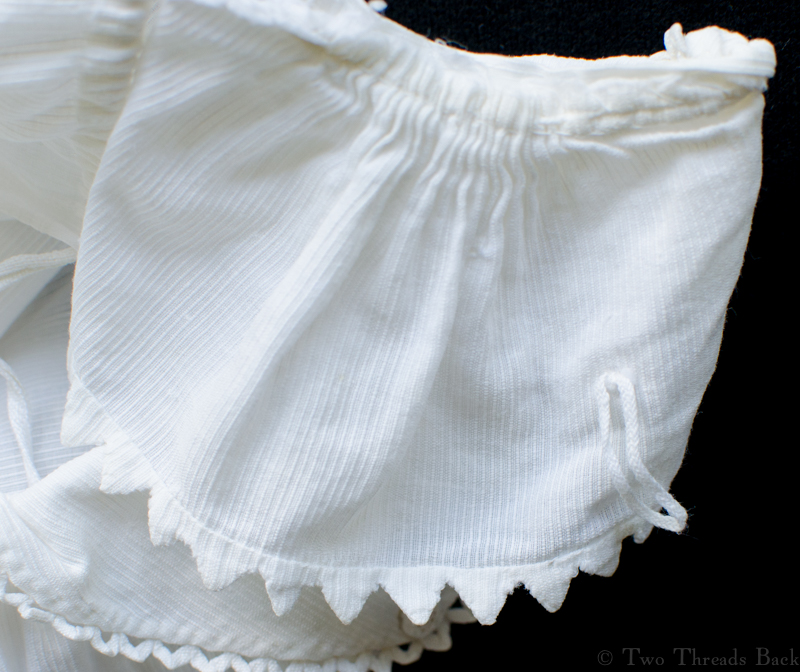
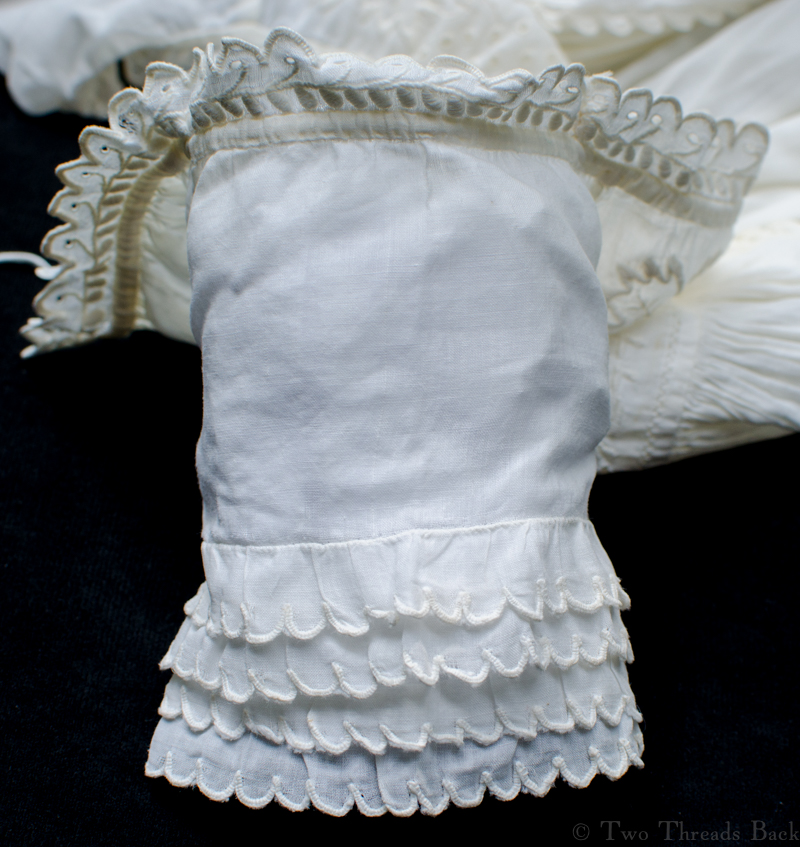
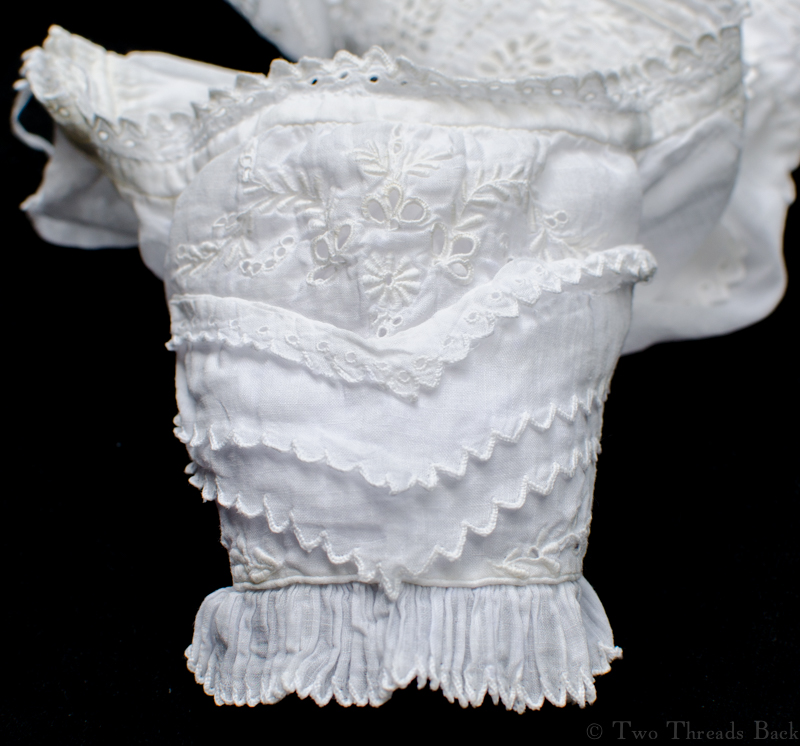
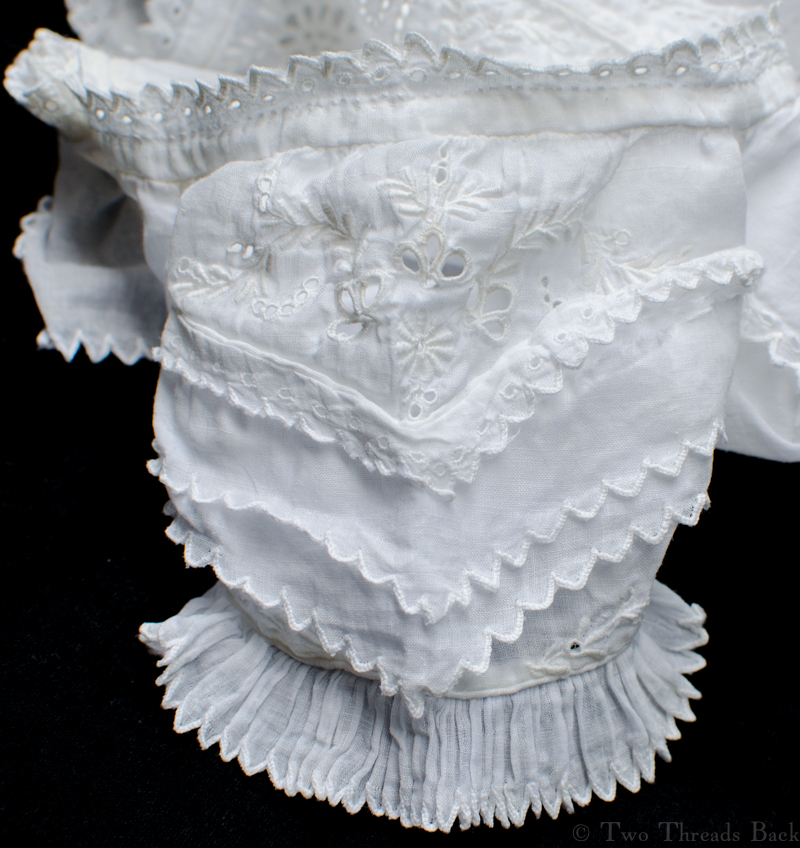
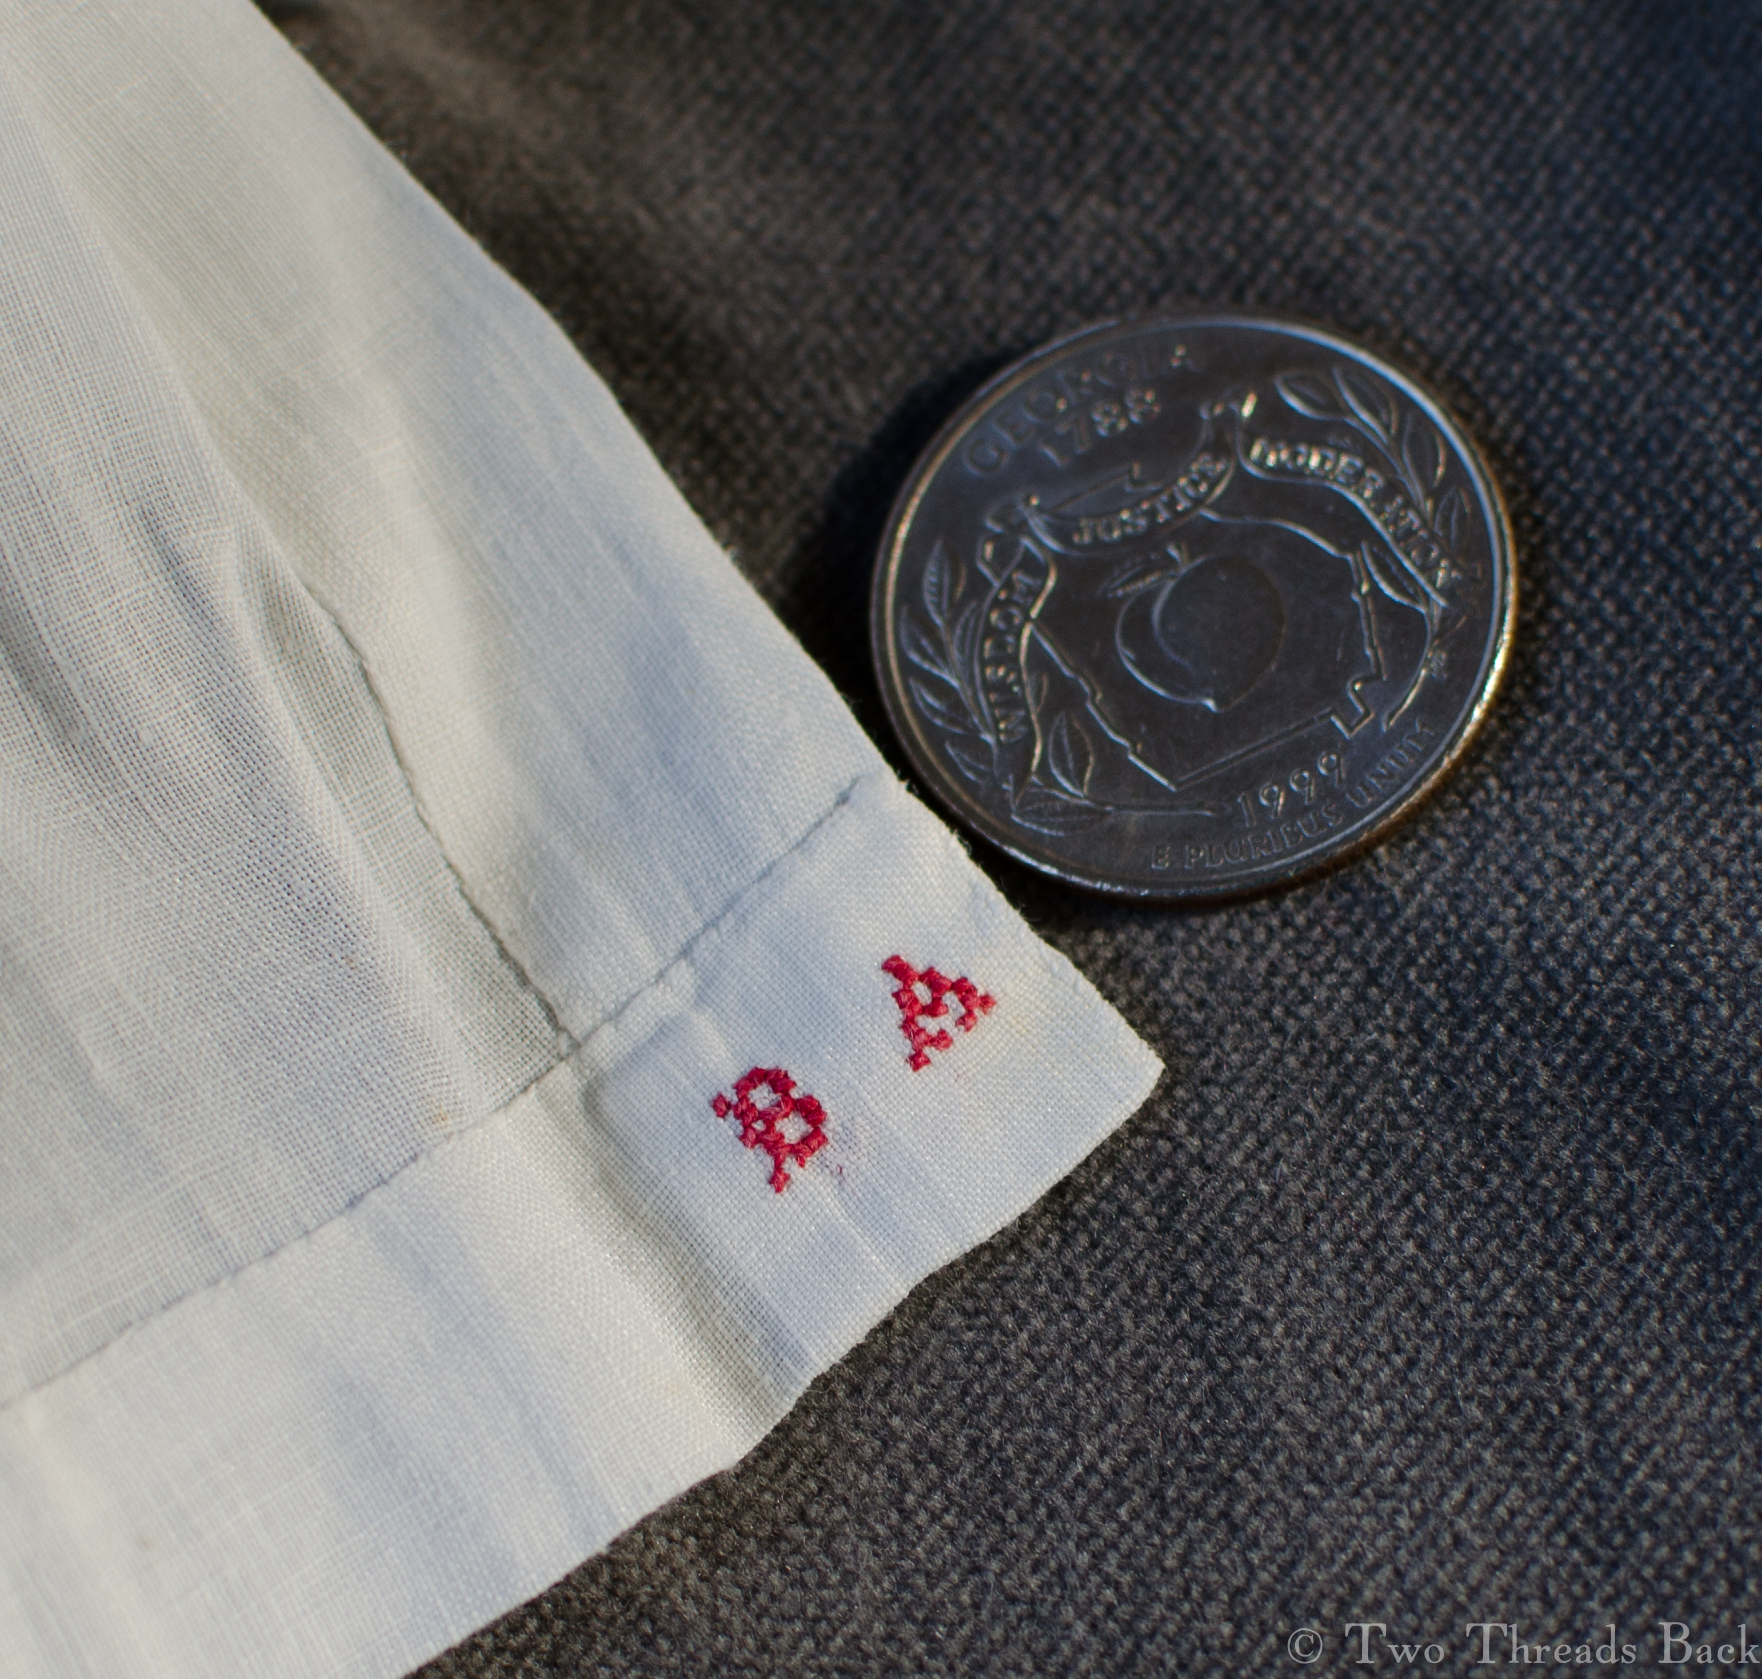
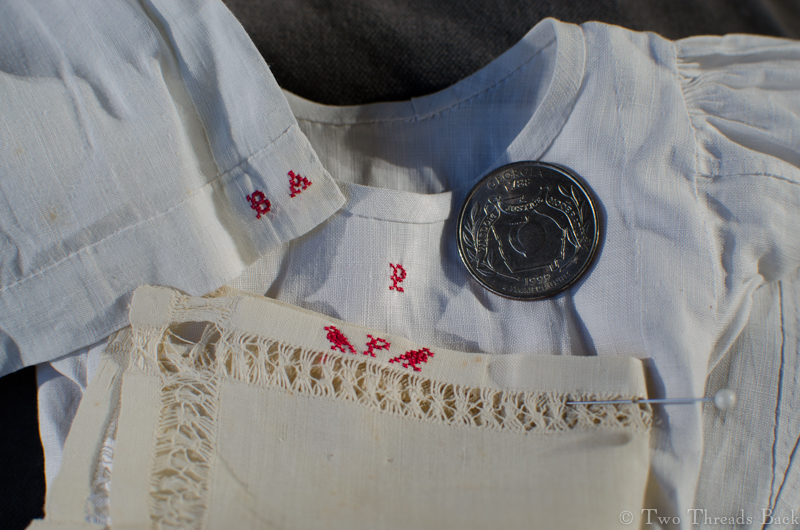
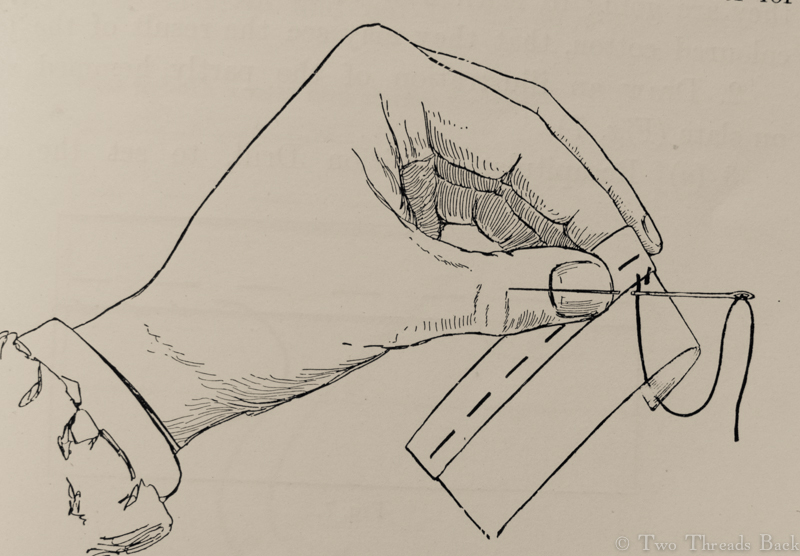
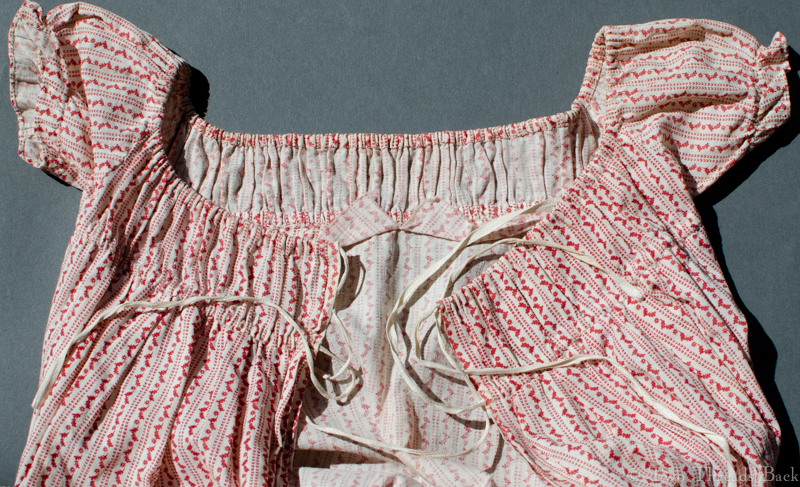
The one I wanted to repair had eraser-tip size holes on one sleeve and a tear at the back opening. My first problem was finding thread to darn with. Even the finest cotton thread I had looked wrong – too white, too glossy, too thick. So I raided a bag of “damaged beyond saving” muslin scraps and used the closest color and weight match, pulling threads from the fabric itself, trying to get strands long enough to use. I reviewed old sewing manuals for directions, but since I was being adventurous anyway, decided “Never mind manoeuvres, always go at them!”
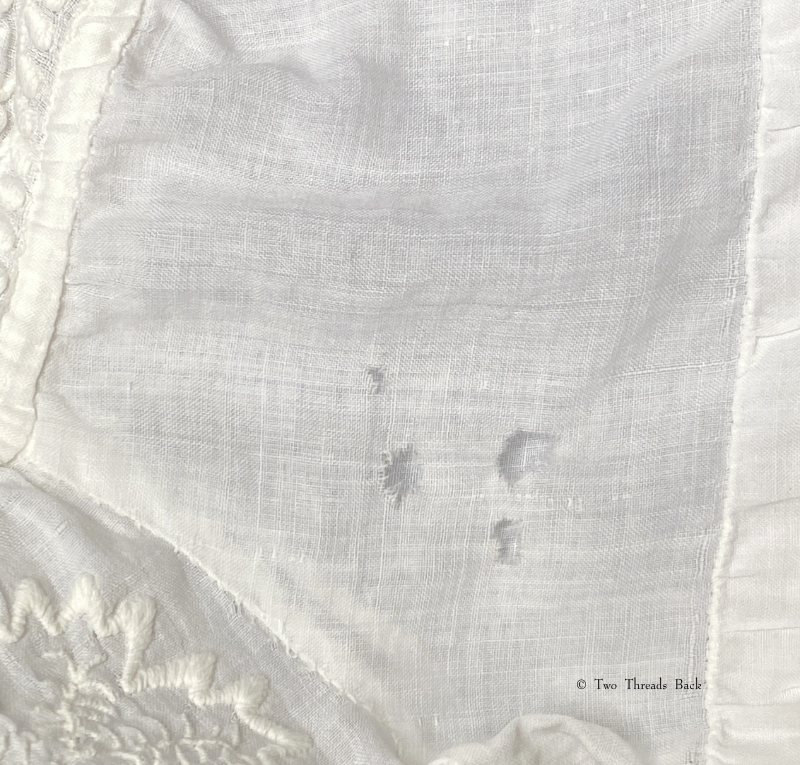
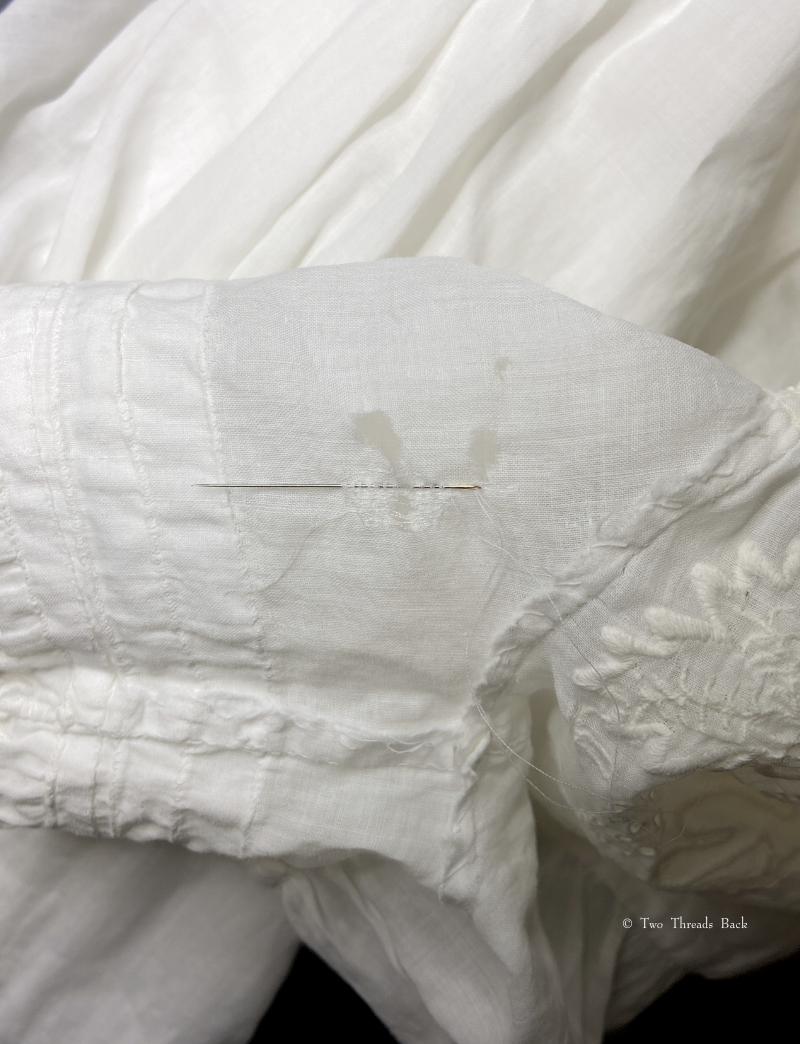
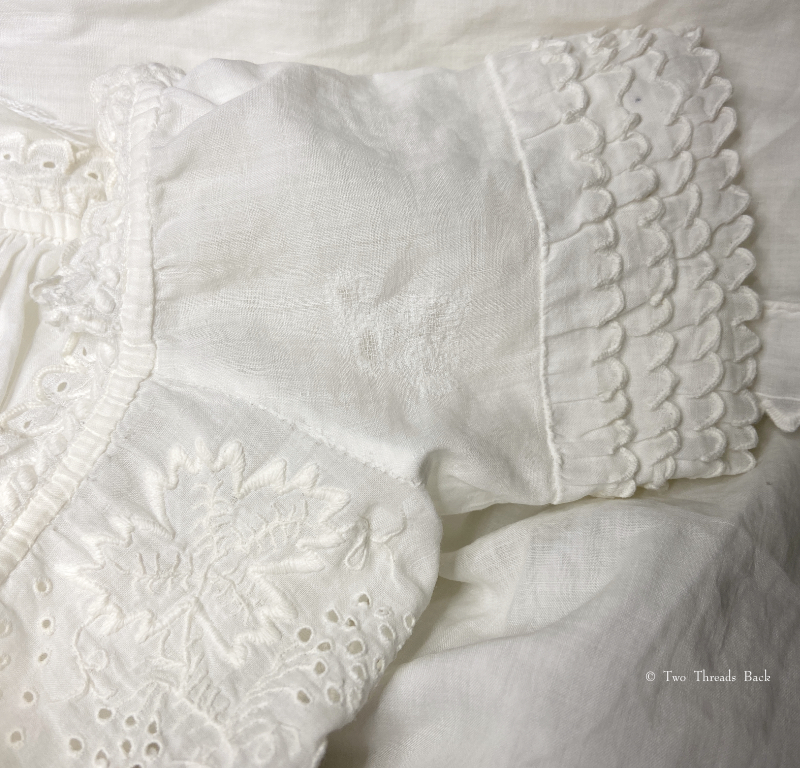
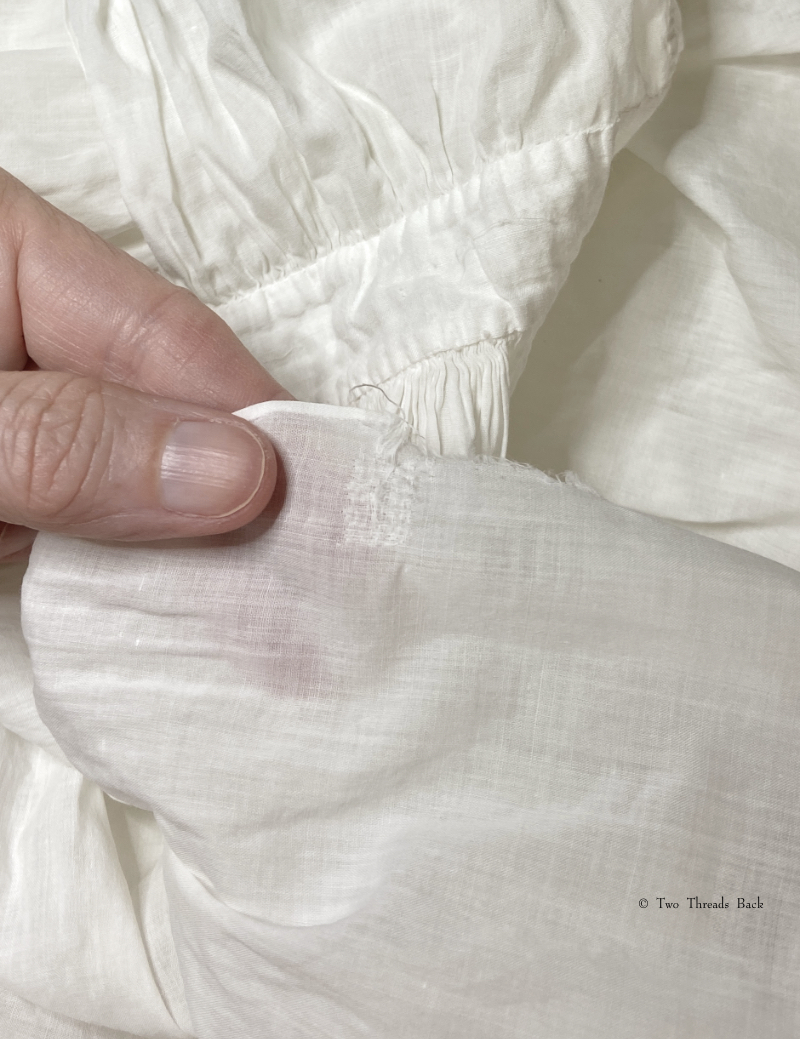
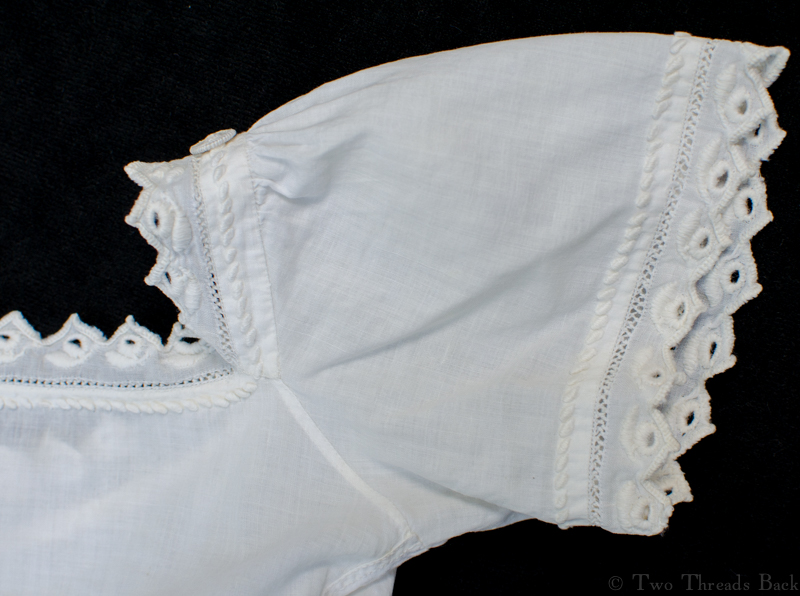
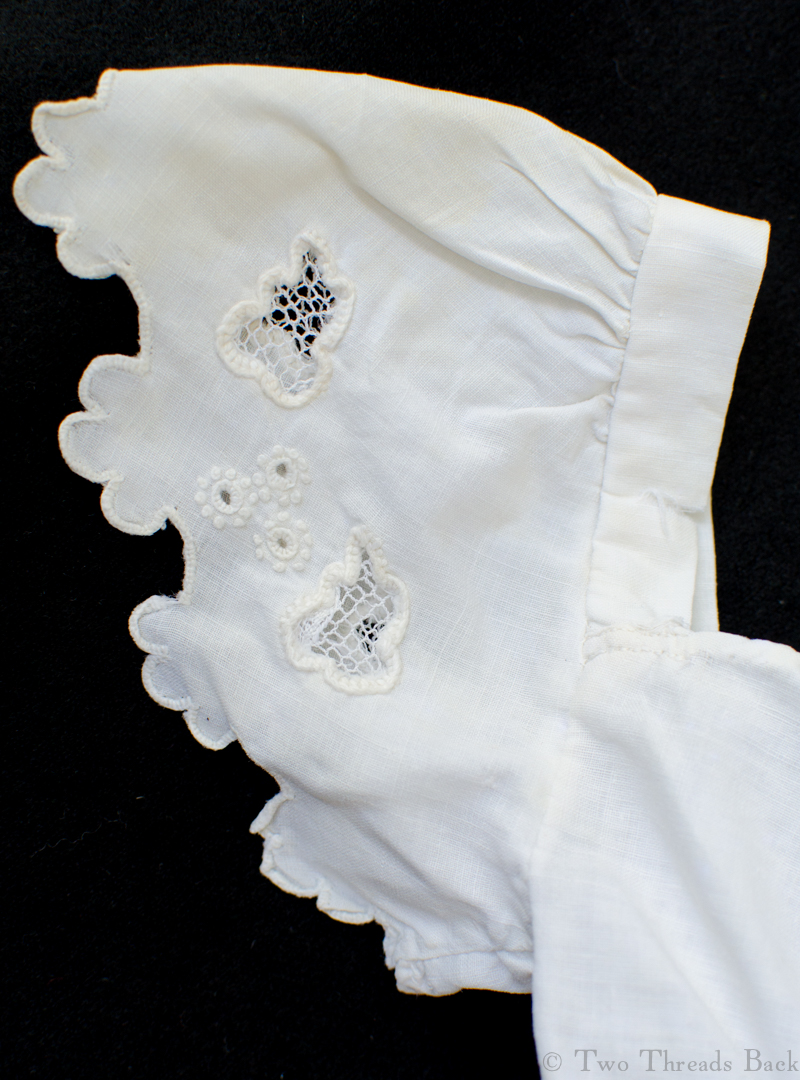
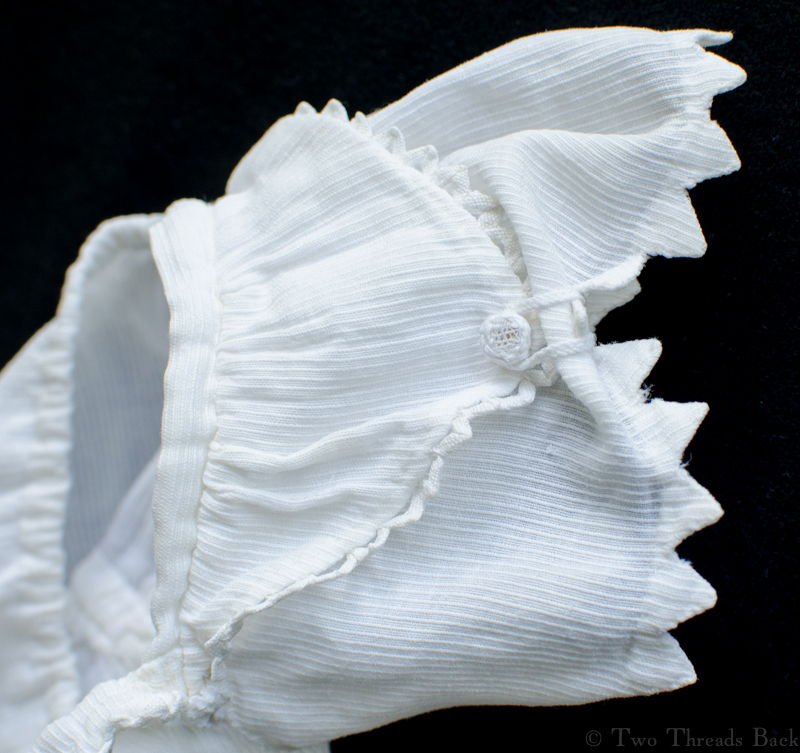
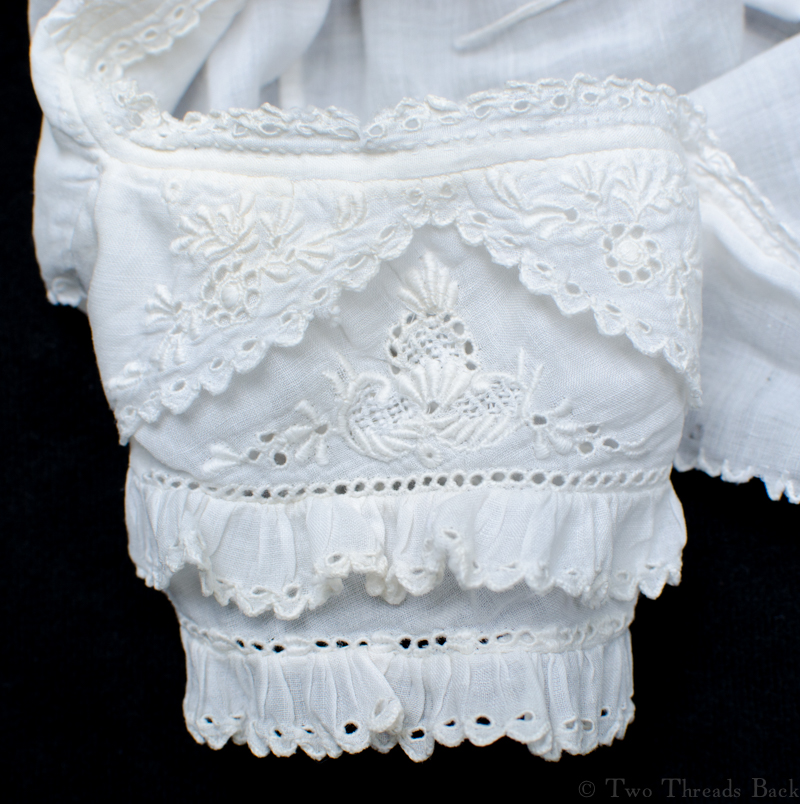
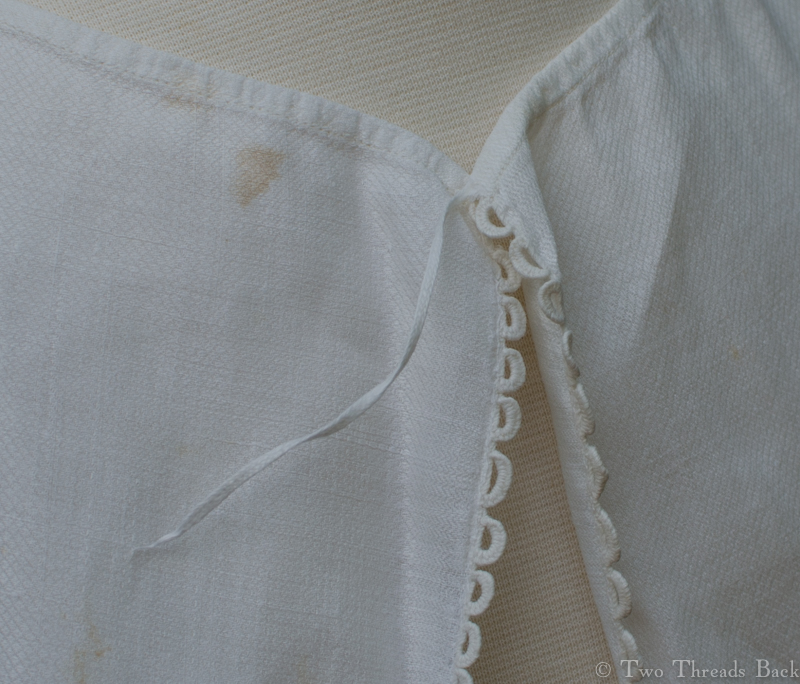
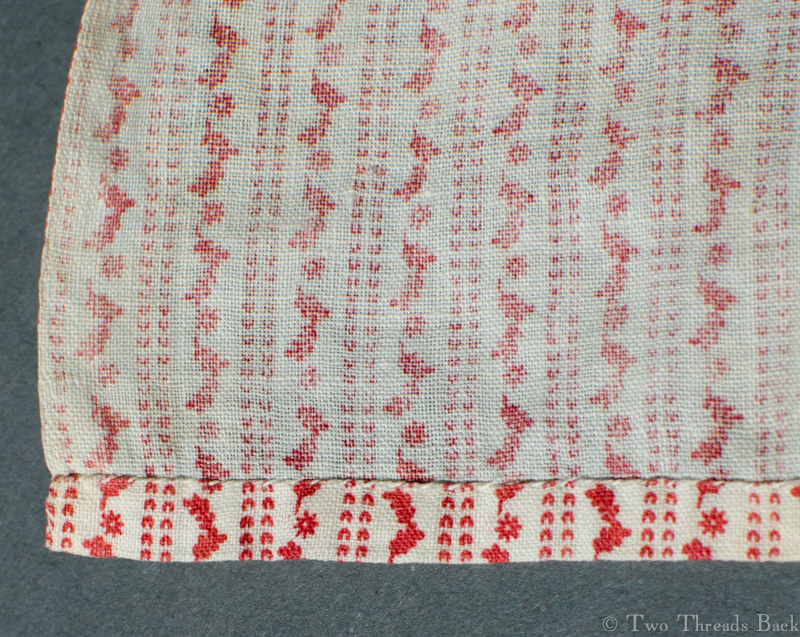
The gown did have one period repair: a three-cornered or “hedge” tear. (At least that’s what it’s called in late 19th century manuals. I only found one earlier reference to hedge tear, 1850s.) I can’t take credit for this darn, darn it. It was neatly done, and I didn’t even discover it until I was part way through my own mending!
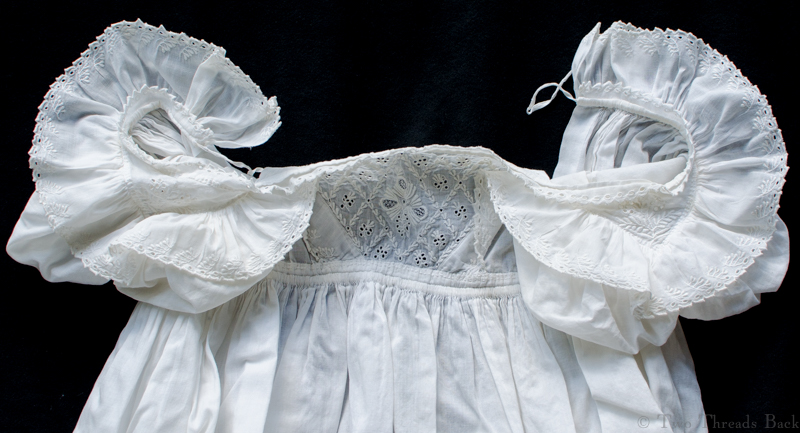
All in all, I was pretty satisfied with the results. They wouldn’t stand professional scrutiny, but they work for my purpose and were way more fun than I expected. I’d like to do more. But wait. Does that mean I do or don’t want to Save Nine?