Charity knows that the way to a man’s pocket is through his heart. Business knows that the channel to the same place is through the eye.”
Isn’t that just as true today as it was in 1890?
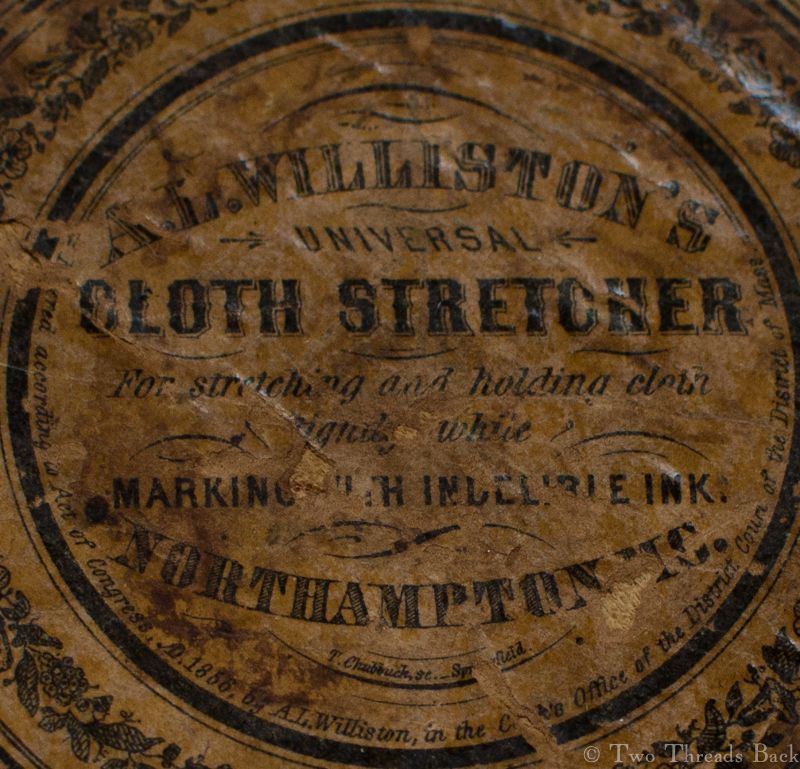
I was doing some serious Textile Nomenclature Research the other day and once again came across Cole’s 1892 A Complete Dictionary of Drygoods (and history of silk, cotton, linen, wool, and other fibrous substances, … &etc). This time I made it to the end of the book, and ended with my nose pressed against some virtual windows!
The first part of the book is the reference section, 400+ pages of information on textiles, right down to illustrations of the looms used to manufacture them. But the last sections are the most fun to read.

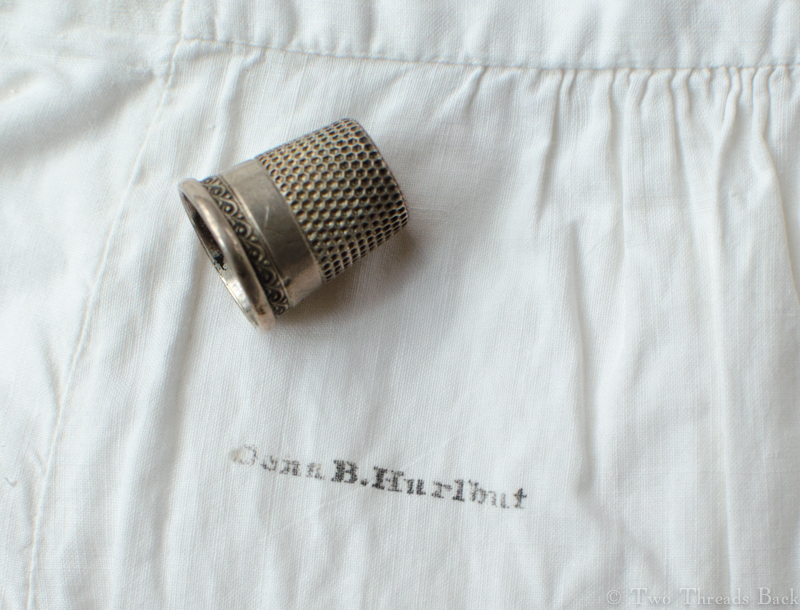
Appendix “A” has charts with sizes: home linens, gloves, buttons, corset covers, thimbles, and whalebones. There’s even a chart with yardage suggestions for most garments, rather like the back of pattern envelopes today. “B” has yardage, weight, and thread count. “C” is an appendix of tariffs, not particularly interesting except that it’s really cool to see what was being imported: human hair (unmanufactured), cotton quilts, artificial flowers, and hair of hogs for mattresses! “D” was, of all things, a German pronouncing dictionary – included because sales clerks who spoke German could command a higher salary!
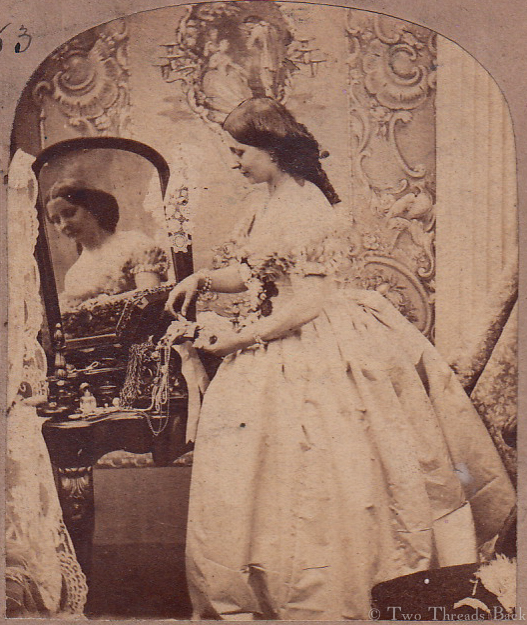
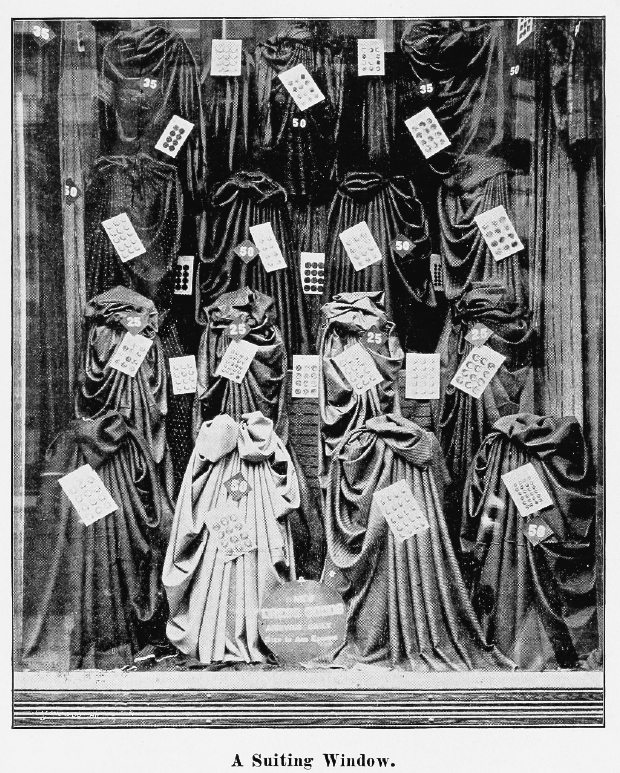
But the best was last: Window Trimming (or How to Attract Women). The author sizes up his target.
“There are two classes of feminine buyers to whom the trimmed window appeals most strongly: the lady who has nothing to do looks round at the store windows through mere womanly curiosity; the lady who wants a dress or other article looks round for something to take her fancy: both are certain to be attracted by goods prettily displayed.”
I feel like I should feel offended. But I’m not. Sometimes I really do shop the first way, and sometimes the second! Cole advises on basic design elements and techniques, starting with conventional color theory. His comments are practical and pithy, “Red and orange are not pleasant companions.” Perfectly tasteful when arranging a shop window in 1890, right? However… “Divorce blue and violet forever.” Seriously? This time I am offended!

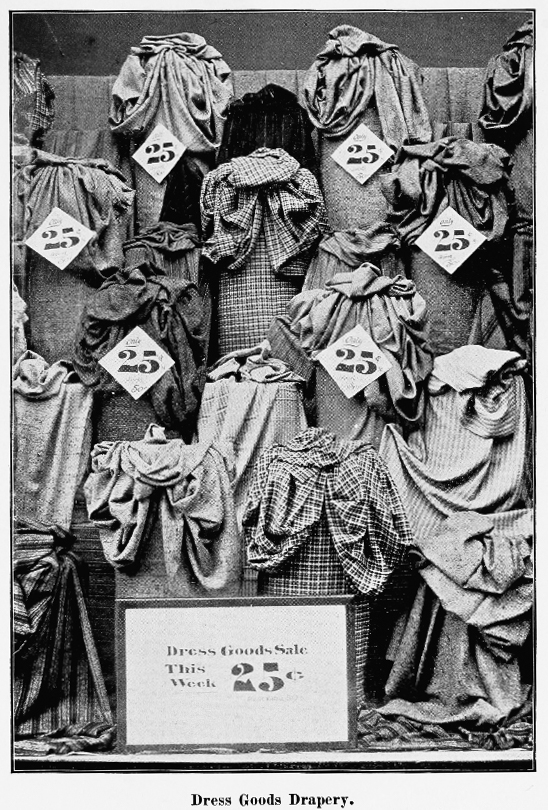
He continues with advice on the background of the window, and then goes on to arrangement. Time for some puffery! Did you know that heavy silk makes lovely displays when puffed just right? Window artists are directed to move their arms like exuberant conductors, raising armfuls of fabric and hammering down on the counter, jerking the selvedges outward and hitting the floating folds a sharp cut with the hand. But woe unto the artist who attempts to puff a flimsy silk “as it generally caves in, and so discloses the poverty of the fabric!” I hate it when that happens.


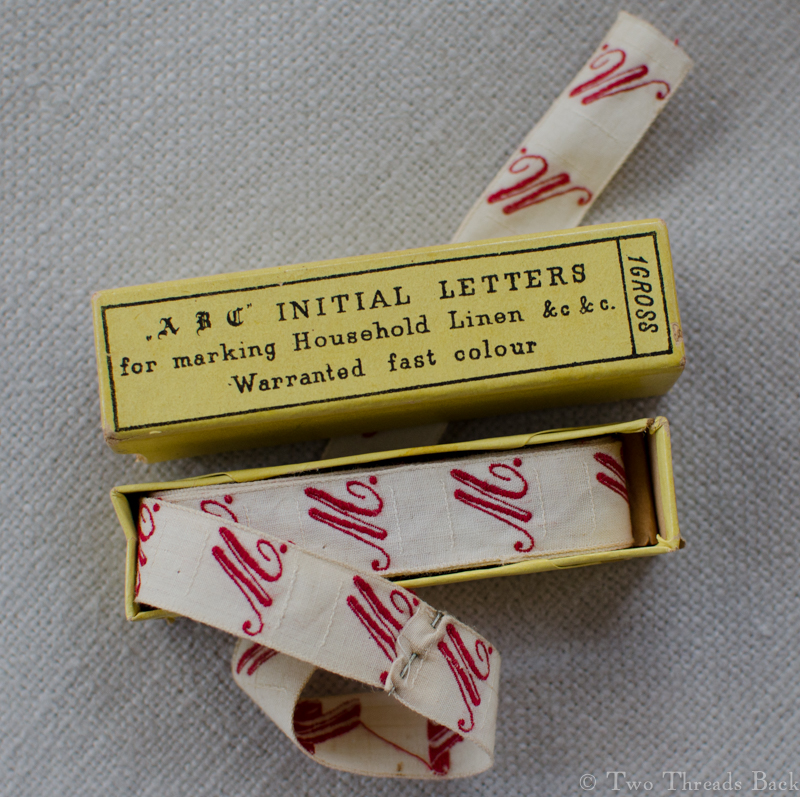
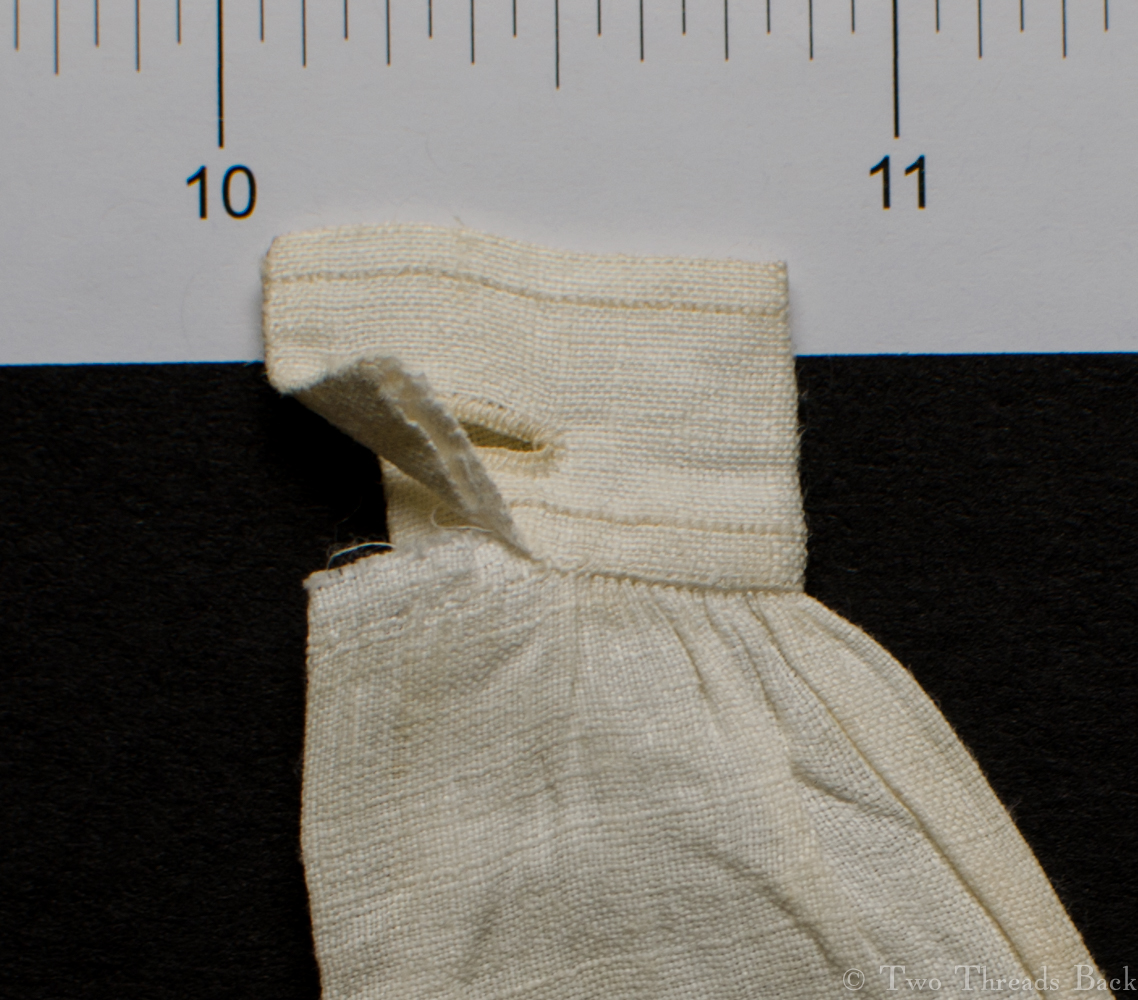
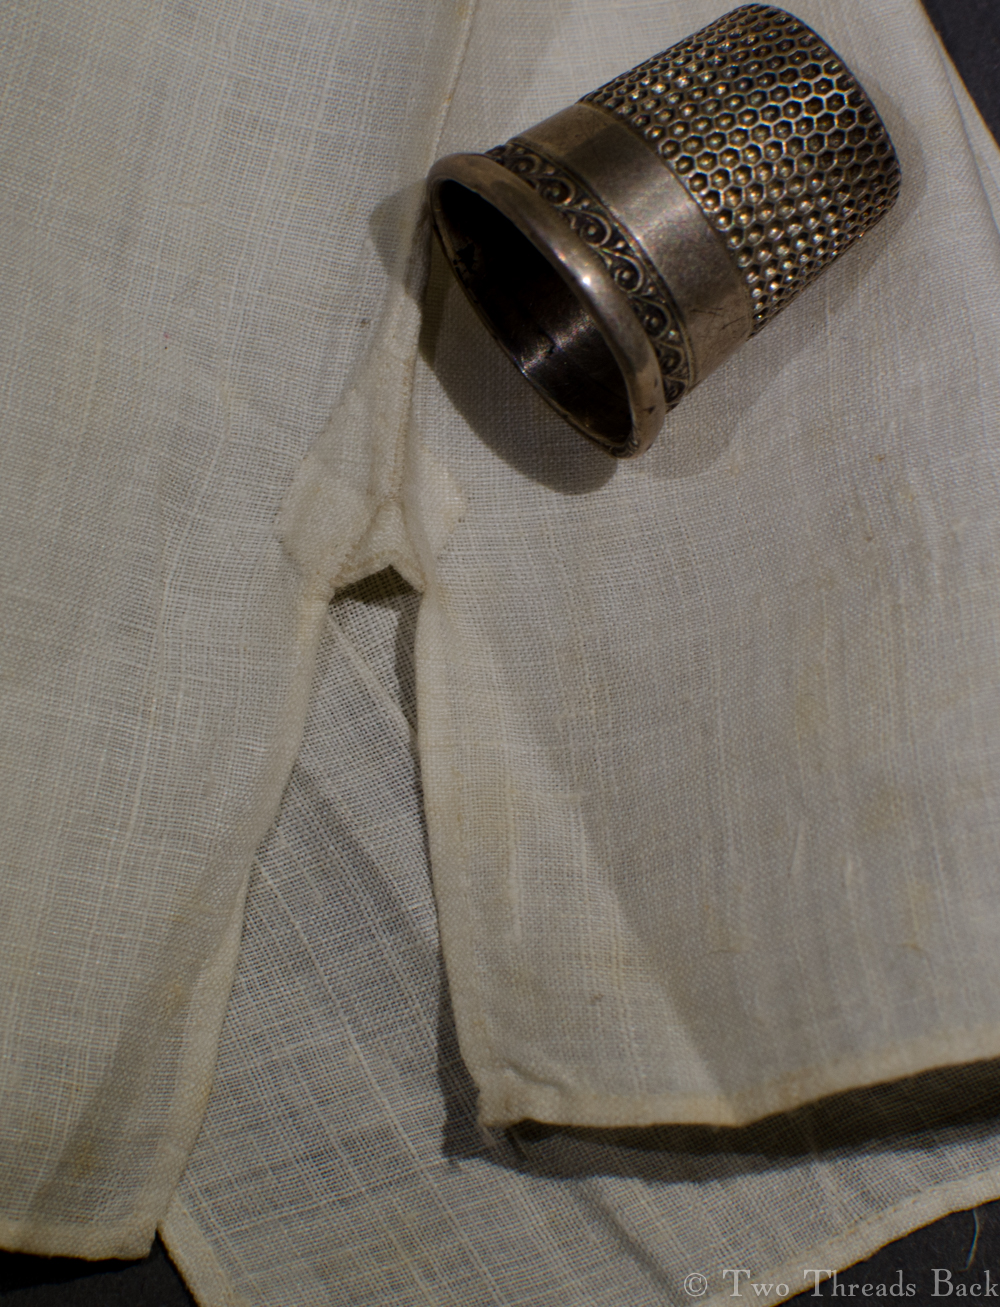
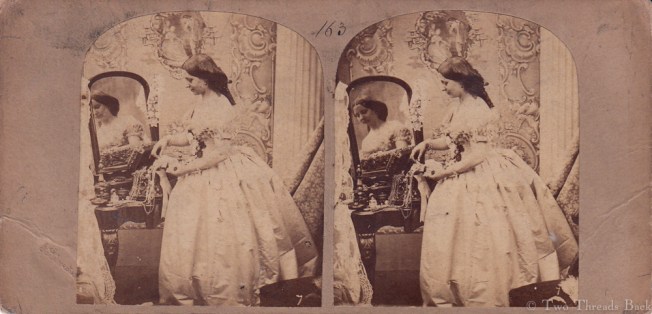
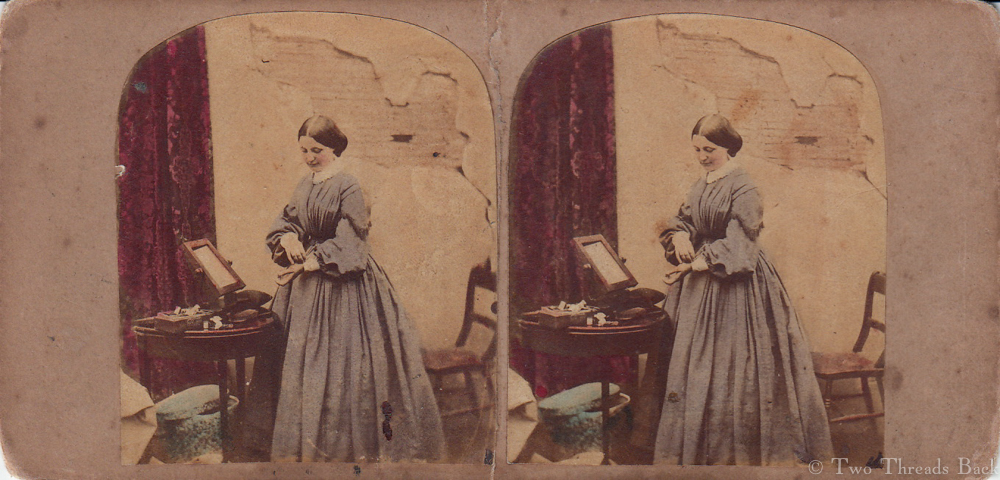
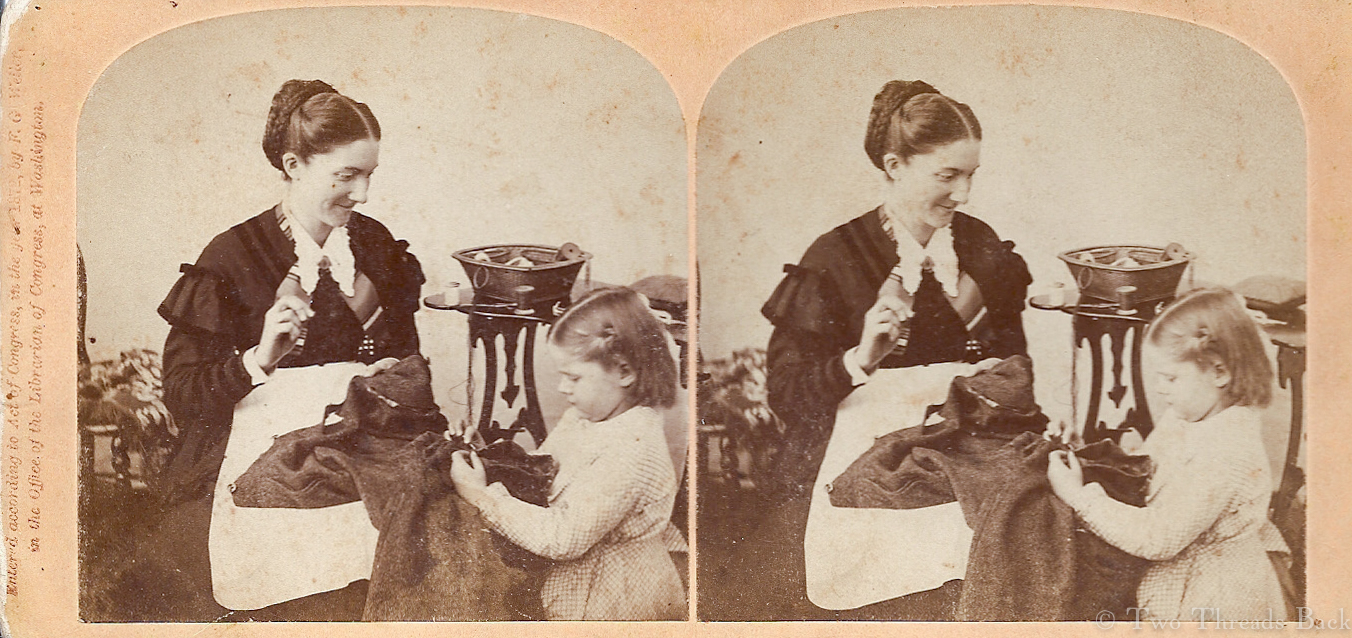
That reminds me, did I mention the free gifts with every purchase? Well, these extras (see left) are “usually given away with dress patterns of expensive materials.” I don’t suppose there are any new marketing tricks left. However, there are some old ones that have been forgotten. When was the last time you saw a Canning Apron Window? What, never?
Well, that was one suggestion for a theme window. “Many a lady who seldom finds time to enter into the hardships of housekeeping, just ‘pitches in’ during the canning season. It is taking time by the forelock simply to suggest that in this feature there is a grand opportunity for a realistic window display… A display of aprons, which are proper for such a time, and the arrangement of fruit in baskets and about the floor will be a change from old ways.” It certainly will.
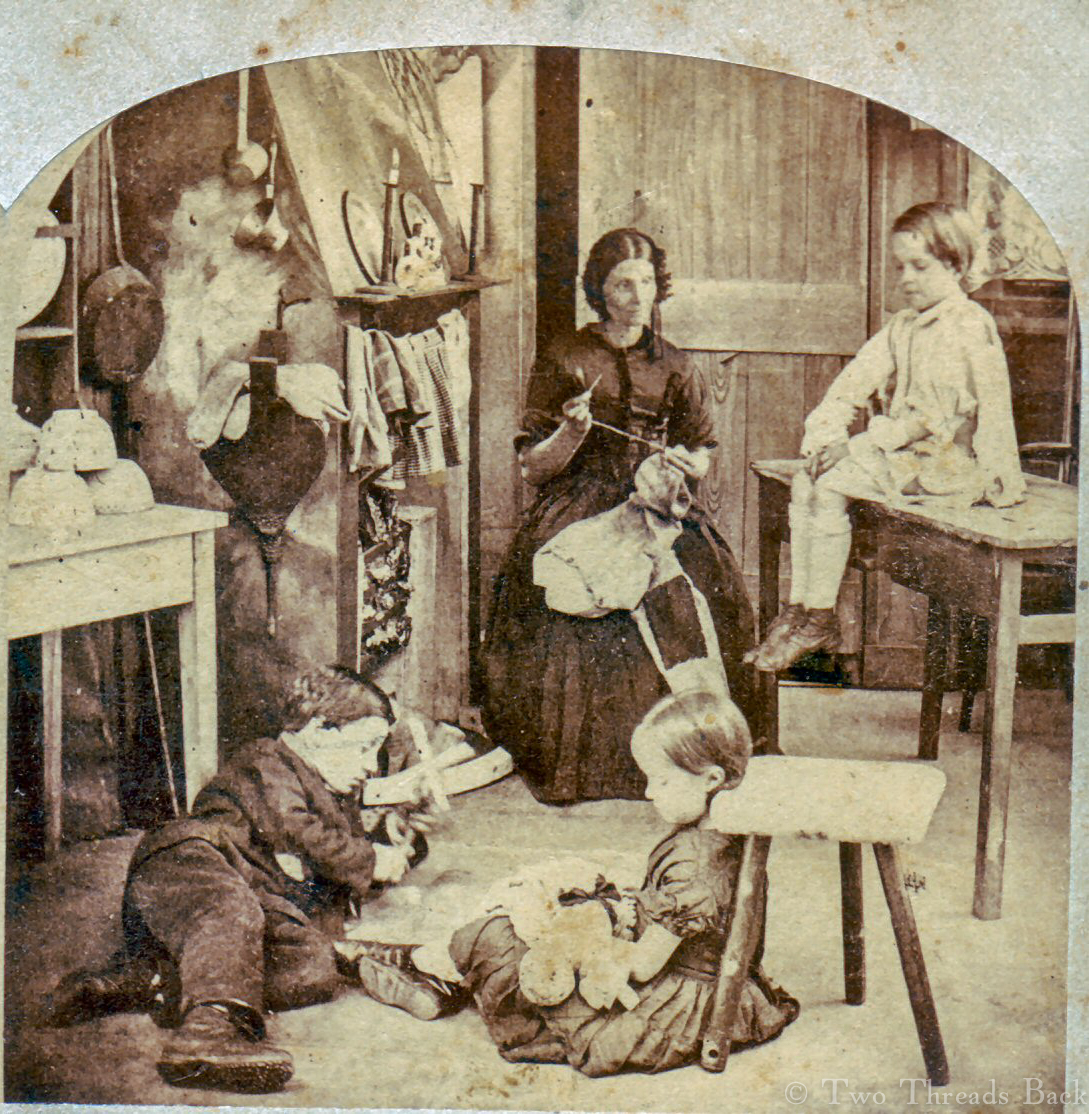
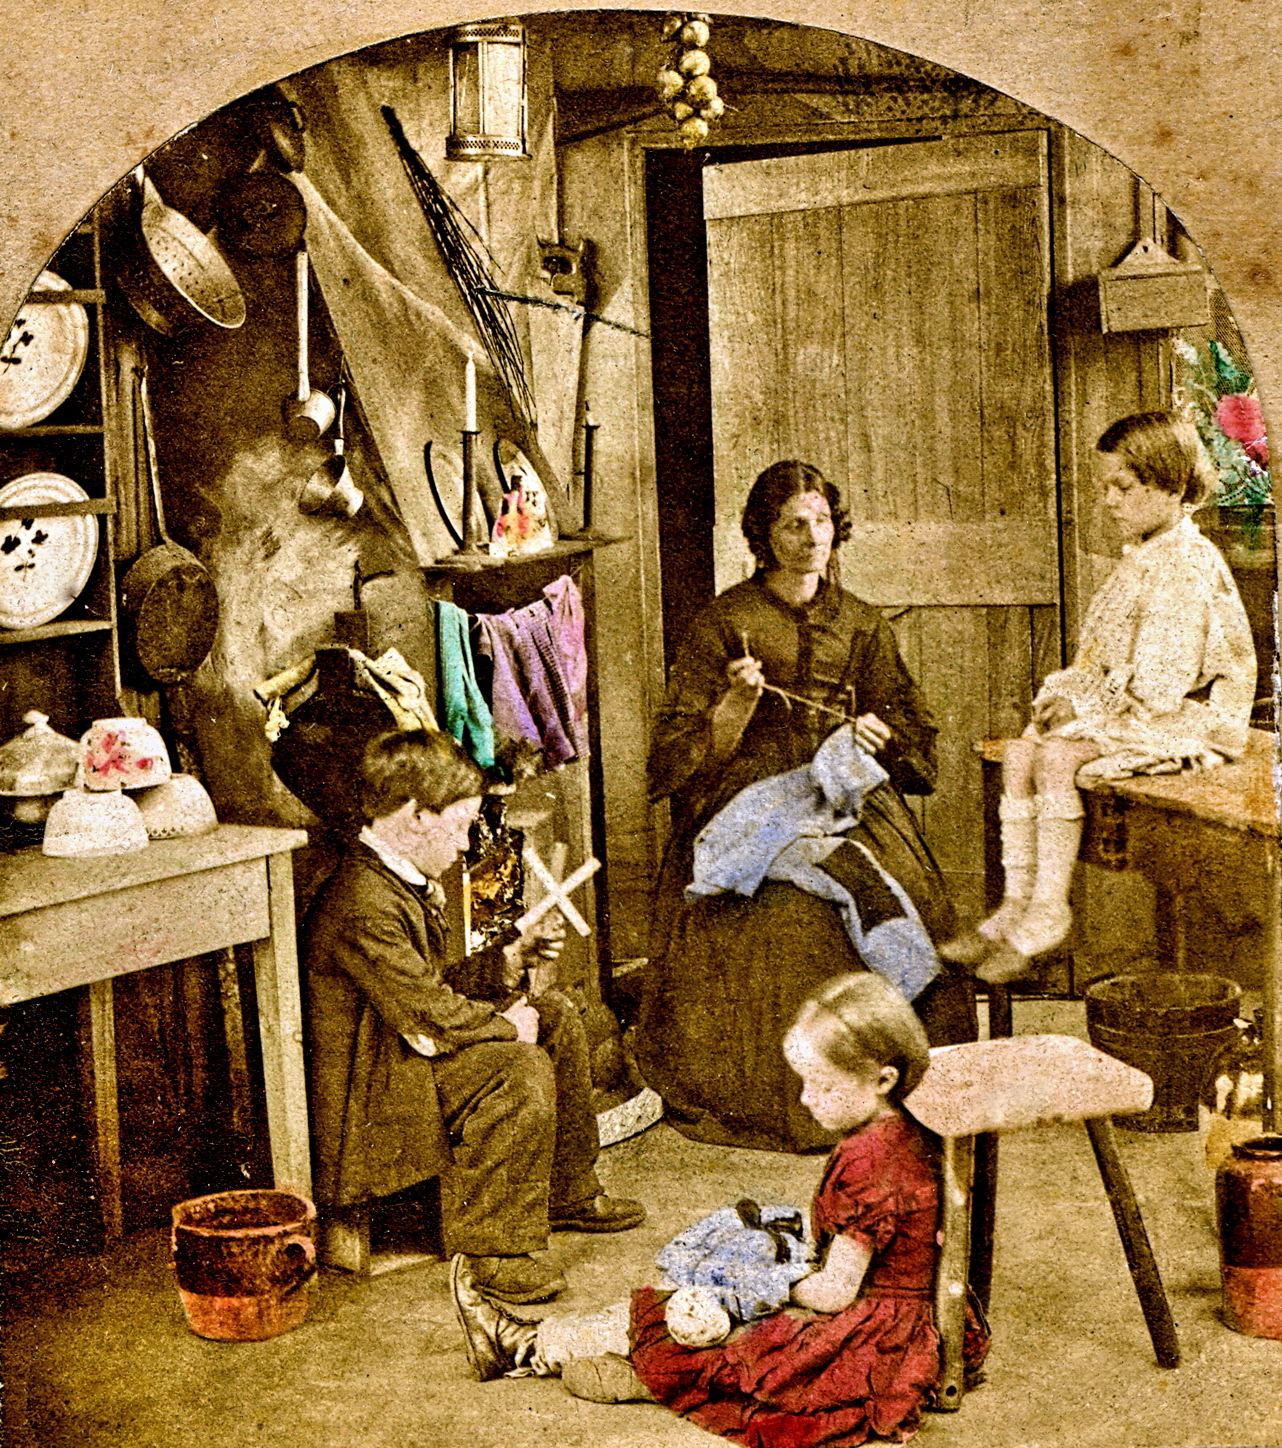
But what about special events? This one’s a kicker: A Grand Army Window. “For occasions of Grand Army encampments or re-unions a window devoted to a representation of camp life is very appropriate.” By the time you’ve sodded the floor, added a tent complete with faux legs encased in army boots sticking out from it, knapsacks, and a coffee kettle over the fire, well, there you are in the good old days. But the description ends there, and I’m still trying to figure out – how the heck are you supposed to display any dress goods with that?
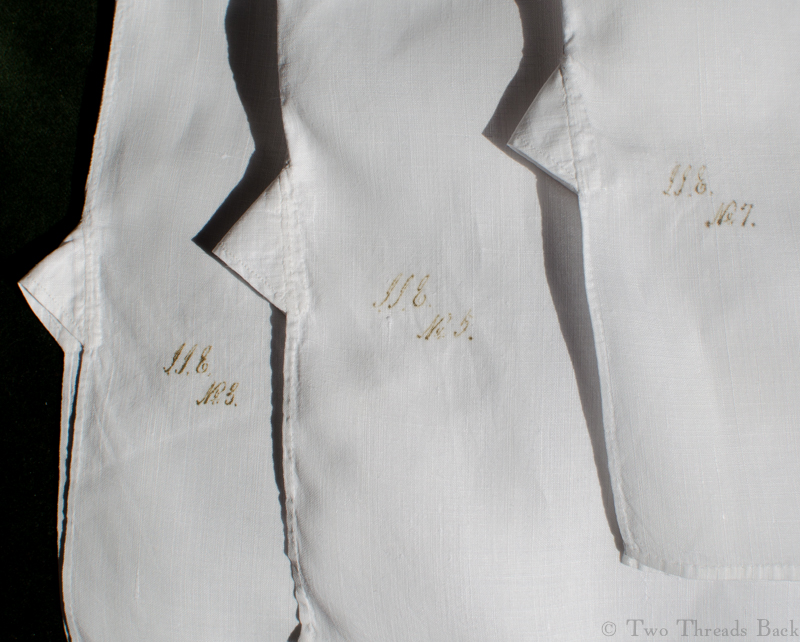
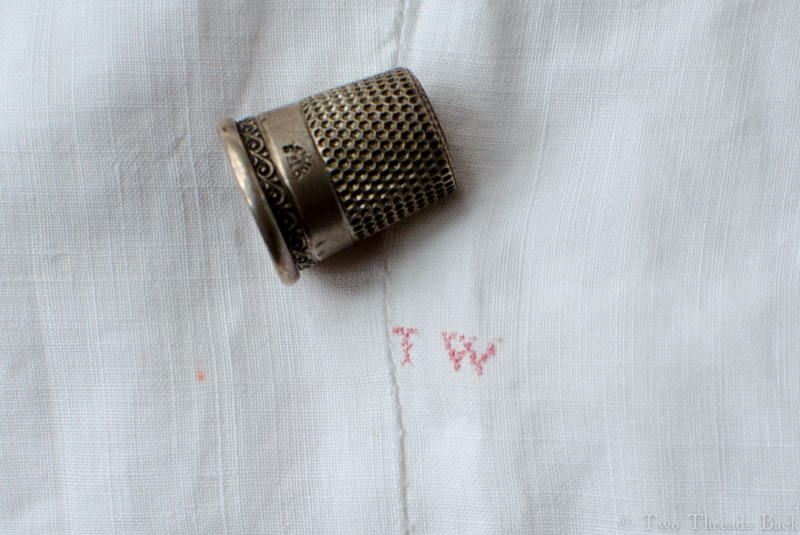
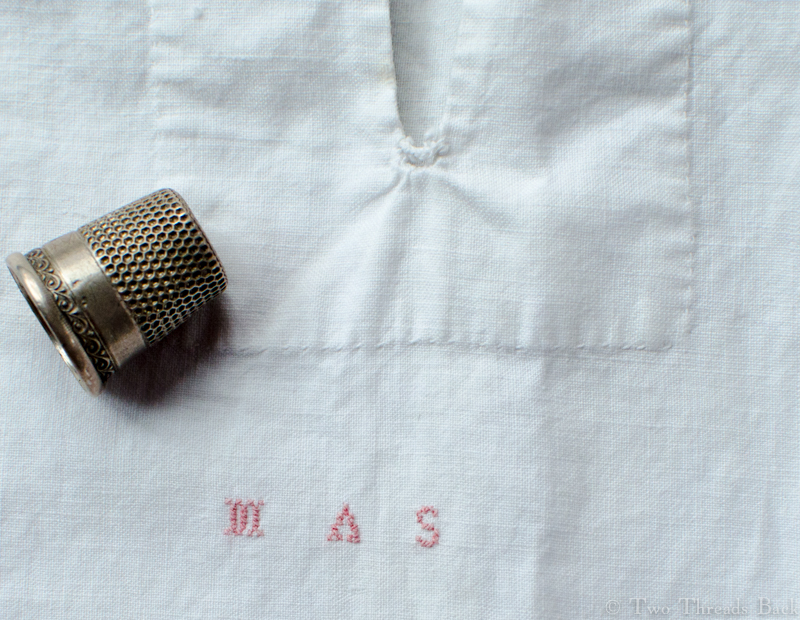
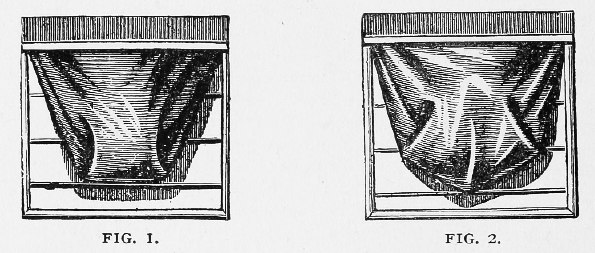
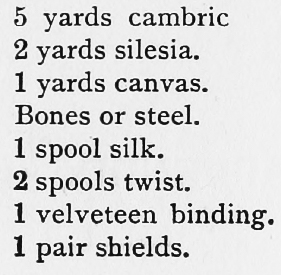
Wait, there’s more! Here are some illustrations of themes used to decorate windows. Let’s start with handkerchiefs.
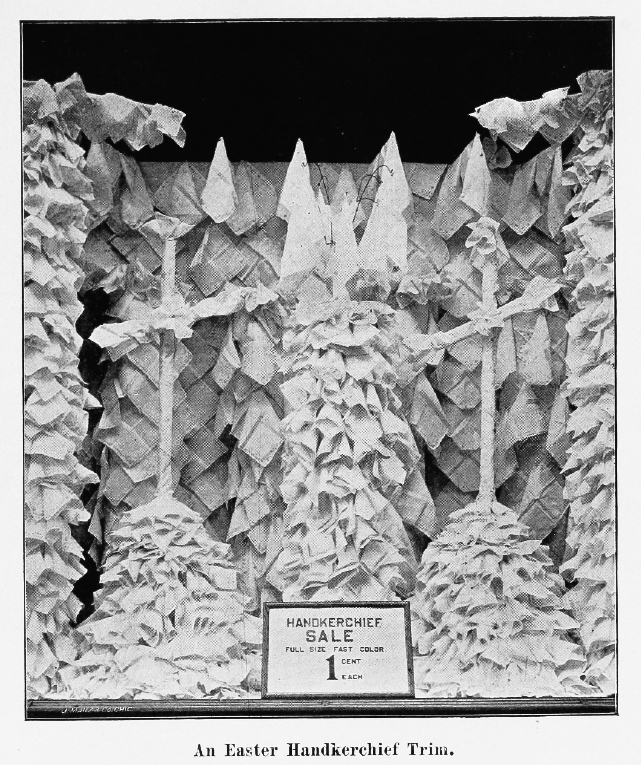
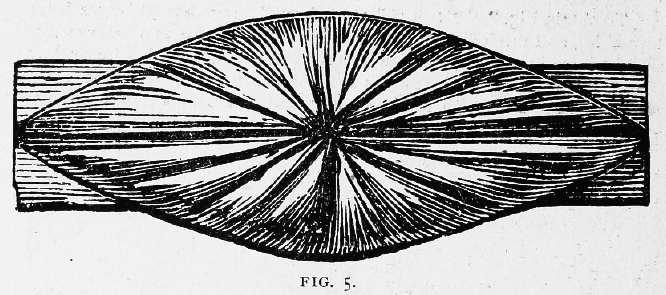
And if you only want to do a few Easter lilies instead of a whole window, try this one.
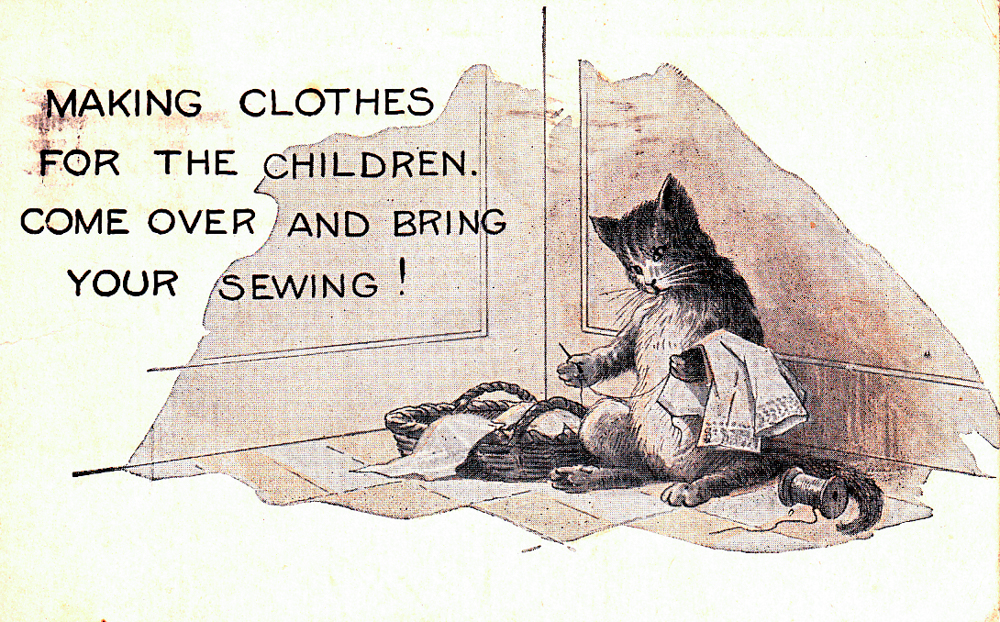
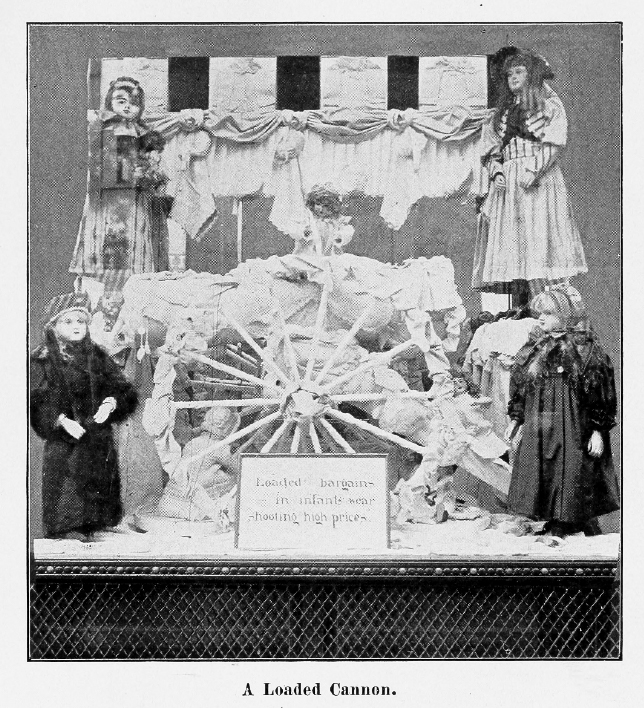
What about something a little more creative, something to inspire thoughts of dressing children? Try a Loaded Cannon for infant’s wear. (If you’ve ever tried to dress a resistant toddler, this might not be so inappropriate.)
Now if you have a whole lot of prints that you want to showcase, here’s the perfect solution. Quilt shops, take note of these columns. This one “can be carried out with no more expense than that of a few hours labor.”

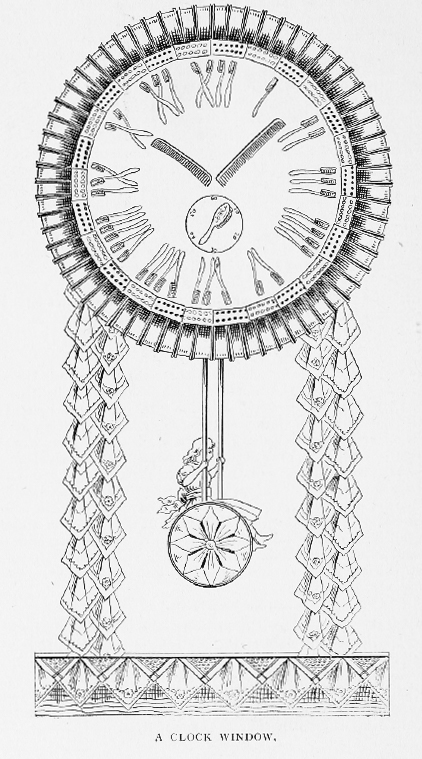
We all need reminding that it’s time to brush our teeth and comb our hair. And blow our noses.
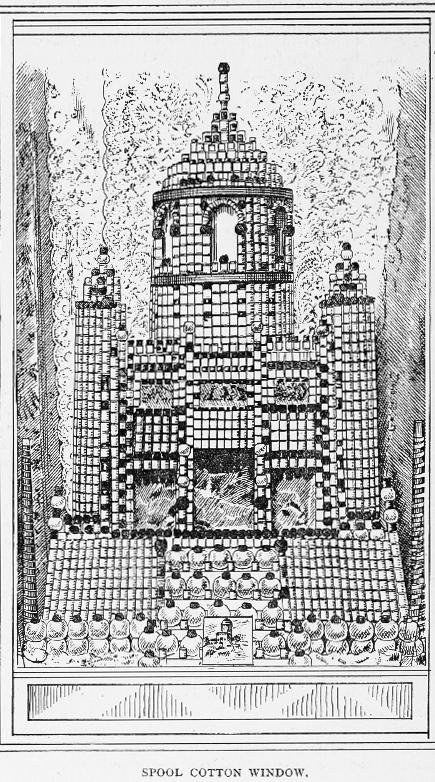
And now to wind it all down, we have a spool display of gargantuan proportions. I want one.
More ideas include a May-pole, Toboggan Slide, Button Wheel, Parasol, Lace Fountain, and – are you ready? – a Bridge made of cuffs, 5-plaited shirts, canes and umbrellas, narrow black ties and white ones, carded cuff buttons, and pongee handkerchiefs. Mr. Cole would have loved decorating floats for parades!
He finishes with some excellent advice for the sales clerk, just as applicable today as it was then.
1. Be ready to receive customers with a gracious, cordial, and friendly address.
2. Never, under any circumstances, assume to know the business of your customers better than they do.
3. Treat your customer with respect, in fact, honor him in every way possible, since he has honored you by calling.
4. Use diligence and perseverance in showing goods and their merits in a scientific manner.
5. The crowning point is to fill the bill with a true artist’s eye, and sober, candid judgment… for future sales are at stake.
Thus with frankness, honesty and uprightness in every particular… the ambitious salesman will have lasting, satisfied customers, and have sold far more than anticipated.
Always remember that you needn’t be big to excel. “Don’t be discouraged if your window is small or badly constructed. Make the best of it, and carefully think out what kind of display will best suit the circumstances. You need a very small space to prove your taste and originality, and to make a show which people will cross the street to look at.”
I think we could apply that moral to a lot more than a shop window.